Showing posts with label double gauze. Show all posts

Wednesday, 18 September 2019

Wiksten Shift Dress: Long Length in Double Gauze

I tried to resist the Wiksten Shift Dress pattern, it was all over social media a few months ago and I wait to see if it's just a passing fancy or a style I think will suit me as well as a style I would actually make, wear and enjoy.   I recently updated my desktop computer and as I saved files and swapped data over, I could see many PDF patterns that I've bought and never sewn.  In the end,  I'd seen so many people on Instagram looking great in the midi dress version that I bought it as a PDF.  It is pricey (another reason I was resisting) but now I've made two, I can see why.  It is deceptively simple, but carefully and thoughtfully designed.  


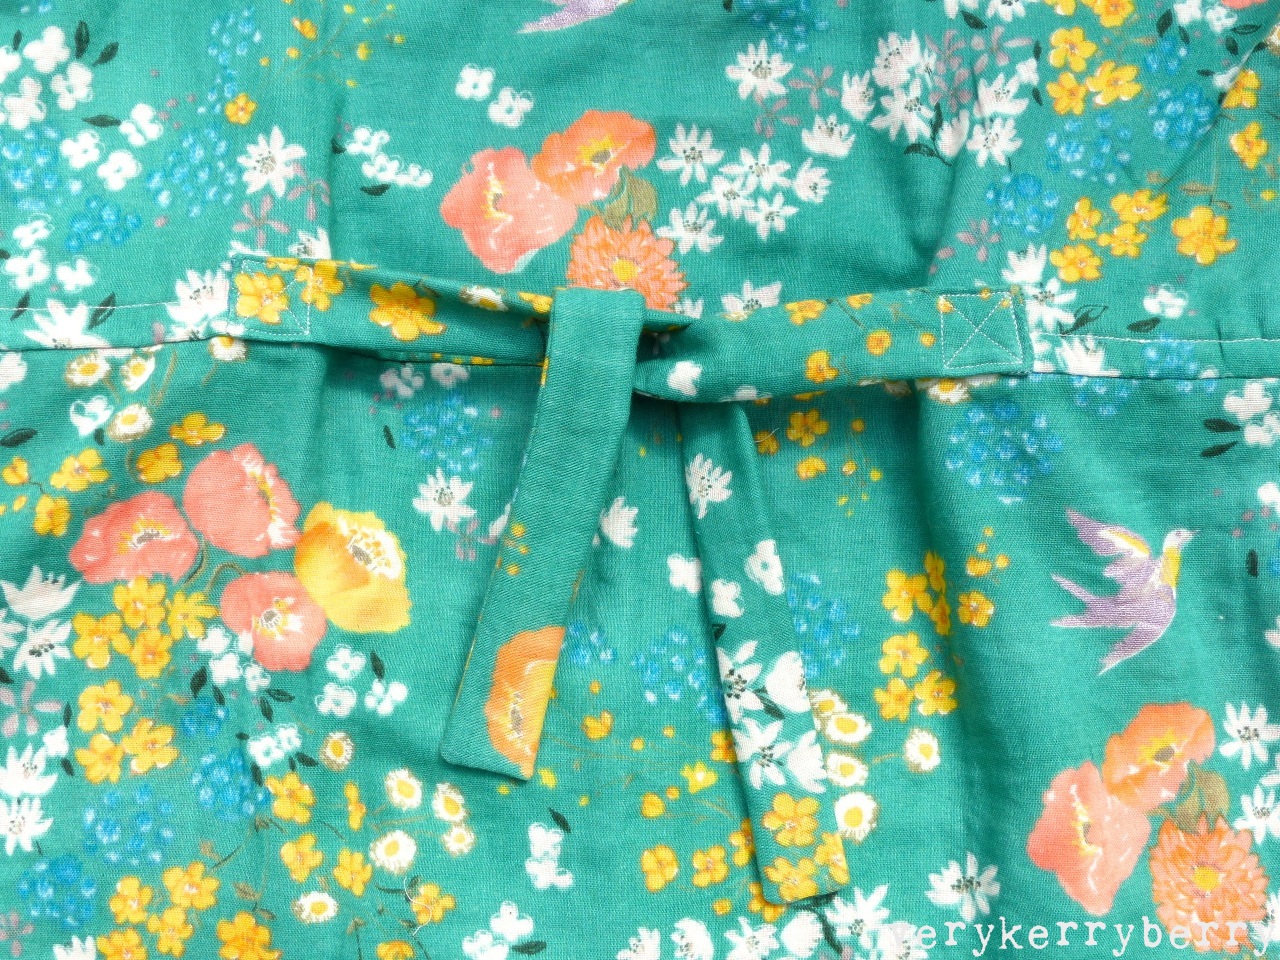
I made a size 0.  I ummed and ahhed between sizes 0 and 2 and as soon as I cut the PDF pattern out and did some measuring, I could see that the smallest size would be the best match.  I'm 5'5" and my measurements fell between sizes 0 and 2.   There are detailed size recommendations and examples here.  On the dress, the back section under the yoke is gathered to create the extra volume- that gives the dress it's movement and ease when walking so there's no sense of restriction.  The dress front is much narrower so creates more of a column effect when viewed from the front.  I made a couple of changes- I did the forward 1/2" shoulder adjustment from the Wiksten journal (on my second, I also made a small high round back adjustment of a scant 3/8" which stopped the neckline falling back at all).  My sleeves are about 1/2" too as I accidentally lopped 1/2" off the paper pattern when sorting the shoulder adjustment out!  I corrected this for the next dress!   I also added some interfacing to the waist tie, just a small section along the centre back- it adds a little more body to the area that lies against that part of your body (see pic below)...


Top sewing tip coming up:  I added a bar (from small hook and bar fastenings) on the inside of each split, right at the top (example below is on dress two).  This adds some strength to a vulnerable area and it has worked well as I've worn both dresses a lot with no wear on the splits.


Otherwise, everything else is as the pattern stated.  I used a double gauze that I bought from Stitch at a show.  This had a standard gauze front layer and a loose weave underlayer which meant it frayed like crazy!  But it is soft, opaque and quite drapey so it suits the style well.  


Seeing the dress without the belt shows a little more of the shape- the straight front and the fuller back. I sometimes wear it unbelted if I'm working from home or it's the latter part of the day and I want to relax. 


Like Jenny's other patterns, the design is timeless and there is a top option (the back narrower) which I can see myself making too.  I have worn this version and the second (in Nani Iro Bird's Eye double gauze) so many times that buying the pattern has definitely paid off.  I took both dresses to London for a weekend away last month and they were perfect for travel.  I could roll them up in a holdall on the train and then happily wear them for a day of sightseeing or with a close-fitting cardigan for meals out in the evening.  A classic summer into sunny autumn dress!

Tuesday, 27 November 2018

The Assembly Line: Cap Sleeve Top in Manchester / Double Gauze

I first saw The Assembly Line shop patterns on Instagram a few months ago and was instantly smitten.  They are a Swedish pattern company and shop and Karen from Draper's Daughter was quick to stock their patterns.  Initially, they were only available as single size paper patterns, this has recently changed to multi-size which is great news as they are at the upper price end.  I started with the easiest pattern, The Cuff Top.


I was almost embarrassed to spend so much on something so simple and I did fear it may be too boxy but actually, it worked really well and it's a basic that I will make multiple versions of so well worth it.  I traced the pattern and made a toile version in a very lightweight linen.  I am very flat on my upper bust area so I ended up reducing the extra fabric below the front neck by pinning darts in the excess and then taking these alterations to the pattern with scissors and washi tape.  The first version was made in Manchester yarn-dyed cotton (now sold out at Eternal Maker, but there are lots of colours available at M is for Make.   This fabric is soft with a bit of drape and works well for this style.  I omitted the centre seam and cut front and back on the fold. I also fed elastic through the casing rather than sewing it directly to the fabric, I found this much easier to do!


The second version was sewn from a gorgeous Nani Iro double gauze remnant, bought from Eternal Maker's excellent destash account.  It's one of Naomi Ito's older Fuwari Fuwari prints; there's a hint of metallic and I love the colourway.  It's soft but less drapey so creates a different effect.  You can find other Nani Iro double gauze prints here.
The neck is finished with a facing and the instructions recommend using the woven label that's included in the pattern to help secure the back.  I find labels a bit scratchy so used bits of soft cotton tape from my stash and I like adding this sort of personal detail.  I made an XS and for sizing reference, my upper bust is 32" and full bust 33".  I've also bought the V-neck dress pattern and The Apron Dress so Assembly Line patterns are making up the majority of new winter wardrobe additions.  As I get closer to 50, I'm aware my style is changing and I really like how their aesthetic works for me.   It reminds me of Toast, maybe a little softer in style.  The instructions are straightforward- each pattern comes with an A4 size black/white booklet with clear diagrams.  The fabric requirements have been very accurate so far too, so much less wastage.  Seam allowances are generally 1cm or smaller for areas like necklines.  I'll share the V-neck dress next.

Tuesday, 13 November 2018

Sew Over It Dana Dress In Double Gauze

Back in September, I bought the Sew Over It e-Book, Work to Weekend and made the Dana dress, as we are heading towards December, I thought it was time I shared it!  It was still warm when I sewed it up and I made it for my birthday at the end of September.  I'm guessing next time I wear this it will be late spring.  The pattern fabric recommendations all feature drape - viscose and rayon wovens, crepe, georgette.  I find crepe and georgette a bit impractical for my everyday wear so I used a soft cotton double gauze, very similar to the fabric used for this dress which I wore repeatedly during the summer.  I picked it up as an end of roll from Stitch Fabrics at Festival of Quilts so I only had 2 metres (wide width) and had to cut very creatively.  This included piecing strips to make the belt, to squeeze the dress out of what I had and there were only tiny scraps left over.  This fabric has more drape than a Nani Iro/Kokka double gauze and is very soft.


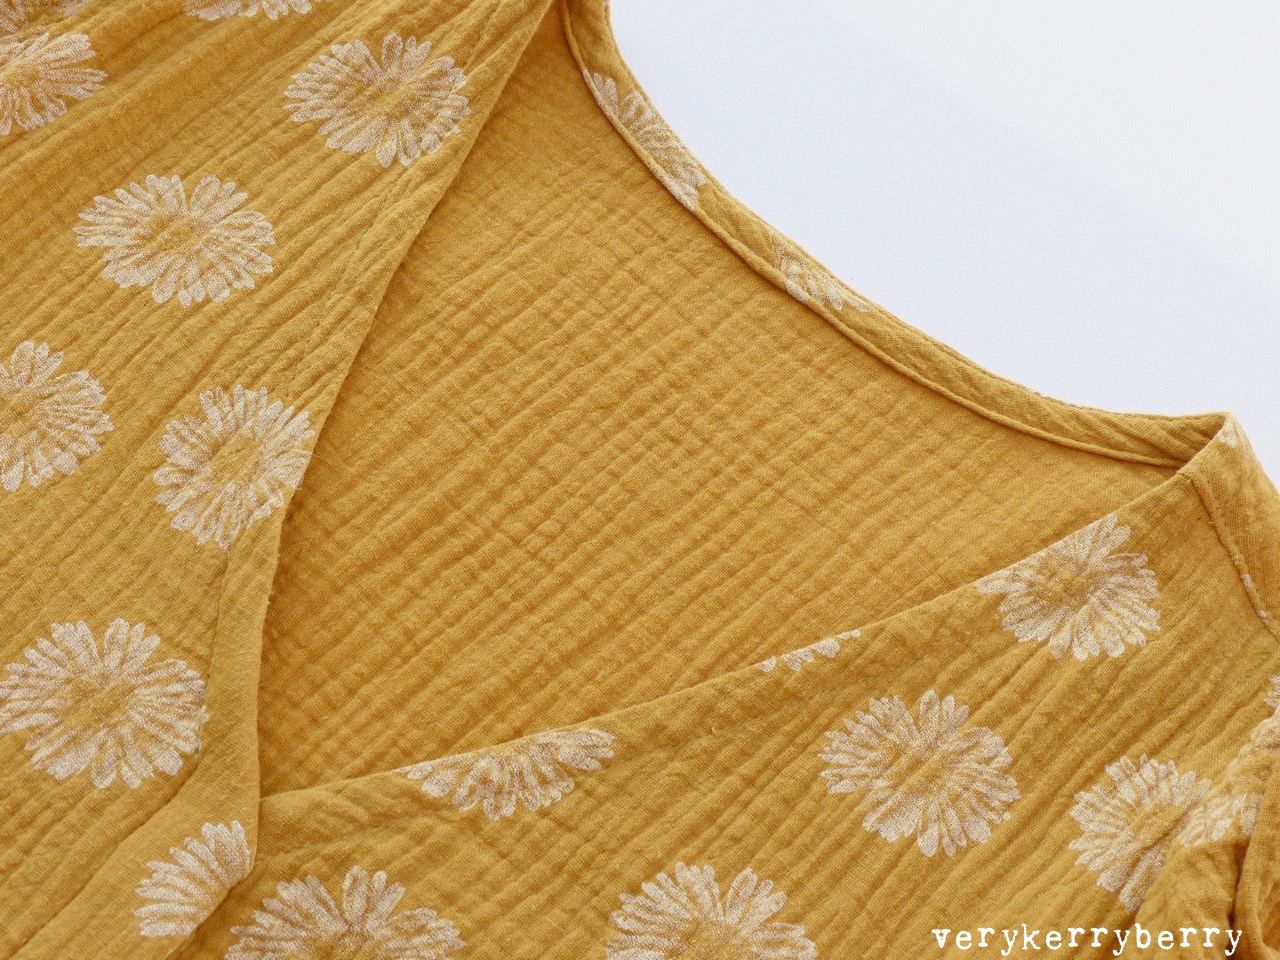
I made a straight size 8, no changes.  I usually find I am a size 8 in less fitted SOI patterns and a size 10 in those with less ease.   The fit is good apart from the V which is too low for my small bust- too much rib revealed!  It's a relatively straightforward make with added interest from the covered button placket.  I hadn't sewn one of these before and this fabric was a little bouncy for creating the extra pleat that lies over the fastenings, but I made it work. 


As the V-neck is generous, the dress fits over my head without needing to unfasten any buttons so I omitted the button holes and stitched shell buttons through the placket layers.  I hand stitched the V where the front pieces crossover to secure it.


My only addition was a belt loop at each side seam.


It's a very informal style to wear- I really liked the patch pockets, especially in this fabric and the sleeve length is flattering.  I also liked the tie belt- I cannot bear anything restricting around the waist at the moment.  However, the belt also has a touch of dressing gown about it which makes me wonder whether this style has staying power in my wardrobe.  I'll have to see how much wear it gets next year, maybe it was a bit of an Indian summer fling!   

Wednesday, 18 July 2018

July at Plush Addict and Eternal Maker

I've chosen a wonderful selection of the latest fabric and pattern arrivals at Eternal Maker and Plush Addict for my July sponsor post.  The weather is forecast to continue warm in the UK for the next month or so which is a great encouragement for dressmaking, plus I've included some 'Christmas in July" quilting items for those who want to make an early start!  The Plush Addict website has had a makeover and I found it easier to navigate for specific items, especially on my iPad.

From Plush Addict, l to r:


  1. Dashwood Dovestone Large Floral Viscose (Rayon), wide width, ideal for dressmaking, lots of drape. I've bought a couple of metres of this for a Sew Over It Kimono and cami so this photo is from my fabric.  The background colour is a charcoal grey, it is divine!  Other prints include Ochre FloralSmall Floral.  It needs gentle handling and prewashing (30 degrees on handwash or wool cycle) as rayon tends to shrink.
  2. Tilly and the Buttons Seren Dress.  Suitable for a sewist with some experience. Lots of options- frill, no frill, tie front detail.
  3. Dashwood Studio, Winterfold 8 FQ bundle.  Winter themed quilting cotton with copper metallic detail.  Also available in yardage. 
  4. Dashwood Studio Christmas Street Drawstring Advent Bag Calendar 75cm Panel. Designed by Jane Farnham  I saw these on the Dashwood IG feed a few weeks ago and it was love at first sight. The panel is enough to make 24 drawstring bags (using your own backing fabrics) of various sizes.  Print includes metallic highlights.  I went a little Dashwood crazy in this month's selections, so many good things to chose from!

From Eternal Maker, l to r:

  1. Echino Sprout Natural, Echino in natural. Cotton linen blend. Metallic accents. Gorgeous print and a great weight for cushions and bags.
  2. Kokka Double Gauze, Bubble Birds Khaki and Grey.  Pretty soft double gauze in a simple print. 
  3. Nani Iro 'Grace' Double Gauze. Bold colours and block stripe design. 
  4. Friday Pattern Company.  This is a new-to-me women's wear garment pattern company with modern designs, often for knits, many of which are particularly summer friendly- Vernazza Two piece bikini (love the big briefs!), Joni Jumpsuit, Hi-lo Dress, Sunny Dress/Top
SaveSaveSaveSave

Saturday, 14 July 2018

The Gathered Dress Hack: Maxi Version

I've liked the fit of my Gathered Dresses (long sleeve and short sleeve versions) so much, especially the bodice, that I knew I wanted to try the bodice on other dresses so this is my first hack.  I had two metres of wide double gauze from Stitch fabrics, bought at a local craft show earlier this year and I wanted to make a maxi sundress with it to maximise its floaty qualities.  So, I used the top bodice and sleeve, tracing the front piece off and shortening it to the pattern waistline marking on the back bodice.  I added the skirt and pockets from an old favourite,  Simplicity 1801 (here's the original post for this pattern).   


I've used this skirt with Maxi Darling Ranges dresses several times and I love the front and back centre gathers, deep pockets and smooth line over the hips. The gathers make it an easy marriage between bodice and skirt and as with the Darling Ranges dress, I added ties to bring the waist in whilst still keeping a relaxed fit. This double gauze is softer and has more drape than a Nani Iro double gauze so the finished dress has a floaty look and feel and is really comfortable in hot weather.  I used the short sleeve from the Gathered Dress pattern and rolled up the finished sleeve which works well in this fabric.  I think the bodice will be perfect to adapt for tops so I predict more hacks in the future! 
SaveSaveSaveSave

Thursday, 12 July 2018

The Gathered Dress in Double Gauze

Each summer, I seem to have a favourite dress pattern which I end up making multiple versions of.  This year, it's The Gathered Dress by Avid Seamstress.  I've made three, this is number two:  short sleeved option and in Nani Iro double gauze.


It's a little crumpled from lots of wear!  It's a great style for a heatwave: loose, but still fitted at the shoulder and with a little back shaping to avoid the sack look.  The sleeves are on the longish side for short sleeves and stop at a flattering place, low on the upper arm. They also help protect against sunburn but I could imagine a cooler version would be a shorter angled sleeve.  Any changes made to the pattern were mentioned here, sleeves were unchanged.  


The double gauze has less drape than the linen I used for the long sleeve version but enough body to cope with the pockets and is of course, nice and airy to wear.  The print is Sen Ritsu and has been in my stash for a long time, years even.  I picked up a great tip from Cheryl of Sewstitchybee. She suggested holding a neck facing in place by adding a label on the back neck facing and stitching through all the layers.  I find labels scratchy so I used some of the fabric selvedge and it works really well!  Great tip. Another Gathered Dress coming up soon...

Friday, 12 June 2015

I Love Nani Iro Month: En Garden Factory Dress

My heart leapt when I received an email from Frances of Miss Matabi a few weeks ago asking if I would like to take part in her wonderful Nani Iro month of projects and gorgeous fabrics.  I couldn't write my response fast enough and within a short time, my fabric choice, En Garden Ki double gauze arrived.  It is an amazing colour, a green that matches my cutting board.  I am a big fan of green.


I didn't have an immediate idea of what I wanted to make.  I knew it would be a dress and I wanted it to be simple- avoiding zips, buttonholes or fiddly fastenings and making the most of the gorgeous print.   Sewing with double gauze reminds me a little of pastry baking: it needs minimal handling.  Not sure if it needs cold fingers too but you catch my drift.  After some dithering, I settled on the Merchant and Mills Factory Dress pattern but with some changes. The double gauze En Garden fabric definitely needed a prewash; it turned colour catcher jade green.


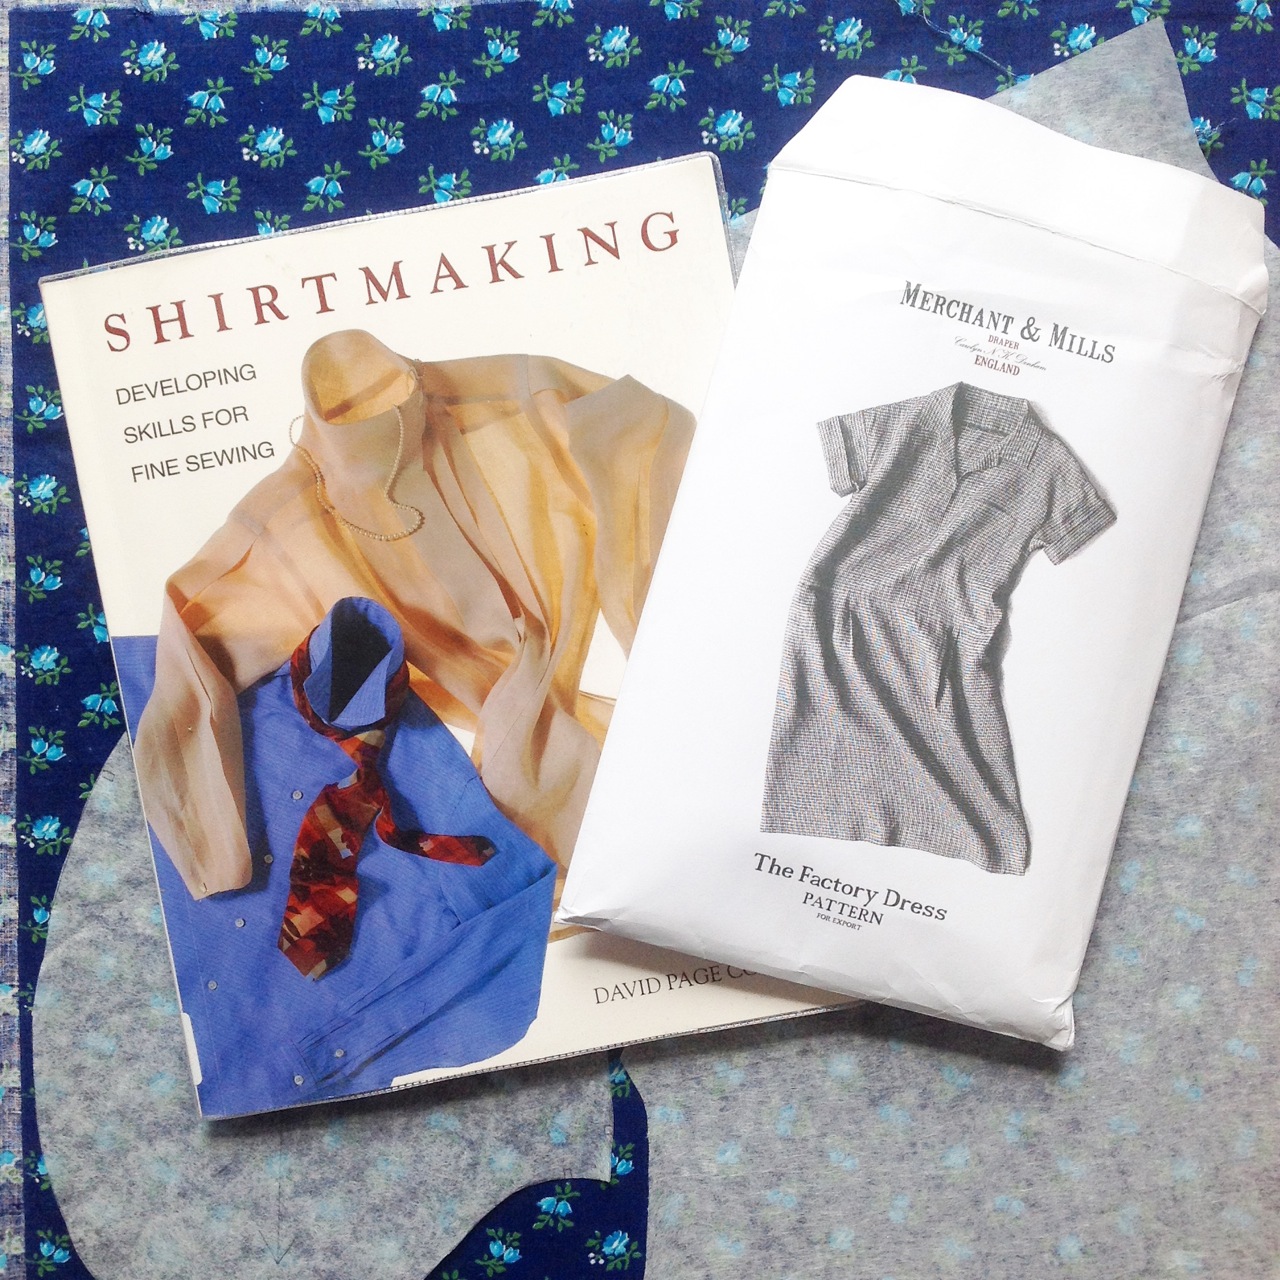
I sketched out my ideas in a Fashionary- a sketch book with the body 'croquis' already lightly printed on the paper.  I don't usually do this but it did help get my head around a few style variations.  I did my usual internet research to see what others had done with the dress.  Most people make it up in a neutral high quality fabric like a yarn dyed linen chambray or a light denim which looks lovely but for me it is a little like the sewing room with white walls and a single sewing machine on an empty white table- a dream that is never going to happen.  I like pattern, it lifts my spirit in the way plainer fabrics rarely can.     I find the revere collar style of the factory dress a little reminiscent of school uniform and games kit and prefer a collar with stand, so with a library copy of David Paige Coffin's wonderful tome, 'Shirt Making' I set about drafting a two coloured tower placket, a collar stand and a collar.  The benefit of using a placket is that the front piece is cut out of one piece of fabric and maintains the design.  I made a test garment first from some pretty but poor quality cotton found at a car boot sale and I was glad I did, it allowed me to make many mistakes and master the technique!


I used the Deer and Doe Bleuet collar and stand pattern pieces as a stating point and adapted the size to fit the existing neckline of the factory dress.  The front placket with point was in the book and I changed the length of the placket and kept everything else the same.   My contrasting fabric was some Oakshott cotton; the colour is discontinued but you can find similar here.  I added Perfect Fuse sheer tricot fusible interfacing to the placket, mainly to keep the edges stable on the double gauze section.  


Here are the other making stats.
  • Cut size 8 Factory Dress pattern and on reduced the bodice sides and waist by a total of 4"-an average of 1" on each side edge.   Repeated on the skirt pieces.  On the front skirt I took the inch from the centre top of the waist and kept the bottom half the same, grading the outside seam line.
  • Pattern used 2.5 metres of 110cm fabric.
  • Contrast fabric for stand up collar, part of the placket and the pockets.
  • Moved the bust dart points upwards by ¾" inch on each point.
  • Top stitched the shoulder seams and sleeve seams.
  • Changed the pocket construction so that the top of the pocket was caught in the waist seam rather than having pocket bags flapping around.  I used Christine Haynes Emery Dress pocket pieces and her construction method.
  • I added bias binding to the inside of the waist seam to neaten it up and have it smooth against the skin.  It looks a little uneven on the inside but on the outside there is a ¼" topstitching line to keep it in place.
  • The collar and stand were interfaced with prepared for dyeing bleach white Kona cotton following a suggestion in 'Shirtmaking'. The interfacing pieces is cut minus the seam allowances and glue basted to the wrong side of the collar and stand.  It is held in place temporarily by the glue and permanently by the top stitching.
  • The seams are sewn with Gutermann sew all poly thread but the top stitching was all done with Aurifil 50wt and a very small stitch.  Again a suggestion from 'Shirtmaking'.
  • I used a 75 ballpoint needle throughout.  I find ballpoint needles are brilliant for the thin threads and loose weave of double gauze. 
  • I added waist ties (pattern pieces from Darling Ranges dress pattern) placed 5" either side of the centre back as even after allowing for loose fit, the back was still baggy.  
  • I used seam tape for the hem.
As a finished garment, it is wonderfully comfortable.  Great for hot days and cooler days with a camisole underneath and maybe a hoodie.  A practical pretty dress that can take a day's sewing, a dog walk and time at the beach.  I am wearing it with this year's Saltwater sandals.  I buy a pair each year  and they are another pretty practical part of my wardrobe. The Merchant and Mills pattern is based on 1930s utilitarian factory wear for women of the time but my version has a more 1950s feel.   It reminds me of something my Grandmother used to wear.  Thank you Frances for sending such amazing material, it was an utter pleasure to sew.


Here are links to the other Nani Iro month contributors taking part this month.  If you join in and make anything from Nani Iro, or want to share pictured of your Nani Iro fabric stash, be sure to use the #ilovenaniro hashtag.

Straightgrain   ∆   noodlehead   ∆   Ute
A Little Goodness   ∆   SKIRT AS TOP   ∆   Cashmerette
Sew Little   ∆   imagine gnats   ∆   you & mie
And there is a frankly AMAZING giveaway with a big parcel of Nani Iro goodies worth $400 waiting for some extremely lucky person to win. It includes 20 metres of Nani Iro fabric, 6 rolls of bias tape, two signed books by Naomi Ito, sewing patterns and an extra surprise gift from Naomi Ito herself!   I know, my jaw dropped too.  Headover to France's blog and get your entry in, it is too good to miss!


sib blog


Monday, 26 August 2013

Double Gauze at Eternal Maker

Hot on the heels of my Chardon Double gauze skirt, I thought I would show you the wonderful selection of double gauze at Eternal Maker for this month's trip to their Aladdin's fabric cave!  Double gauze is 2 light layers of fabric held together with a clever weaving technique so you get the benefits of a light floaty fabric alongside a fabric that isn't see through or slippery and can be used for tops, dresses, blankets etc.  Kelly at Superbuzzy gives a great explanation here.  It is best with simple, floaty styles that make the most of its properties.
It comes in an array of colours and patterns from the more classic large polka variation that I used for my skirt: Nani Iro by Naomi Ito for Kokka, Pon Pocho in blue...
...to the more cutesy designs like this Panda print for Cosmo which would be great for children's clothes or blankets with its smaller scale print.
Double gauze is incredibly soft and is ideal for babies and children's wear
At its simplest, it makes beautiful scarves and blankets from basic square and rectangle cuts of the fabric. 
This larger Nani Iro Waltz abstract print would make a beautiful scarf, there is a very helpful post here on making a scarf and a free pattern for a neck wrap here.
On the Nani Iro website, there are many more free patterns ranging from a men's kimonos to a plethora of baby bibs, booties, clothes as well as women's wear and accessories.  Just click on the different years to see patterns designed for that year's fabric.
The Tomotake doughnuts print double gauze is a another graphic print, it look good on a scarf or a bigger project- a long full skirt?  Maybe another Chardon?
And this pink Kiyohara baby print would make a beautiful blanket, backed with a snuggly flannel
or if you prefer a blue print, these delicate sail boats
My absolute favourite is this print, Nani Iro Little Letters in peach.
This one might be my next order!  Enjoy x  And any questions about double gauze, please ask and I will answer in the comments.
sib blog