Showing posts with label factory dress. Show all posts

Wednesday, 21 October 2015

Factory Shirt in Nani Iro Pon Pocho: With High Round Back Adjustment

I have a back-log of projects to share dating back from the last couple of months and I'm off my usual day job for a two week break with lots of sewing work to catch up on  so I'd better get on with it.


I made a couple of Merchant and Mills Factory dresses over the summer- see here and here- and I modified the pattern from the start.  They were much worn and I could see the potential for a top using this pattern so after finding this Nani Iro Pon Pocho on sale during the summer at The Draper's Daughter I bought 1.5 metres and got planning.   I love the relaxed fit of my dresses- loose but not baggy or sack like, and I especially liked the drop shoulder detail which means that you can sew your sleeve in flat- so easy, who doesn't like that?  Setting sleeves in is always tricky!


I had a minor fit issue with my dresses; the front neck was pulling slightly to the back which after a little consultation with Fit for Real People- which I've found to be excellent on all fit issues that I've had- I found diagnosed as high round back .  I followed their instruction and added extra space to the upper back bodice to allow for rounding of the shoulders and back. I blame age, computers and sewing for this- all hard to avoid!  


High round back alteration is easy adjustment to make which basically adds a long narrow wedge to the back to accommodate the rounding.   I've annotated the photo to make it clear what had been added. It involves drawing a line from centre back and stopping at the seam allowance of the shoulder area.   I wasn't exactly sure where to put my line and this time it was quite high- I would go a little lower for a closer fitting top.  Cut along the line stopping at the seam to create a hinge.  Place a piece of pattern paper underneath and open out at the centre back around ¼" to ⅜".  On this I knew I only needed a little.  For other patterns I've made I would add ⅜"- I judge this by how much I feel I want to pull the top bodice forward at the collar when I wear it.  The top part of the centre back needs a minor truing up to keep that line straight.  That little fillet of paper creates just a little more room and gave me a great fit.


For other alterations, I used top patterns that I like the length and fit on so Tova and Carme to draft the waist width and hem length and Kanerva for the sleeves- I used the existing short sleeve pattern from the Factory dress, added length and narrowed it.  The cuff is finished with a cross cut binding. 


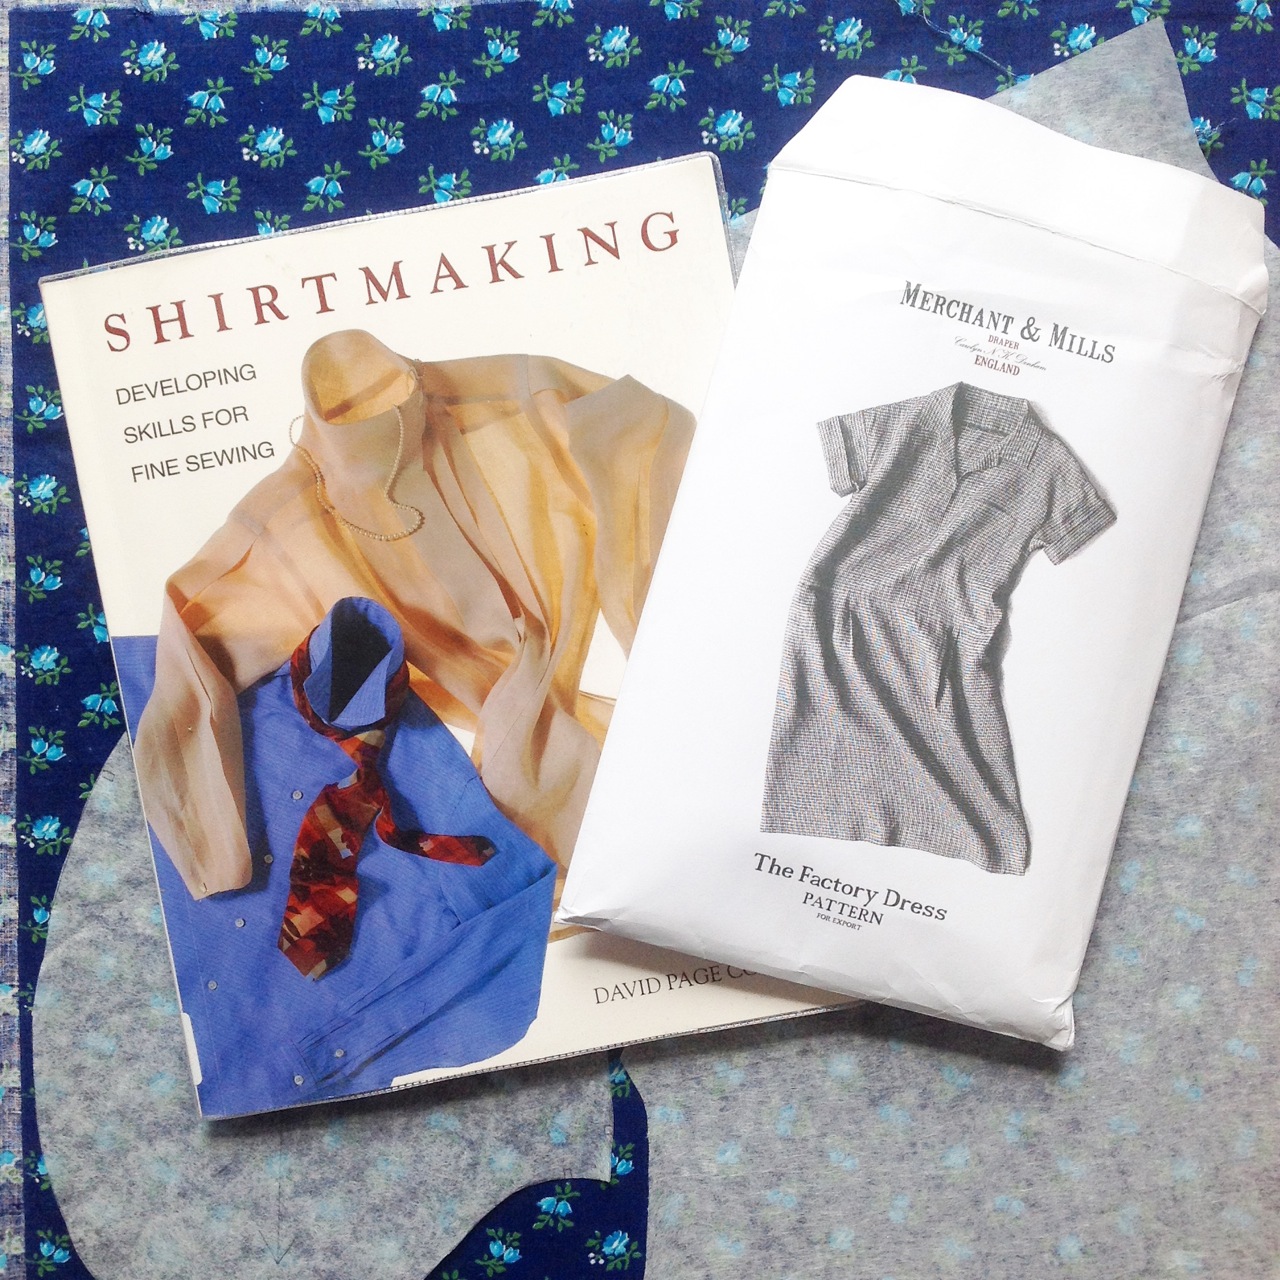
As with the dresses, I used David Paige Coffin's Shirtmaking book which I guess was reprinted as it has gone from being unaffordable and hard-to-find to being easily available and I finally got a copy of my own.  The only difference was with this collar, I used light fusible interfacing - Perfect Fuse in Sheer - on both collar and under collar to keep the double gauze under control - it frays very easily.  The placket, under collar and stand facing are from a fat 1/8th of Liberty lawn- it's amazing how a little piece of fabric like that can do all those jobs!  I squeezed this out of my 1.5m with nothing left, only the smallest scraps!  I am very pleased with the result.  It's a casual comfortable, warm top and it works well with my charcoal Fumeterre skirt.  It's easy to pull off and on over my head and the colour and print is uplifting to wear on days when I want to be more practical and keep warm!  I aways like to keep things simple with big prints and strong colours and this style offers a lot of potential for more simple tops with options like a lower neck and a rounded collar.  Thank you to my daughter as ever for her photos- she knows exactly what I want without me even saying. x

sib blog

Tuesday, 4 August 2015

Boats at Sea Factory Dress

I've been wearing this dress off and on since June and meaning to share it ever since.  I make most of my clothes with a specific activity or day out in mind.  It doesn't have to be anything fancy, this dress was made for a local weekend away where I knew we'd be doing a fair amount of walking and spending time on the beach.  I wanted something practical and comfortable and the large boatprint needed a relatively simple style.


I returned to the Merchant and Mills Factory dress pattern which has proved more versatile than I thought!  This time, I left off the pointed collar and the pocket from my original style alterations as I thought they would clutter up the print.  I used a scrap of Oakshott cream coloured cotton for the simpler collar and most of my time was spent on balancing the print.


The photos are a little adhoc.  We had just walked along a coastal path and the rain had stopped so I asked my daughter to take some quick pics on my iPhone, the setting was too good to pass up!


The fabric is a very good quality linen, maybe there's a little cotton in there too.  Light to medium weight and sufficiently opaque not to need lining.  I bought it for a song at an outdoor market but Pin It and Stitch have been selling it and so have Patch Fabrics.  For pattern matching, I tended to rely on matching and tracing bits of the design on the pattern paper.  I cut the bodice and the skirt so that the print looked continuous down the centre line.  The placket was the hardest part as although it looks integral, it is added as a separate piece as on my previous Factory dress.  As before, I followed the placket instructions in David Page Coffins Shirtmaking book which has just reappeared online at a normal price so I am guessing it has been through a re-print!  
 Both my altered factory dresses have been summer wardrobe stalwarts: airy and comfortable and a great shape to showcase the fabrics involved.


Last year, the Alder dress was my top choice of pattern - I made two;  this year it has been the Factory dress.  Do you have a top dressmaking pattern for this summer?

sib blog

Friday, 12 June 2015

I Love Nani Iro Month: En Garden Factory Dress

My heart leapt when I received an email from Frances of Miss Matabi a few weeks ago asking if I would like to take part in her wonderful Nani Iro month of projects and gorgeous fabrics.  I couldn't write my response fast enough and within a short time, my fabric choice, En Garden Ki double gauze arrived.  It is an amazing colour, a green that matches my cutting board.  I am a big fan of green.


I didn't have an immediate idea of what I wanted to make.  I knew it would be a dress and I wanted it to be simple- avoiding zips, buttonholes or fiddly fastenings and making the most of the gorgeous print.   Sewing with double gauze reminds me a little of pastry baking: it needs minimal handling.  Not sure if it needs cold fingers too but you catch my drift.  After some dithering, I settled on the Merchant and Mills Factory Dress pattern but with some changes. The double gauze En Garden fabric definitely needed a prewash; it turned colour catcher jade green.


I sketched out my ideas in a Fashionary- a sketch book with the body 'croquis' already lightly printed on the paper.  I don't usually do this but it did help get my head around a few style variations.  I did my usual internet research to see what others had done with the dress.  Most people make it up in a neutral high quality fabric like a yarn dyed linen chambray or a light denim which looks lovely but for me it is a little like the sewing room with white walls and a single sewing machine on an empty white table- a dream that is never going to happen.  I like pattern, it lifts my spirit in the way plainer fabrics rarely can.     I find the revere collar style of the factory dress a little reminiscent of school uniform and games kit and prefer a collar with stand, so with a library copy of David Paige Coffin's wonderful tome, 'Shirt Making' I set about drafting a two coloured tower placket, a collar stand and a collar.  The benefit of using a placket is that the front piece is cut out of one piece of fabric and maintains the design.  I made a test garment first from some pretty but poor quality cotton found at a car boot sale and I was glad I did, it allowed me to make many mistakes and master the technique!


I used the Deer and Doe Bleuet collar and stand pattern pieces as a stating point and adapted the size to fit the existing neckline of the factory dress.  The front placket with point was in the book and I changed the length of the placket and kept everything else the same.   My contrasting fabric was some Oakshott cotton; the colour is discontinued but you can find similar here.  I added Perfect Fuse sheer tricot fusible interfacing to the placket, mainly to keep the edges stable on the double gauze section.  


Here are the other making stats.
  • Cut size 8 Factory Dress pattern and on reduced the bodice sides and waist by a total of 4"-an average of 1" on each side edge.   Repeated on the skirt pieces.  On the front skirt I took the inch from the centre top of the waist and kept the bottom half the same, grading the outside seam line.
  • Pattern used 2.5 metres of 110cm fabric.
  • Contrast fabric for stand up collar, part of the placket and the pockets.
  • Moved the bust dart points upwards by ¾" inch on each point.
  • Top stitched the shoulder seams and sleeve seams.
  • Changed the pocket construction so that the top of the pocket was caught in the waist seam rather than having pocket bags flapping around.  I used Christine Haynes Emery Dress pocket pieces and her construction method.
  • I added bias binding to the inside of the waist seam to neaten it up and have it smooth against the skin.  It looks a little uneven on the inside but on the outside there is a ¼" topstitching line to keep it in place.
  • The collar and stand were interfaced with prepared for dyeing bleach white Kona cotton following a suggestion in 'Shirtmaking'. The interfacing pieces is cut minus the seam allowances and glue basted to the wrong side of the collar and stand.  It is held in place temporarily by the glue and permanently by the top stitching.
  • The seams are sewn with Gutermann sew all poly thread but the top stitching was all done with Aurifil 50wt and a very small stitch.  Again a suggestion from 'Shirtmaking'.
  • I used a 75 ballpoint needle throughout.  I find ballpoint needles are brilliant for the thin threads and loose weave of double gauze. 
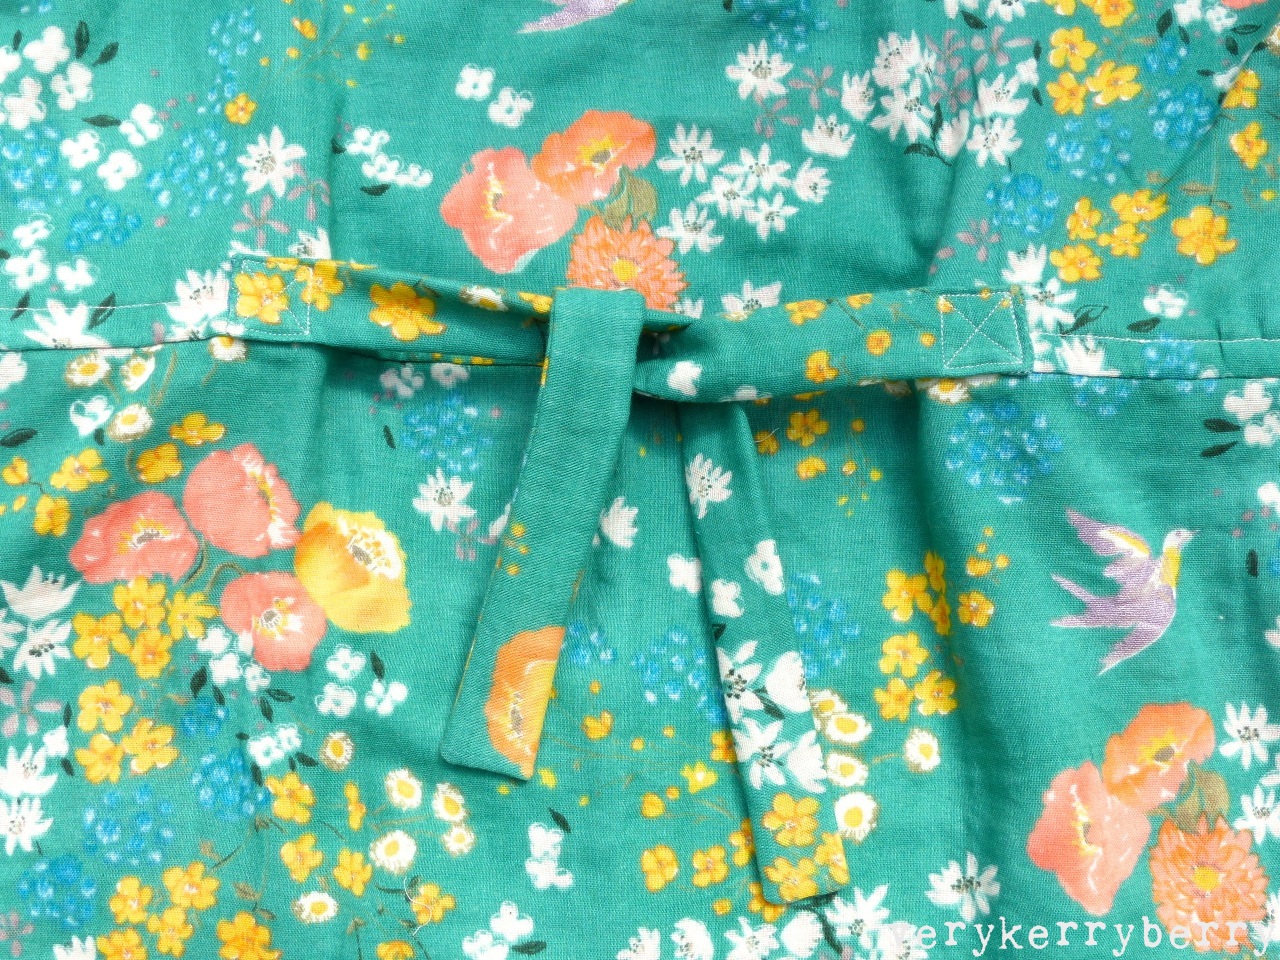
  • I added waist ties (pattern pieces from Darling Ranges dress pattern) placed 5" either side of the centre back as even after allowing for loose fit, the back was still baggy.  
  • I used seam tape for the hem.
As a finished garment, it is wonderfully comfortable.  Great for hot days and cooler days with a camisole underneath and maybe a hoodie.  A practical pretty dress that can take a day's sewing, a dog walk and time at the beach.  I am wearing it with this year's Saltwater sandals.  I buy a pair each year  and they are another pretty practical part of my wardrobe. The Merchant and Mills pattern is based on 1930s utilitarian factory wear for women of the time but my version has a more 1950s feel.   It reminds me of something my Grandmother used to wear.  Thank you Frances for sending such amazing material, it was an utter pleasure to sew.


Here are links to the other Nani Iro month contributors taking part this month.  If you join in and make anything from Nani Iro, or want to share pictured of your Nani Iro fabric stash, be sure to use the #ilovenaniro hashtag.

Straightgrain   ∆   noodlehead   ∆   Ute
A Little Goodness   ∆   SKIRT AS TOP   ∆   Cashmerette
Sew Little   ∆   imagine gnats   ∆   you & mie
And there is a frankly AMAZING giveaway with a big parcel of Nani Iro goodies worth $400 waiting for some extremely lucky person to win. It includes 20 metres of Nani Iro fabric, 6 rolls of bias tape, two signed books by Naomi Ito, sewing patterns and an extra surprise gift from Naomi Ito herself!   I know, my jaw dropped too.  Headover to France's blog and get your entry in, it is too good to miss!


sib blog