Wednesday, 17 June 2015

HandmadeStyle: Anna Graham

A few months back Anna got in touch to ask if I could test a pattern in her forthcoming book and now here is the book and it is just like her, full of effortless stylish information and basics that as soon as you see them you feel you have to make them!


It is divided into three sections, 'To Use', 'To Wear', 'To Carry'.  I tested the Gingham Tote pattern; the double zip version.  These are the book versions.


It is a rotary cut pattern which is my preference for bags and a practical design with ample storage options.  I used Ayumi's Lighthearted fabrics for the front pocket and the straps, the main bag is some linen that was a swap from years back, the zips were from Chase and the linings were a mix of stash fabrics.  I passed on my feedback I can see how the book text and diagrams have been tweaked from the version I received.  The bag went together smoothly and I love the result.  It is my work bag, I wear it cross body and it easily carries my food, drink, keys and random musical instruments.  I keep hair bobbles in to the top pocket and emergency snack bars in the bottom pocket.  


I like the way the bag fabric continues as a facing on the inner bag section.


My only change was to use cotton webbing (bought locally, find similar here) rather than construct my own bag straps.  The hard wear came from an old bag.


It is a book that could not possibly disappoint.  Each item is useful and restrained- no fussiness and a great attention to detail with pockets, fastenings and beautiful finishing touches.
 These are the items that most appealed and are on my to-do list.

Makeup travel case


Chambray Dress
I plan to make this as a top.  The envelope neck opening is a comfortable and easy neckline for summer and I love the way the shape repeats in the overlapping cuffs.


Double Zip Wallet
I've never made a wallet before and I like to take a lighter purse when I travel anywhere so this would be perfect.


Carry-all Pincushion
A jumbo storage pin cushion: these have already been appearing on Instagram!


< > quilt
My favourite designs in the book.  This quilt is constructed using the freezer paper technique  and I love the simplicity.  It would make a great pattern for a duvet cover too.


The project photographs are all at the front of the book, followed by the projects which are a mix of written instructions and hand drawn diagrams.  There is a full size pattern pull out at the back.  Clothes sizing is from XS to 2XL.The whole book is a delight and it's from the heart.  I can feel the hard work that Anna has poured into this and she must be incredibly proud, every design is a winner!

It is a Lucky Spool Book and you can find it on Amazon, Wordery and Book Depository,

sib blog

Monday, 15 June 2015

My Small World Quilt-Along: Constructing Part Two

Welcome to part two on the construction of the My Small World quilt-along and if you've been busy working away you should now have a good idea of the challenges that you will come up against making this quilt.  You can read John's post for part one and he mentions a few cheat ideas that may appeal to some of you.  From what I've read from magazine stockists, the Spring Special edition of Quiltmania was the last of these kind of Spring Specials, it is sold out at Quiltmania and this magazine is being replaced by other specials like Simply Moderne which comes out at the end of June.  It is still available at some UK stockists, including Contented Cat.  Quiltmania have removed the errata section from their website but the PDF link is still live and another here and you can refer to Katy's extensive list here


So far, I am loving it but I like small piecing, templates and scrappiness so it is all happy happy in my quilty world!  I have been using my vintage Bernina with a generic Bernina quarter inch foot to piece and it really helps with accuracy.  I am going to work through some of the features of part two in the order they appear in the instructions.   I made all my sky sections in advance so I am working below that point.

Applique
For the appliqué circles I like to use Karen Buckely's perfect circles.  The largest circle from her small circle pack was the right size for the template.   Her method can be seen here.  I used the brass 'Wonder Wheel' guide to create the seam allowance.  For the background fabric on any of the appliqué blocks and sections, I like to cut larger and trim down afterwards.   You can see in the picture bottom left, I traced the actual size of the finished square on the reverse and which helped me position the circle.  I also like Clover appliqué pins and Jeanna Kimball's Foxglove cottage straw needles are my favourites for appliqué. 

Alternatives Methods
  • Use raw edge appliqué and fusible web
  • Silver foil and card (good for other curved shapes
  • Freezer paper can be used for the perfect circle method.  Freezer paper can be used as a double layer if you want it thicker.  Place two layers together, the second layer goes waxy side against paper side of the first layer so there a paper side remains on top and a waxy side underneath when they are joined together.
  • Interfaced applique


Sewing Applique
Matching your thread to the fabric you are appliquéing on to the background.    With a knotted thread, I push my needle from the back so the needle point comes out in the folded edge of the circle.  Then, the needle point is positioned immediately just outside the place it has come through and into the background fabric so the stitch is tiny.  The needle travels underneath by just over ⅛" and less than ¼" before it comes up again in the circle's folded edge.  The needle goes down as before and the stitching continues.  The front has tiny stitches that you pull tight as you go and the back has long stitches where the needle travels on the back.  Once the circle has finished, trim the square to the required size keeping the circle central.


Triangles
I used the templates for the triangles.  The pencil line provides precise points to pin when you join the pieces.  I pin using this method.  You could also foundation paper piece if you prefer by using the templates to draw a foundation.  Sarah of Pixelsandstitches has done this and is offering a free template which could easily be traced and adapted to create the strip of triangles in one template.  With all the blocks, I check the size as I sew and trim down if needed.  Some of the pinwheels from part one came out slightly big so I trimmed down to size.
The Arched Shape

Back Basting
I thought I'd try a couple of methods for this shape to see how they worked.  I tried back basting which I haven't done before so this is a beginner's explanation of the method.  I drew the actual size of the squares on the reverse as a guide and then around the template where I wanted the final arch to be but again on the reverse. 

Then, the fabric to be appliqués is pinned on so that the wrong side is lying against the right side of the background.  Stitch a line of running stitches on the pencil line.  Mine are in lime green.  On the right side, trim the appliqué fabric ¼" away from the stitches to provide the seam allowance.  It helps to run chalk over the top of the stitches and stitch line too, use something that will easily brush out.  Then the tricky bit!   Undo a few stitches at the bottom right corner- around an inch, and using the needle tip, push the fabric underneath.  With your appliqué thread matching the fabric, sew the beginning of the arch shape to the background stitching as with the circles. 
That is the basics of the method.  The curve is tight so it does help to snip into the seam allowance to allow the fabric to turn in more easily- the clip just stops short of where the fabric will fold.  I found this method a little fiddly and it made my hands ache.  The reverse side will have long stitches on as with the circle.
 

I also tried the freezer paper method.  I iron the freezer paper replica of the template on to the reverse of the fabric and using my fingers to press the fabric around the edges of the shape.  Then I squirt some non aerosol starch into a container and paint this onto the seam allowance and use the tip of an iron the fold it over being very careful of my finger tops.  I then press from the front and allow to cool before removing the freezer paper and pressing again.  Then I pin in place and sew on as before.  I prefer this method.


Orange Peel Shapes
I use the freezer paper method for the orange peel shapes but you could use the alternatives suggested for the circle.  Other tips:
  • Trim the corners to a slightly smaller seam allowance.  These are hard to turn neatly and without bulk.
  • Use a larger square for the background and mark the actual square size on the reverse, as with the circle.


  • Press the diagonal lines on the square to help alignment- see diagram.

  • It seems to work better in the centre if there is a light gap between the orange peel pieces rather than actually touching.   
  • I sew starting near the start of the centre point, sewing up to the point, tucking the excess fabric under the point and stitching round.  More stitches are needed at the tip of the points.


I haven't included the churn dash, triangle and arrow blocks as they are more basic quilt blocks and piecing methods are easy to find via Google.   It is worth noting that the centre square in the churn dash blocks is a B square not an A and this is not mentioned in the cutting instructions.   The only other thing I took care on was getting each block to the desired size.  I haven't stitched my first two sections together yet but you can see how they look.  It is a bit of a scrappy mish-mash but a very happy one!

Before I start part three which looks pretty straightforward, I am prepping the various hand sewing sections from parts four, five and six for some forthcoming trips away.  How is progress for you?  You can post your pics on Instagram using the hashtag #mysmallworldqal or add to the Flickr group.

sib blog

Sunday, 14 June 2015

June at Village Haberdashery

Time for my June visit to Village Haberdashery and I notice that the 'Christmas in July' is already starting with the arrival of Cotton + Steel's 'Tinsel' range and 'Spellbound' ready for Halloween too!  'Tinsel' in particular looks like it's selling fast too.


This collection includes quilting cottons and three different prints of brushed twill for extra warm and snuggly fabric.   You can see lots of projects using Tinsel min this post and Spellbound in this post.  You can also find matching Kona Cotton solid colours for Spellbound here.


Megan Nielsen recently released a new pattern and has started a revamp and rerelease of some of her older patterns featuring her sketches on the cover.  Brumby is the new kid on the block.  Deep feature pockets, a gathered skirt with a shaped waistband and exposed zip detail at the back in three lengths.  There's also Darling Ranges Dress with extra pieces for a straight dress and the Tania culottes.


There are many chambrays fabrics in the shop that would be perfect for the Brumby skirt.  Chambray Union  and the Chambray dots are both floaty and light fabrics.  The gathers should retain your modesty with these fabrics!  It would also work for the Tania culottes pattern too and the gathered version of Darling Ranges. 

 
The interweave Chambrays are a little heavier but will still gather nicely for a Brumby and would work well for the ungathered version of Darling Ranges.  These are Black and Lagoon.


Elosie Renouf's First Light Collection has just arrived with quilting cottons and also some canvas prints.  I loved Bark and Branch and First Light builds on that with a fresh colour palette and a mix of feature prints and quieter designs.   If you hurry there is a fat quarter bundle waiting to be won on the shop blog- entries in Sunday 14th June by midnight.


The canvas designs are great for simple bags and cushions.  I follow Eloise on Instagram and I love her mid century inspired style.  A flannel version of First Light with some new colours is due in soon too!


Liberty Tana lawn seems to be everywhere at the moment and Annie has some gorgeous patterns in stock.  This muted print, 'Hiro' is a beautiful colour and a subtle design which moves away from the traditional ditsy florals.  It would make a lovely Scout top or an Alder dress.


Camille is one of my favourite Liberty designs.  I would love to use this to make Tania culottes! 


These warmer months are my absolute favourites for dressmaking, even if it feels like summer is still waiting in the wings in the UK!  Enjoy x

sib blog


Friday, 12 June 2015

I Love Nani Iro Month: En Garden Factory Dress

My heart leapt when I received an email from Frances of Miss Matabi a few weeks ago asking if I would like to take part in her wonderful Nani Iro month of projects and gorgeous fabrics.  I couldn't write my response fast enough and within a short time, my fabric choice, En Garden Ki double gauze arrived.  It is an amazing colour, a green that matches my cutting board.  I am a big fan of green.


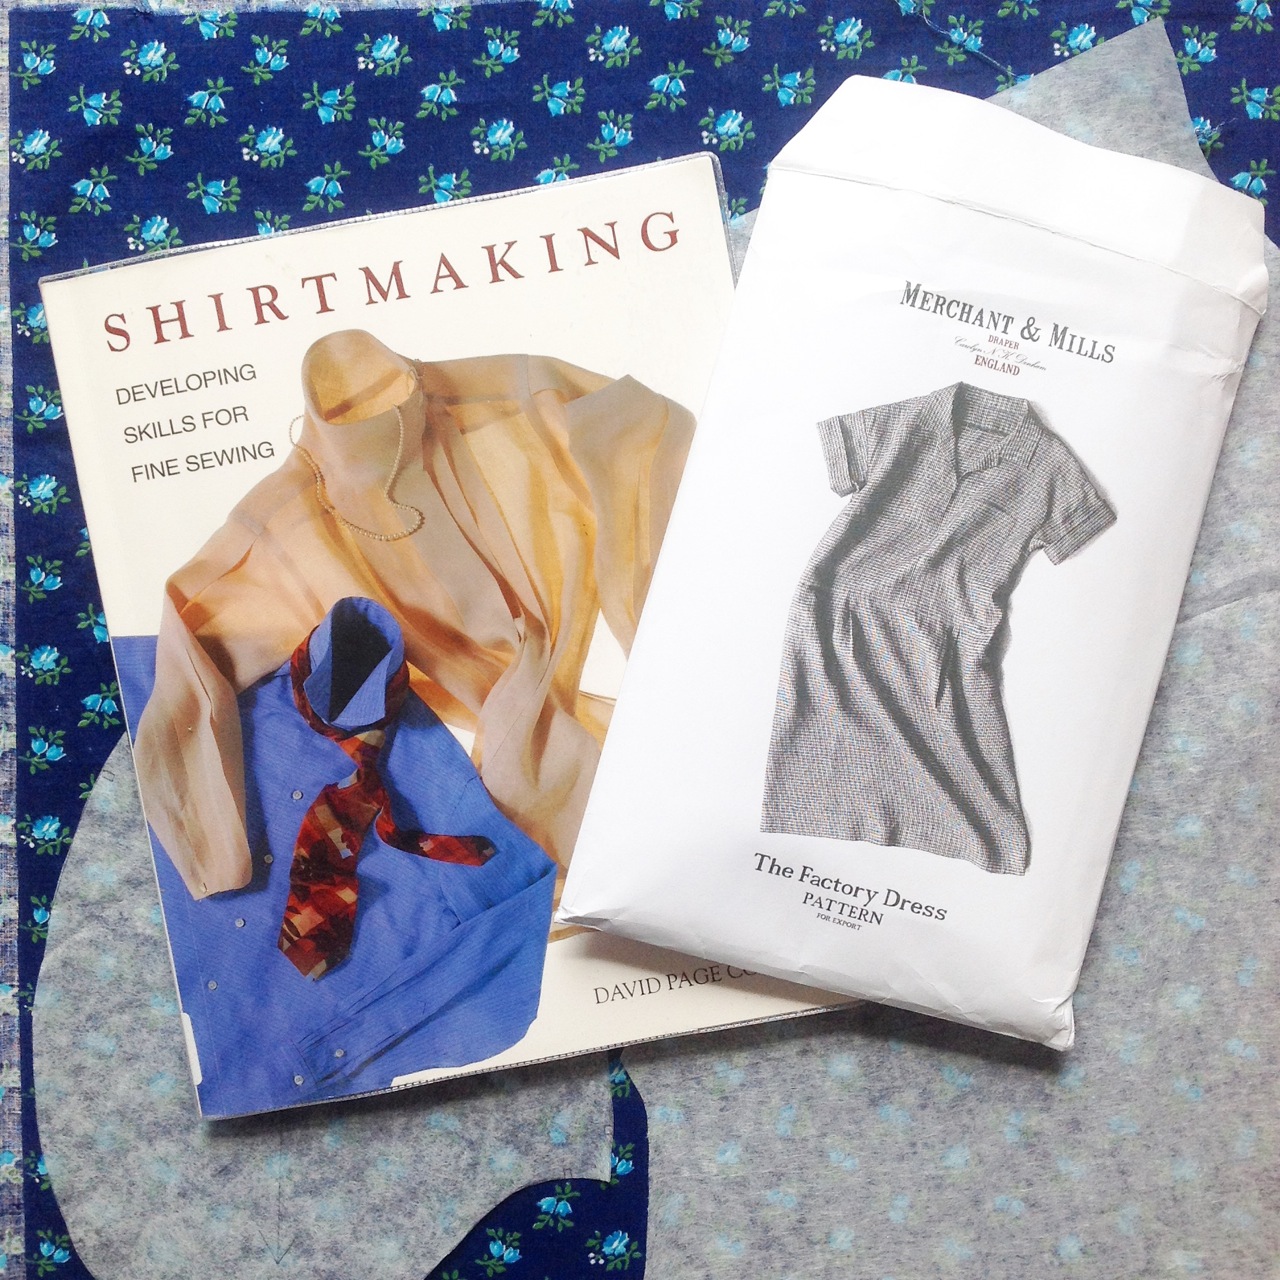
I didn't have an immediate idea of what I wanted to make.  I knew it would be a dress and I wanted it to be simple- avoiding zips, buttonholes or fiddly fastenings and making the most of the gorgeous print.   Sewing with double gauze reminds me a little of pastry baking: it needs minimal handling.  Not sure if it needs cold fingers too but you catch my drift.  After some dithering, I settled on the Merchant and Mills Factory Dress pattern but with some changes. The double gauze En Garden fabric definitely needed a prewash; it turned colour catcher jade green.


I sketched out my ideas in a Fashionary- a sketch book with the body 'croquis' already lightly printed on the paper.  I don't usually do this but it did help get my head around a few style variations.  I did my usual internet research to see what others had done with the dress.  Most people make it up in a neutral high quality fabric like a yarn dyed linen chambray or a light denim which looks lovely but for me it is a little like the sewing room with white walls and a single sewing machine on an empty white table- a dream that is never going to happen.  I like pattern, it lifts my spirit in the way plainer fabrics rarely can.     I find the revere collar style of the factory dress a little reminiscent of school uniform and games kit and prefer a collar with stand, so with a library copy of David Paige Coffin's wonderful tome, 'Shirt Making' I set about drafting a two coloured tower placket, a collar stand and a collar.  The benefit of using a placket is that the front piece is cut out of one piece of fabric and maintains the design.  I made a test garment first from some pretty but poor quality cotton found at a car boot sale and I was glad I did, it allowed me to make many mistakes and master the technique!


I used the Deer and Doe Bleuet collar and stand pattern pieces as a stating point and adapted the size to fit the existing neckline of the factory dress.  The front placket with point was in the book and I changed the length of the placket and kept everything else the same.   My contrasting fabric was some Oakshott cotton; the colour is discontinued but you can find similar here.  I added Perfect Fuse sheer tricot fusible interfacing to the placket, mainly to keep the edges stable on the double gauze section.  


Here are the other making stats.
  • Cut size 8 Factory Dress pattern and on reduced the bodice sides and waist by a total of 4"-an average of 1" on each side edge.   Repeated on the skirt pieces.  On the front skirt I took the inch from the centre top of the waist and kept the bottom half the same, grading the outside seam line.
  • Pattern used 2.5 metres of 110cm fabric.
  • Contrast fabric for stand up collar, part of the placket and the pockets.
  • Moved the bust dart points upwards by ¾" inch on each point.
  • Top stitched the shoulder seams and sleeve seams.
  • Changed the pocket construction so that the top of the pocket was caught in the waist seam rather than having pocket bags flapping around.  I used Christine Haynes Emery Dress pocket pieces and her construction method.
  • I added bias binding to the inside of the waist seam to neaten it up and have it smooth against the skin.  It looks a little uneven on the inside but on the outside there is a ¼" topstitching line to keep it in place.
  • The collar and stand were interfaced with prepared for dyeing bleach white Kona cotton following a suggestion in 'Shirtmaking'. The interfacing pieces is cut minus the seam allowances and glue basted to the wrong side of the collar and stand.  It is held in place temporarily by the glue and permanently by the top stitching.
  • The seams are sewn with Gutermann sew all poly thread but the top stitching was all done with Aurifil 50wt and a very small stitch.  Again a suggestion from 'Shirtmaking'.
  • I used a 75 ballpoint needle throughout.  I find ballpoint needles are brilliant for the thin threads and loose weave of double gauze. 
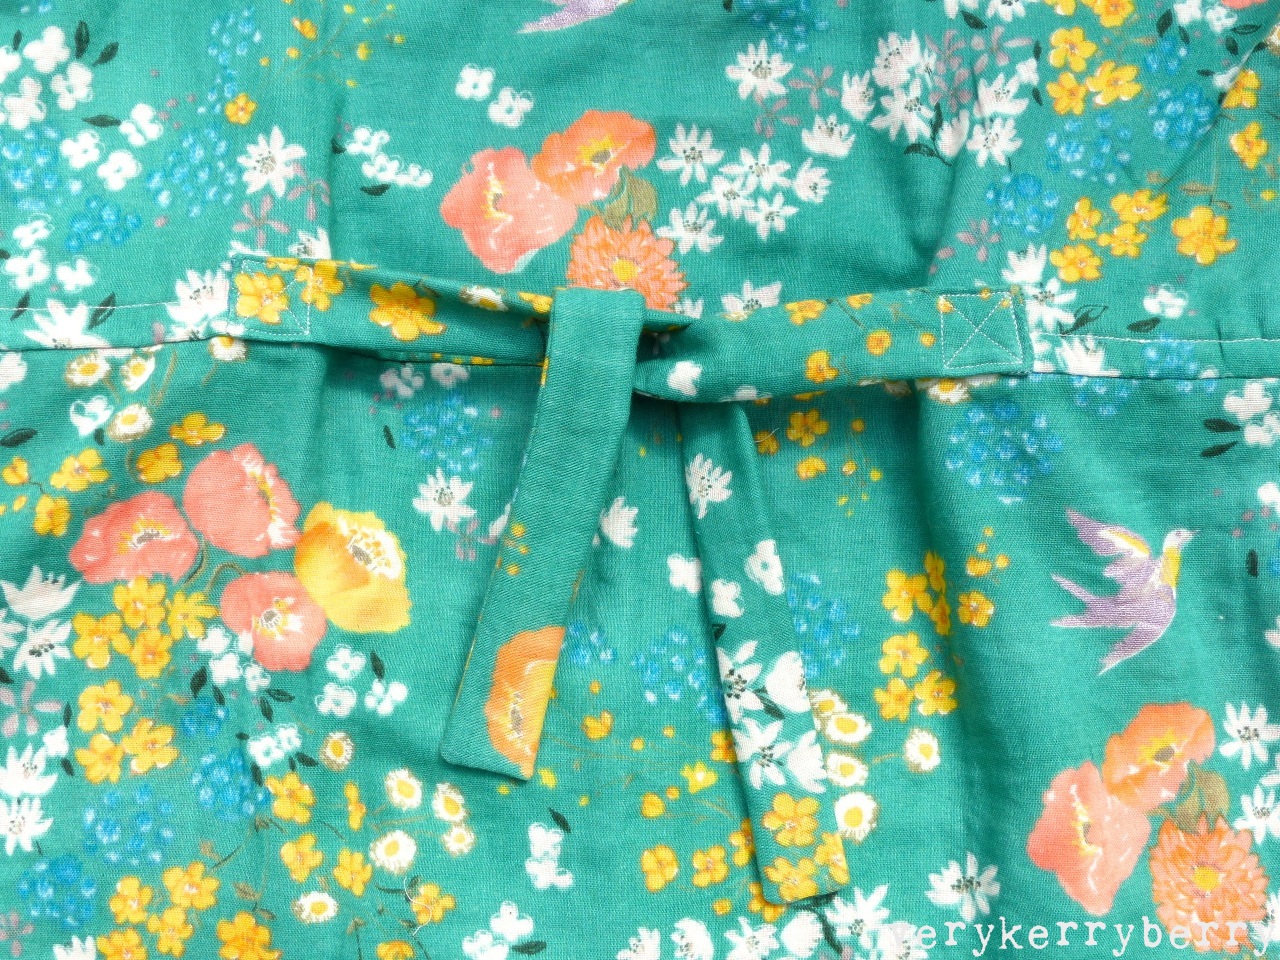
  • I added waist ties (pattern pieces from Darling Ranges dress pattern) placed 5" either side of the centre back as even after allowing for loose fit, the back was still baggy.  
  • I used seam tape for the hem.
As a finished garment, it is wonderfully comfortable.  Great for hot days and cooler days with a camisole underneath and maybe a hoodie.  A practical pretty dress that can take a day's sewing, a dog walk and time at the beach.  I am wearing it with this year's Saltwater sandals.  I buy a pair each year  and they are another pretty practical part of my wardrobe. The Merchant and Mills pattern is based on 1930s utilitarian factory wear for women of the time but my version has a more 1950s feel.   It reminds me of something my Grandmother used to wear.  Thank you Frances for sending such amazing material, it was an utter pleasure to sew.


Here are links to the other Nani Iro month contributors taking part this month.  If you join in and make anything from Nani Iro, or want to share pictured of your Nani Iro fabric stash, be sure to use the #ilovenaniro hashtag.

Straightgrain   ∆   noodlehead   ∆   Ute
A Little Goodness   ∆   SKIRT AS TOP   ∆   Cashmerette
Sew Little   ∆   imagine gnats   ∆   you & mie
And there is a frankly AMAZING giveaway with a big parcel of Nani Iro goodies worth $400 waiting for some extremely lucky person to win. It includes 20 metres of Nani Iro fabric, 6 rolls of bias tape, two signed books by Naomi Ito, sewing patterns and an extra surprise gift from Naomi Ito herself!   I know, my jaw dropped too.  Headover to France's blog and get your entry in, it is too good to miss!


sib blog


Tuesday, 9 June 2015

Verykerryberry at Me Being Crafty Podcast

A few weeks ago Tsoniki of 'Me Being Crafty' invited me to be interviewed for her podcast.  It was recorded a couple of weeks ago and has just gone live.  I was nervous about doing this but Tsoniki put me quickly at ease and once I got talking it was a fun thing to do!


You can listen to the podcast at Tsoniki's website or go to iTunes and download from there.  I talk about how and when I started sewing, how Penny and I work together at Sew-Ichigo, my love of spoken word and music, and about the My Small World quilt-along.  I hope you enjoy it!  I also enjoyed listening to Angela Pingel of Cut to Pieces and Charise Randall of Charise Creates plus Jess Van Den who was new to me but I found a lot to identify with in her interview.   I am a fan of podcasts generally, they are great company when you are sewing!
sib blog

Sunday, 7 June 2015

Goodbye Mindy

Goodbye to our funny little minxy moo cat Mindy.  I was there when she was born in a cupboard at my sister's house sixteen years ago and Damian and I were with her yesterday, holding and stroking her when she died.  Full of character, Mindy came into her own when she became our only cat.  Lover of hot spots, even ones that contained a dog in the shape of Lottie.  Hider under umbrellas.  A great chaser and nifty right hook when playing with a toy.  Lover of my most expensive cashmere cardigans.  Drinker of my bedroom glasses of water.   Nester in Damian's fleece.  A frequent companion during meditation moments and in my sewing room.  Very much missed xxx
sib blog

Tuesday, 2 June 2015

Me-Made-May 2015: Review

 A quick photographic summary of Me-Made-May-15.  I posted pics most days and these are most of them.

The weather tended to be cool so my long sleeved clothing saw a lot of wear and there weren't many days warm enough to bare skin.  I did sew a lot of clothing and I am currently working on a new dress based on Merchant and Mills Factory Dress but with changes.  The selfies were a pain but following the hashtag #mmmay15 brought new patterns to my attention and more talented sewists to follow.  Separates saw the most wear, which was no surprise and I need to continue adding to the jersey/stretch section of my wardrobe including yoga/sweat pants as they see a lot of wear.  Pyjamas are probably my most worn garment!  Thankyou Zoe for hosting, you can read her concluding post and thoughts here.  It is always a pleasure to take part and a delight to focus on clothing for much of May.  I didn't get to try out my Butterick pattern as commitments stacked up but hey, summer is not even here yet, loads of time! 
sib blog