Showing posts with label pillow. Show all posts

Tuesday, 27 January 2015

Pillow Gifting

Winter: a great time to make and gift pillows. not a great time to take photos of them.  This 'T' pillow is a 20" square informal log cabin design with a few extra squares. I designed it on Touchdraw to get the colours and proportions before I cut.


It was a  Christmas gift, requested by my nephew. 


I made my mum a 'Drawn Together' pillow using Sarah Fielke's pattern in 'Little Quilts'.  I must have forgotten to take a finished pillow picture! It is foundation paper pieced.


And this pillow, which was a pleasure to make (and a nightmare to photograph) was for my friend Kathy.  It celebrated her birthday and some shared memories with polaroid snaps on a formica style background.  The first person I saw make this polaroid style block was Corey- Little Miss Shabby, way back in the Ringo Pie Bee.  I made these these same size as a real polaroid.


It is a great block to paper piece and obviously, it is a fussy cutter's perfect block.  The background fabric is Doe, Intersections in Sky. The binding is Joel Dewberry's Woodgrain in Bark.


The bonus is these pillows are all within walking distance of my house, I can visit them whenever I please!

sib blog

Thursday, 29 December 2011

Forwards

Christmas was lovely.  Yesterday was very long, 450 miles on the train up and down the country to my Grandad's funeral.  A long and sad day but a funeral shouldn't really be anything else.  I don't like to dwell, I won't be posting all my makes of the year or anything like that.  I like to see these elsewhere but generally when I have made something I like to move on to the next project, get the creative buzz from figuring out how I am going to make the new idea.  This is handy, it makes it easy to pass on bee blocks, swaps and presents, I don't like to look back only forwards.
This pillow was for my sister.  Aneela's wonderful Walk in the Woods fabrics and a few others!
These fabrics are on sale in the Spring.  But just in case you still pine for a little Christmas, look at her festive fabrics for next year.  
Concealed zip, I don't do my pillows any other way now.
The back is simple parallel quilting and the main print is a Cosmo Cricket fabric given to me by Anna ages ago.  It matched perfectly.
There are some texty treats scattered around to make my sister laugh and my nephew too.  We have a puerile sense of humour but it can't be helped.
Now, Bee blocks to finish...off I trot
sib blog

Monday, 5 December 2011

Petal Pillow with a Pocket Pattern Giveaway

Thankyou for the well wishes, it is working, nearly better.  Meanwhile a giveaway...  Nova asked me to pattern test her first commercial pattern and knowing her style I said yes straightaway!  A great concept, Dresden style pillow/cushion with a pocket.
My version is for my granny.  I am on pretty safe territory when I say she won't be online so I can show her Christmas present without a spoiler alert.  A back view, shame I got the Alexander Henry Orchard print apples were upside down but the zip was well and truly in by the time I realised.  The pattern gives instructions for an easier envelope back.
All the fabrics are chosen with her in mind.  She loves gardening and flowers and birds and still tends her garden.  Lecien Grandmother's flower garden print with the green background and the pink version for the pocket.  The petals are a mix from my stash, new and vintage.  The Annie's seed catalogue print was especially good, Green is our family name, so that petal couldn't be more appropriate.
This is my Leila style pose- Hi Leila!
I added some hand stitches to random petals and echo quilted around the edge of the petals.  It is such a pretty result, I would be very happy with this myself but I know that Mabel will really enjoy this.  I doubt the is going to be putting quilting booklets in the pockets- I was thinking Mills and Boon, tissues and a pop sock.   It is a lovely pattern with clear instructions, plenty of tips, photos and lots of detail for making two versions- pointy petals and round petals.   I made my pillow a little smaller than the 20 inches suggested as I had a 18 inch pillow ready and it all worked beautifully.  There is room for playing around a little- I made my pocket a bit smaller too so I could show off more of the petals.  Nova is selling the pattern here but, one lucky reader here gets to win a freebie.
To enter the giveaway, please tell me what would you put in the pocket, 
Extra entry if you follow me
Extra entry if you follow Nova
I need your email either in your profile or in your entry- this style is good 
kerrykit at yahoo dot co dot uk
 or check if you are a no reply blogger with no visible email here
I won't be replying to these as technically it is a competition and I guess I shouldn't.  I will draw a winner Friday morning so entries in by 6am GMT Friday 9th Dec, random number  choses the winner.
Good luck x
Edited to add- a winner has been drawn, comments are now closed
sib blog

Friday, 4 November 2011

Scandinavian Christmas Tree- Free Pattern Download!


It has been a hectic few days, my Scandinavian Christmas Tree cushion pattern is now available to download for free at The Sewing Directory
I wanted to take a pic of the cushion with my new machine which came yesterday!  However, it is pouring with rain, grey a gloomy, too dark for photos so here are a few from last night.side by side view taken last night: new giant Memory craft Quilter's Companion 5900 next to my little Jem.
side by side view: new giant Memory craft Quilter's Companion 5900 next to my little Jem
I was very fortunate to win a Janome as all the feet will work on the new machine- it comes with many more too.  It ways a tonne!  I have already been sewing, working on Christmas paper piecing patterns- sews like a dream and it really is like they say- "whisper quiet!"  I cannot say a big enough thankyou to Fiona at Sewing Directory for organising and holding the competition, to the judges at David and Charles, Janome and Cloth for choosing my design, and of course to Janome for providing the most perfect prize.  This is the machine I always wanted but couldn't afford to buy!  There is of course the other fantastic prize: being published by Cloth for the winter issue, out early December!
And this is what I tested on my new uber machine, a preview of my new paper piecing pattern, Candy Cane available soon!  

sib blog

Monday, 24 October 2011

Pillow talk

BWS tips button
Are you ready for a little pillow talk... I hope you can tell I am using my most alluring voice for this!  Yeah right!  This is really a post about friendship.  Many of you have seen this pillow before and I always feel a little guilty about reposting an item but I wanted to take part on Brigitte's feature so here goes.
This pillow was a house warming present for Ayumi on her big move back to Japan.  So why this design? Having got caught up in the traditional blocks of The Farmer's Wife quilt-a-long, I found many of my favourites were friendship blocks and I started looking for more- 5,500 Quilt Block Designs was a great source!  The pillow features 9 different friendship block designs.  My favourite is in the centre, the corners all feature an X type design and I balanced out the other blocks in a + pattern.  The brightness and the business of the fabrics make the blocks merge but I have cropped a few so you can see individual blocks
Each block has a mini theme going on.  This block has a sweet food theme.
The top one with the tea pot is about home, comfort and tea!
The bottom block is  all about text and a love of typography.
Ayumi loves pink and I like pink/green together so I set out to see if I could make the whole thing work in a limited palette.  There is a mix of modern and vintage fabric something we both like and the design had a simple lattice quilting- there was enough going on with the fabrics
Pillows make great presents so if you want to be inspired in time for Christmas, head over to Brigitte's blog and have a look at the other designs for this month and previous months- there is a lot of inspiration to be had and just about time to enter your own- I day 13 hours when I last looked!
sib blog

Friday, 9 September 2011

Courthouse Steps Cushy Pillow 1

I thought it was time to get started with this, my arms are a bit sore so I can't race along and  I am breaking this tutorial down so you can see it as I make it and then I will collate all the posts into one big tutorial at the end.  The finished size of the pillow will be 18 inches- perfect for a plump look with a 18 or 19 inch inner or looser with 17 or 16 inch pad.  I sketched out the design- I like to do this on paper not a screen, quicker and more responsive.  You can see it is made of 9 blocks, each block is 6.5 inches unfinished.  I am going  to call the shapes that make up these blocks lanterns and half lanterns- makes life easier!
I am using a mix of grey and yellow plus black.  There are lots of possibilities, you could stick to 3 fabrics, or go for solids- all would look good.   I did contemplate scrappy lanterns in greys and yellows too with a big mix of fabrics in each- might try that another time as I think it will look good.  But this time, I went for 1 fabric per lantern.   I pulled all they grey fabrics I had that were similar in tone.  I have 6 varieties and you can see there are 6 whole lanterns and 6 half lanterns so some grey fabrics will be used more than once.  For the yellow I am going to alternate between a light yellow lantern- you can see these at the top of the fabric pic below- and darker yellow lanterns, fabrics seen at the bottom.  Again 6 whole lanterns and 6 half lanterns so some yelllow fabrics will repeat.
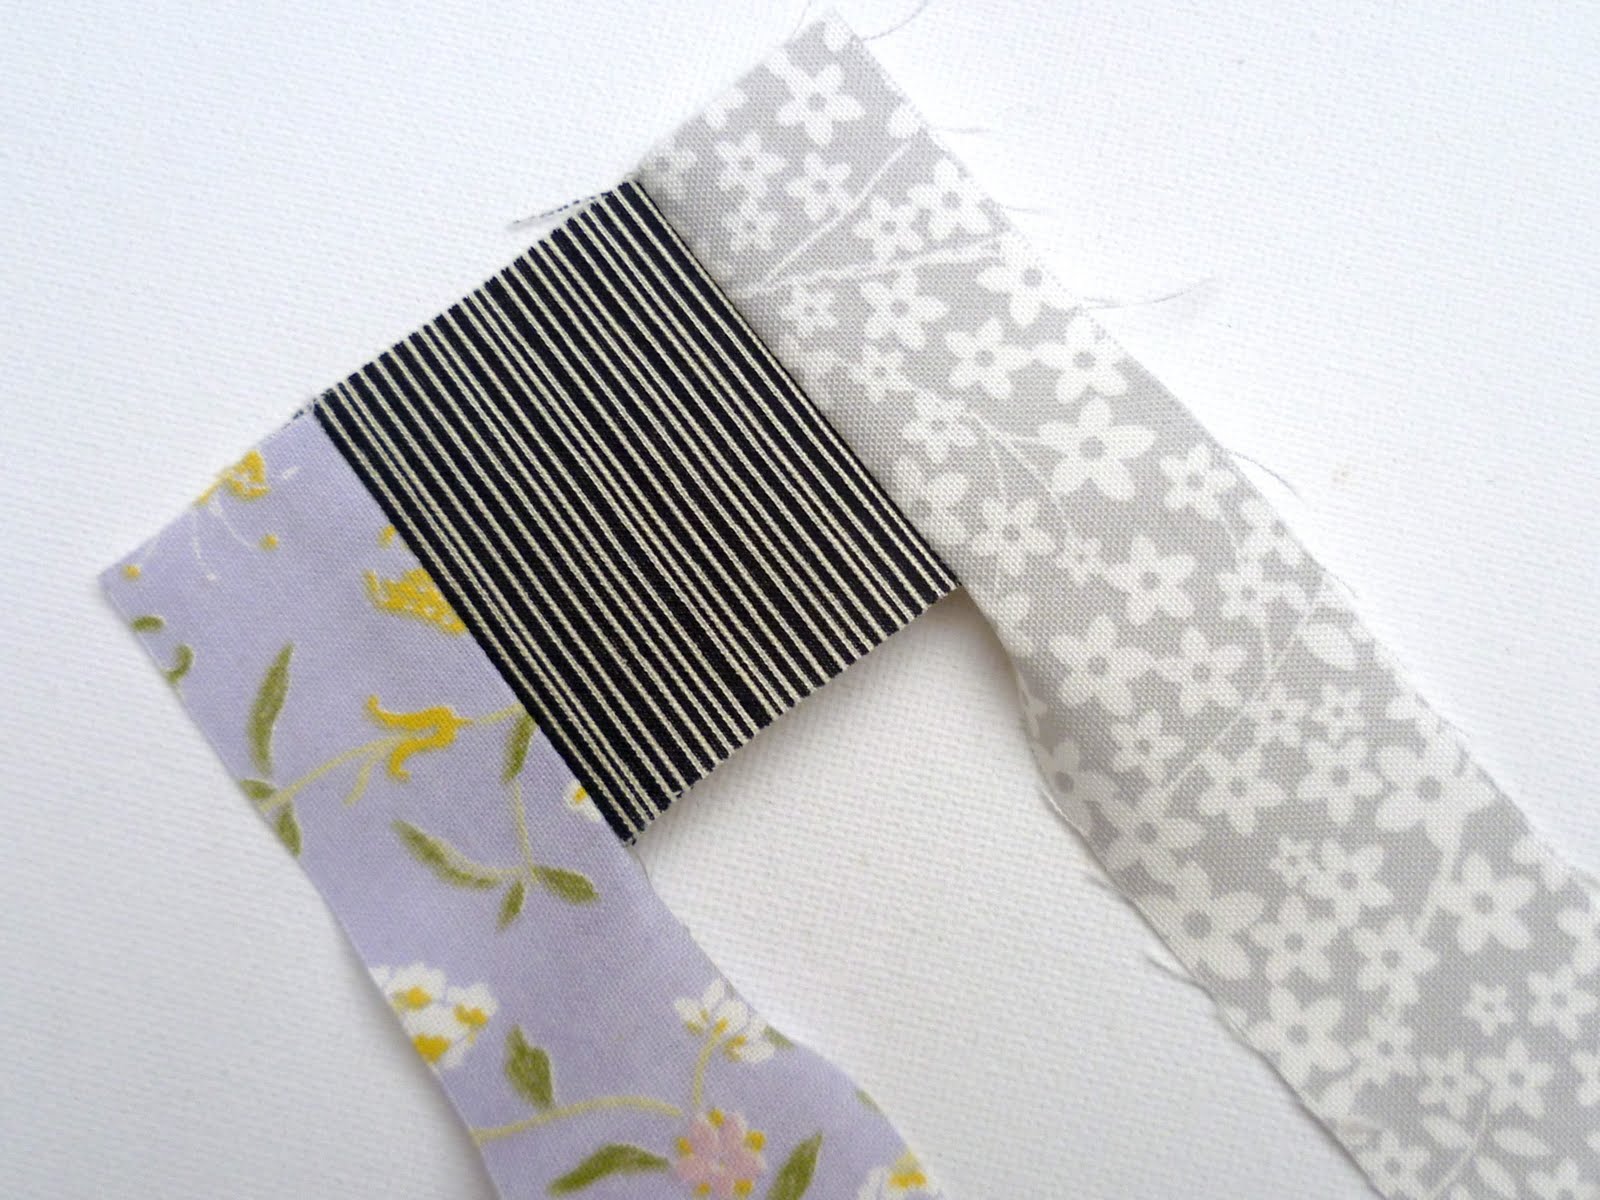
For the centre of each block you will need a 2 inch square of contrasting fabric.  When cutting fabrics for piecing I cut slightly generously with ruler line on the fabric, in fact the fabric runs very slightly under the line.  You can see on the pic below how I would line it up for cutting 1 inch strips.  This allows for the tiny amount of fabric lost by the line of stitches and  the pressing process and prevents your blocks from getting too small.  You will need 9 of the 2inch squares for this cushion, I used black fabrics for these.
All the other strips are 1.25 inches wide, I cut a couple accross the width of each fat quarter- that will easily cover one whole lantern and then cut more if I need them.  After the first block a bit of planning is needed to make sure your e lanterns match up across the blocks. For my blocks I will always need to start with the grey fabrics on the left and right edges of the centre squares.   I stitch with small stitches 1.5 length so no securing is needed.
 Press, flip the fabric over so the wrong side is facing you and then lay your cutting rule on top.  At each stage of the block, as you add 2 strips at a time, the block should square up to fit along the inch or half inch lines.  I even my block out each time.  When the first strips are added it will measure 3.5x 2 inches.
The next two strips in yellow take the block to 3.5 inches square, you can see untrimmed below
and trimmed here!  The seams are always pressed outwards.
A front view of the same stage.  Keep adding alternating 2 yellow strips, 2 grey strips and using your rule to square off your block each time- it will alternate between rectangle and square and will line up with the inch and half inch lines!
On the next 2 strips you can see top left that my seams didn't quite meet, don't worry- its fixable!
Here it is in close up...
 When I added on the next grey strips, I lined them up with the taller white and yellow fabric so the grey flowery fabric had one edge that was under a quarter inch, (see below). The little 1.5 stitches will hold it all together fine and the block will end up the right size instead of shrinking.

And the finished block 6.5 inches square.  You will need 9 of these in total.  I sew mine together in lines of three as I completed them.
 I sew mine together in lines of three as I completed them.  Still some more to do yet, I am having to go slow at the moment.  You can see how the fabric matching works in this pic. 
See you when 9 are complete.  Meanwhile Tamiko is doing a Courthouse Steps tutorial - this is foundation paper pieced with a, check in at her blog to see what she comes up with- it is a beauty!
sib blog