Showing posts with label cushion. Show all posts

Tuesday, 31 December 2019

Happy New Year

 I thought I'd sneak back to the blog to wish you all a happy new year!  I've been busy catching up with family, working (extra commission work that fell over late December) and creating presents for the festive period.  I thought I'd share my makes now they've been gifted- click on any photo to see larger:

Firstly a quilt-as-you-go gentle crazy cat lady cushion for my sister.  All the prints were chosen for sentiment as well as colours and it elicited a shared understanding of why they were selected as it was opened which gave me an inner glow of happiness.  This is a large cushion, 22" square with soft and squishy cushion form. This method takes a long time but the texture and end effect are worth it.  There's an invisible zip across the top seam.


Next, a requested cushion for my nephew.  He likes one each year so has quite the collection and my design task is to include his name/initials otherwise, I have free rein. He is adventurous with colour which is tremendously helpful.  This cushion started with the Cotton+Steel pop bottles and flowed from there using stash fabrics.  The letters are from a fabulous Japanese alphabet patchwork book, 'Moji Patchwork' by Kumiko Fujita and Kazue Nakaima.  Amazon Japan, Yesasia or Etsy are the most likely places to find this title.


Finally, my brother requested a denim apron.  I've made quite a few aprons like Japanese cross-back designs and children's aprons so I really enjoyed this challenge. It's good quality denim in blue/black. The tape is cotton webbing traditionally used for finishing carpets.  I found a series of apron designs that I liked online and fused my favourite elements to make a one-of-a-kind design. The top pocket is large enough for a phone and pen, the lower pockets can fit hands or a tea towel and the cross back ties threaded through bronze grommets give an adjustable fit. 


When it's been dry we've headed to the beach for breezy walks which is always my happy place.  It's been a hard year, saying goodbye to our sweet dog Lottie, welcoming gorgeous Joni but also finding she had many complex needs- I am so grateful to our vet who is amazing.  There have been other challenges as ever to deal with but ultimately I am grateful we are here with each other to start a new year. 

Friday, 4 November 2011

Scandinavian Christmas Tree- Free Pattern Download!


It has been a hectic few days, my Scandinavian Christmas Tree cushion pattern is now available to download for free at The Sewing Directory
I wanted to take a pic of the cushion with my new machine which came yesterday!  However, it is pouring with rain, grey a gloomy, too dark for photos so here are a few from last night.side by side view taken last night: new giant Memory craft Quilter's Companion 5900 next to my little Jem.
side by side view: new giant Memory craft Quilter's Companion 5900 next to my little Jem
I was very fortunate to win a Janome as all the feet will work on the new machine- it comes with many more too.  It ways a tonne!  I have already been sewing, working on Christmas paper piecing patterns- sews like a dream and it really is like they say- "whisper quiet!"  I cannot say a big enough thankyou to Fiona at Sewing Directory for organising and holding the competition, to the judges at David and Charles, Janome and Cloth for choosing my design, and of course to Janome for providing the most perfect prize.  This is the machine I always wanted but couldn't afford to buy!  There is of course the other fantastic prize: being published by Cloth for the winter issue, out early December!
And this is what I tested on my new uber machine, a preview of my new paper piecing pattern, Candy Cane available soon!  

sib blog

Friday, 9 September 2011

Courthouse Steps Cushy Pillow 1

I thought it was time to get started with this, my arms are a bit sore so I can't race along and  I am breaking this tutorial down so you can see it as I make it and then I will collate all the posts into one big tutorial at the end.  The finished size of the pillow will be 18 inches- perfect for a plump look with a 18 or 19 inch inner or looser with 17 or 16 inch pad.  I sketched out the design- I like to do this on paper not a screen, quicker and more responsive.  You can see it is made of 9 blocks, each block is 6.5 inches unfinished.  I am going  to call the shapes that make up these blocks lanterns and half lanterns- makes life easier!
I am using a mix of grey and yellow plus black.  There are lots of possibilities, you could stick to 3 fabrics, or go for solids- all would look good.   I did contemplate scrappy lanterns in greys and yellows too with a big mix of fabrics in each- might try that another time as I think it will look good.  But this time, I went for 1 fabric per lantern.   I pulled all they grey fabrics I had that were similar in tone.  I have 6 varieties and you can see there are 6 whole lanterns and 6 half lanterns so some grey fabrics will be used more than once.  For the yellow I am going to alternate between a light yellow lantern- you can see these at the top of the fabric pic below- and darker yellow lanterns, fabrics seen at the bottom.  Again 6 whole lanterns and 6 half lanterns so some yelllow fabrics will repeat.
For the centre of each block you will need a 2 inch square of contrasting fabric.  When cutting fabrics for piecing I cut slightly generously with ruler line on the fabric, in fact the fabric runs very slightly under the line.  You can see on the pic below how I would line it up for cutting 1 inch strips.  This allows for the tiny amount of fabric lost by the line of stitches and  the pressing process and prevents your blocks from getting too small.  You will need 9 of the 2inch squares for this cushion, I used black fabrics for these.
All the other strips are 1.25 inches wide, I cut a couple accross the width of each fat quarter- that will easily cover one whole lantern and then cut more if I need them.  After the first block a bit of planning is needed to make sure your e lanterns match up across the blocks. For my blocks I will always need to start with the grey fabrics on the left and right edges of the centre squares.   I stitch with small stitches 1.5 length so no securing is needed.
 Press, flip the fabric over so the wrong side is facing you and then lay your cutting rule on top.  At each stage of the block, as you add 2 strips at a time, the block should square up to fit along the inch or half inch lines.  I even my block out each time.  When the first strips are added it will measure 3.5x 2 inches.
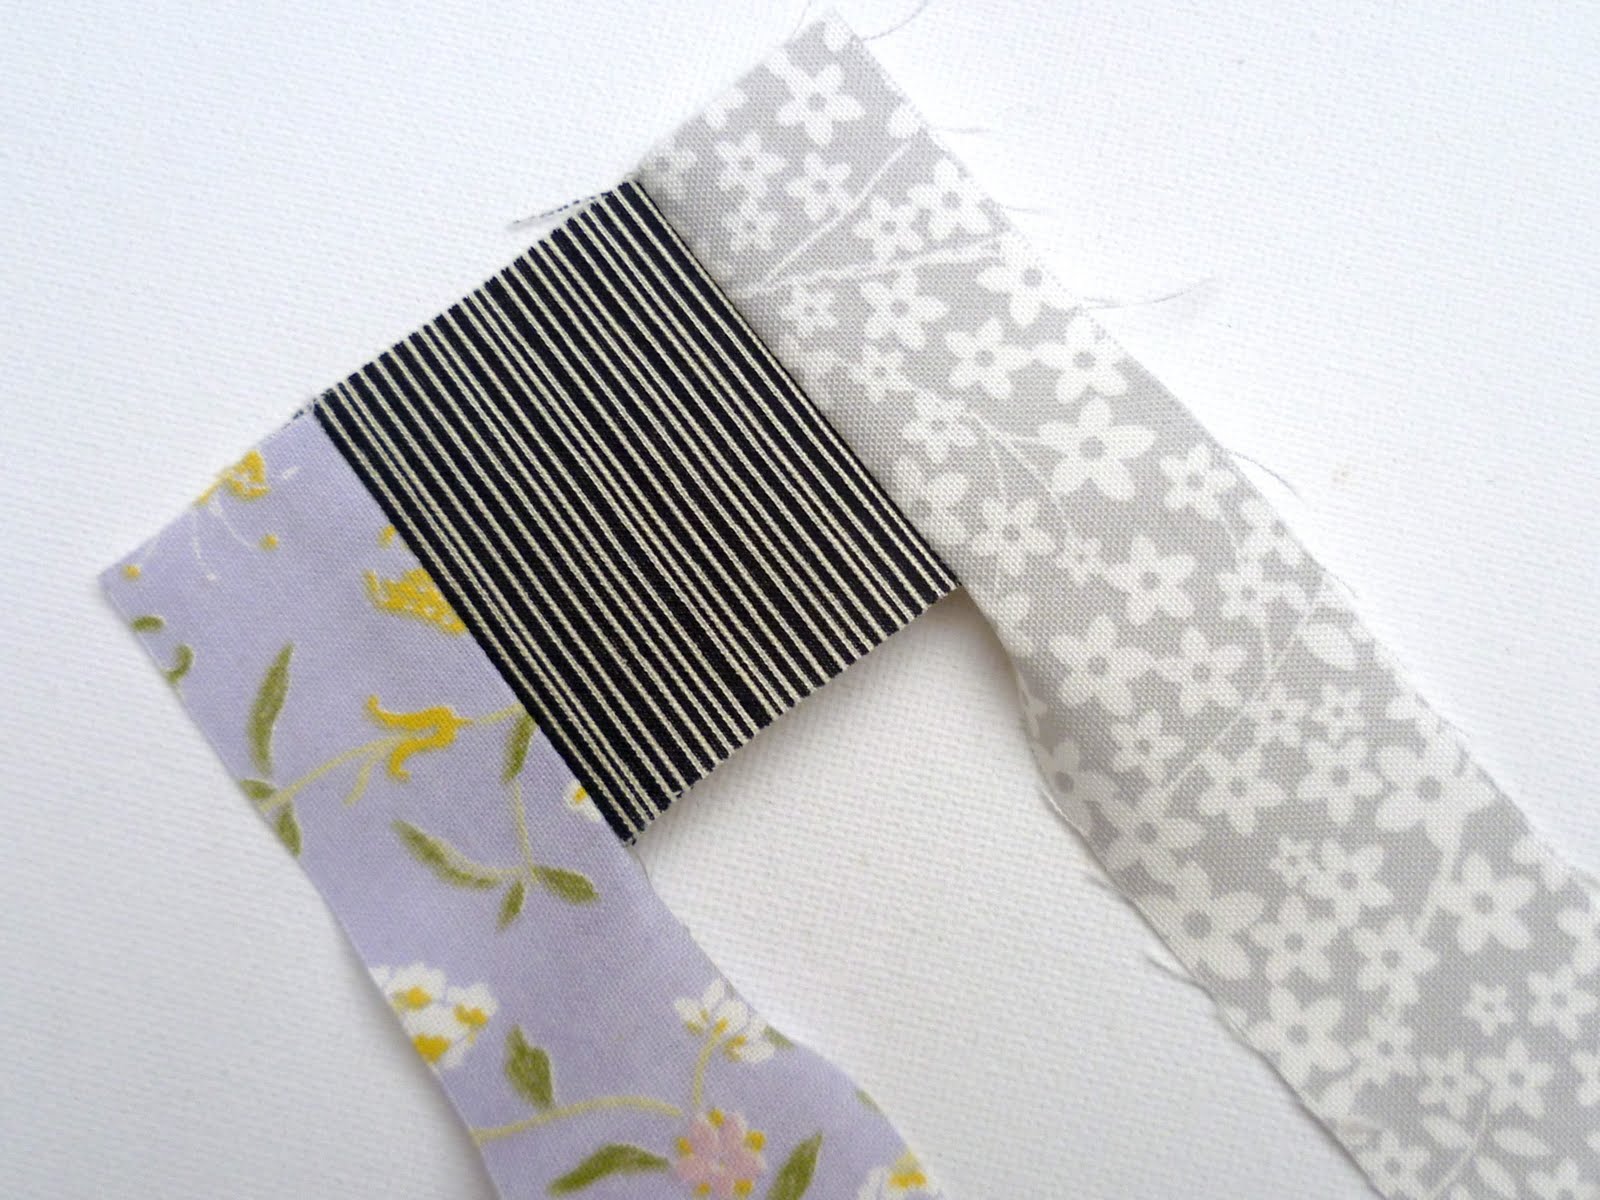
The next two strips in yellow take the block to 3.5 inches square, you can see untrimmed below
and trimmed here!  The seams are always pressed outwards.
A front view of the same stage.  Keep adding alternating 2 yellow strips, 2 grey strips and using your rule to square off your block each time- it will alternate between rectangle and square and will line up with the inch and half inch lines!
On the next 2 strips you can see top left that my seams didn't quite meet, don't worry- its fixable!
Here it is in close up...
 When I added on the next grey strips, I lined them up with the taller white and yellow fabric so the grey flowery fabric had one edge that was under a quarter inch, (see below). The little 1.5 stitches will hold it all together fine and the block will end up the right size instead of shrinking.

And the finished block 6.5 inches square.  You will need 9 of these in total.  I sew mine together in lines of three as I completed them.
 I sew mine together in lines of three as I completed them.  Still some more to do yet, I am having to go slow at the moment.  You can see how the fabric matching works in this pic. 
See you when 9 are complete.  Meanwhile Tamiko is doing a Courthouse Steps tutorial - this is foundation paper pieced with a, check in at her blog to see what she comes up with- it is a beauty!
sib blog