Wednesday, 14 July 2010

Pincushion caddy- tricky

Click to enter the GIVEAWAY!

Since I saw it in Anna Maria Horner's book Seams to Me I have wanted to make the Pincushion caddy.   I have made one for my Modern Swap partner but I am not quite happy with it.  It requires surgery!


You can see the puckers where there is just not enough stuffing- this section was furthest from the opening.  When I make the next one, I left 2 openings at opposite sides to avoid this.  Seamripper out for this one.

This is a tricky pattern.  These things help.
  1.   I used Melanie's (Texas Freckles) great customiser download which helps to get the inner tube and the circles the right side.
  2. Two openings (see above!)
  3. zigzag to finish off the top and bottom of the ball shape- makes all the joining up easier and maintains the shape through the turning through stage.  Also zig zag the seams that make the stuffing gaps- separately not together- this makes the hand stitching easier- no frayed edges.
  4. I didn't use interfacing- only because I couldn't find my heavyweight stuff- I used plastic canvas.  You need to allow enough width in Melanie's calculations to overlap to make the cylinder and inch for a half inch overlap works well..  Otherwise it will look like this!  I learnt the hard way needless to say. I even thought the fabric would hold it like this and almost finished the caddy until I realised that it needed to come out.

I learnt the hard way needless to say. I even thought the fabric would hold it like this and almost finished the caddy until I realised that it needed to come out.  When overlapped the plastic canvas  holds up really well to the pressure from the stuffing and when it comes to attaching the tube lining and bottom inner circle it is great for stitching on to with hidden stitches and keeping everything in the right place.

It was a challenge but it is rewarding in the end. This one is in one of my parner's favourite colour combos


Couldn't resist a bit of text and ornamentation


I then decided I needed one too- bit of a way to go yet...


Saturday, 10 July 2010

Needle Case

Giveaway here


I am taking part in an international Applique Needle Case Swap.  It is closed now but there is a free pattern that available if you want to make it.  I got my swap partner's details yesterday.  She likes muted antique style patterns and colours so making this was an exercise in restraint to hopefully make a case to her taste!


I did attempt hand applique using freezer paper but it was too fiddly for me to master and my hands can't take lots of tiny pinch movements needed to turn the edges.  I was also making a complete fist of it so I went for what I know- heat n bond lite and machine applique.  The flower fabric is a repro fq from my trip to the V and A and most of the other fabrics are from a Japanese sweetie bag of bits I bought from a quilting show a few months ago, lovely quality and very gentle colours.


I always like to use text fabric if I can and this was a suitable delicate print, I think it is by Lecien.  The tape holders are an idea from Sew Darn Cute,  a great book with simple but cute ideas


A bit more text on the back- this is the first time I have used one of my labels- it doesn't like the iron, I had to be careful!


I pressed the binding when I did the mitred corners- I usually just use my fingers but it made a big difference, my corners were much better than usual!  I also managed diagonal seam joins without doing it wrong- I have a bit of a mental block about which way the diagonal goes- often needs unpicking.  I did however manage to bang my head on a metal curtain rail that was waiting repair- too much concentration on binding- I have a bump and a visible red/purple mark right on the forehead, it will look good as it changes colour!


My computer is going to the Apple shop for some repairs- we don't like to be separated.  Hopefully it will be brief but just Damian's laptop to be going on with and I don't like the little cursor pad.  I suppose I  will sew more in the time I save not looking at blogs and pictures and all the lovely things you all make!  

Back soon xxx

Busy

Click here for the GIVEAWAY!


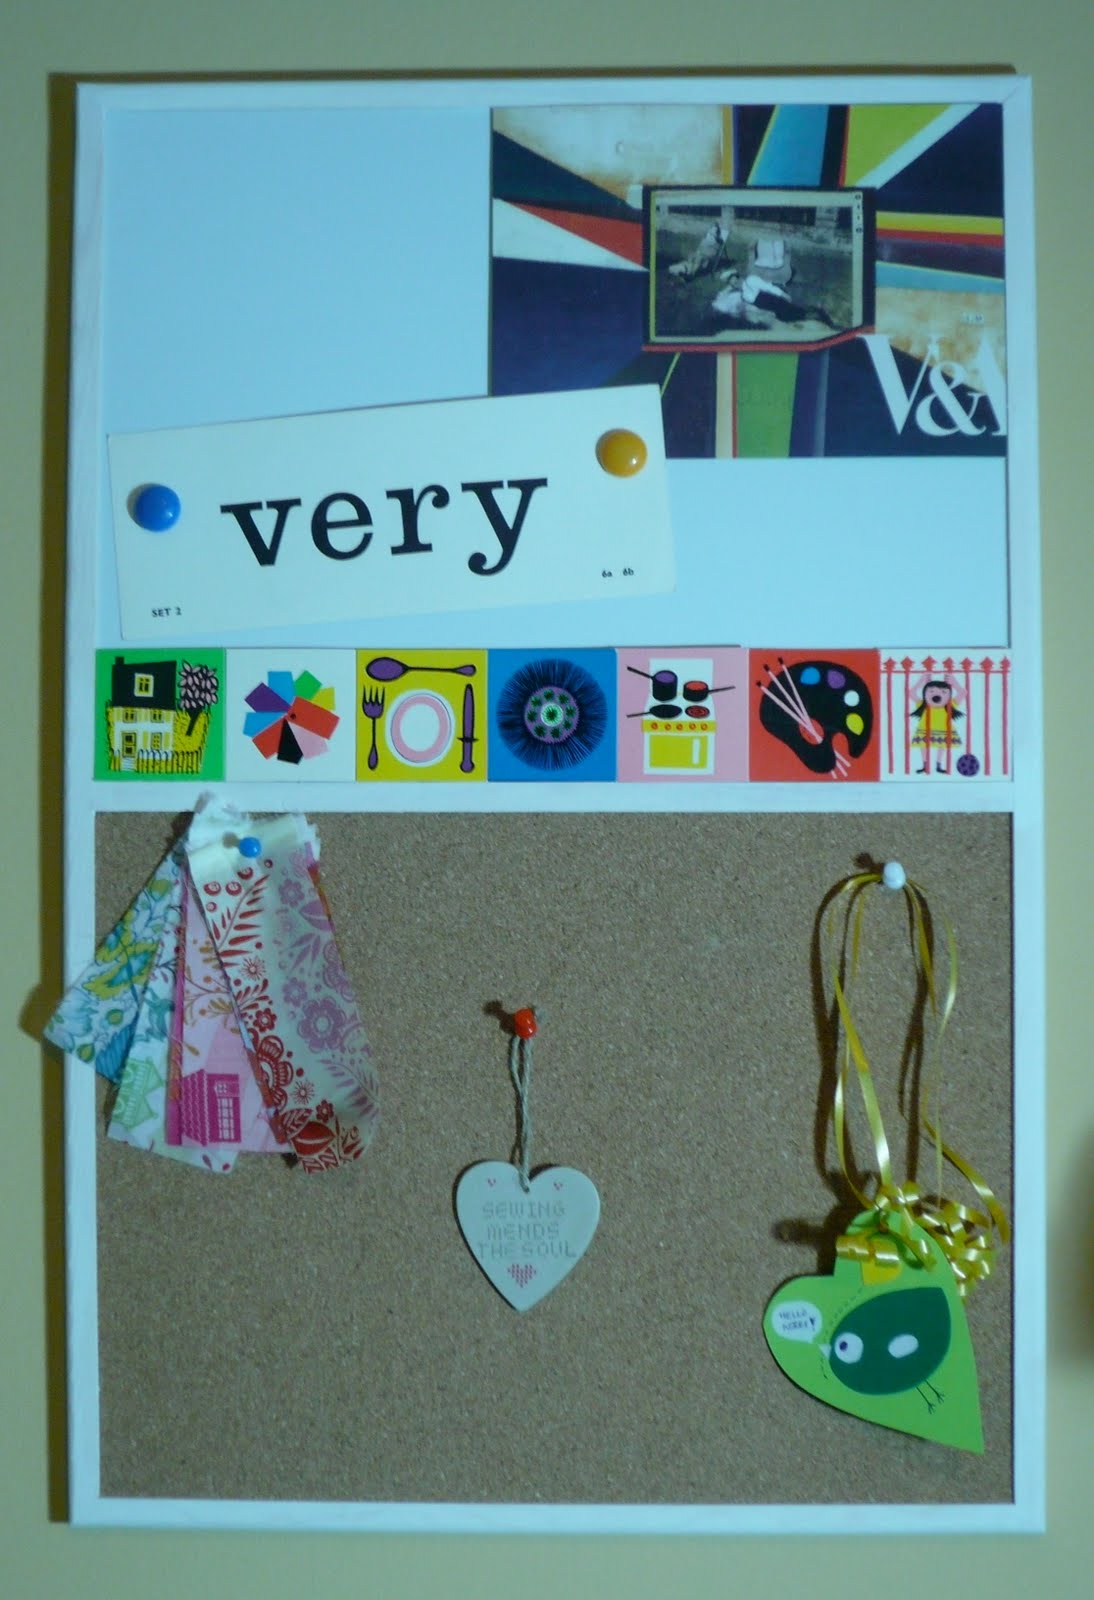
Even Damian said I should do some sewing today, it was a busy day- I got a lot done.  Started with  a notice board- got a cheap one from a local shop but the wood looked like it would benefit from a bit of paint.  I am in some ways very tidy and well organised but in other ways just plain messy.  Even with masking tape and plastic I got paint all over myself


No mishaps though and by the end of the day it looked like this


The 'very' was from my sister- she bought an old set of flash cards.  I have been looking for an excuse to get the Galt Memory, Memory cards up somewhere.   It needs more on it but I never have a problem accumulating stuff!

I had some deliveries yesterday and today- from UK and USA with some great fabric.  Saints and Pinners are doing great little scrap dotty rolls and  bought 2 fQs


Fabric Rehab are also doing scrap packs, I bought 4, some fantastic Japanese fabrics were included


I have seen so many other UK bloggers mentioning deliveries from these same UK shops- they must've been busy.  I like them to do well, it has been so hard until recently to find a good selection of these types of fabrics here.
And finally an Etsy seller Auburn Studios is having a clear out, I bought a lovely selection, I have plans for these...


Summer holidays are a good time for sewing, I have more time and my work load is much lower. 
Can't wait! 


Thursday, 8 July 2010

GIVEAWAY!

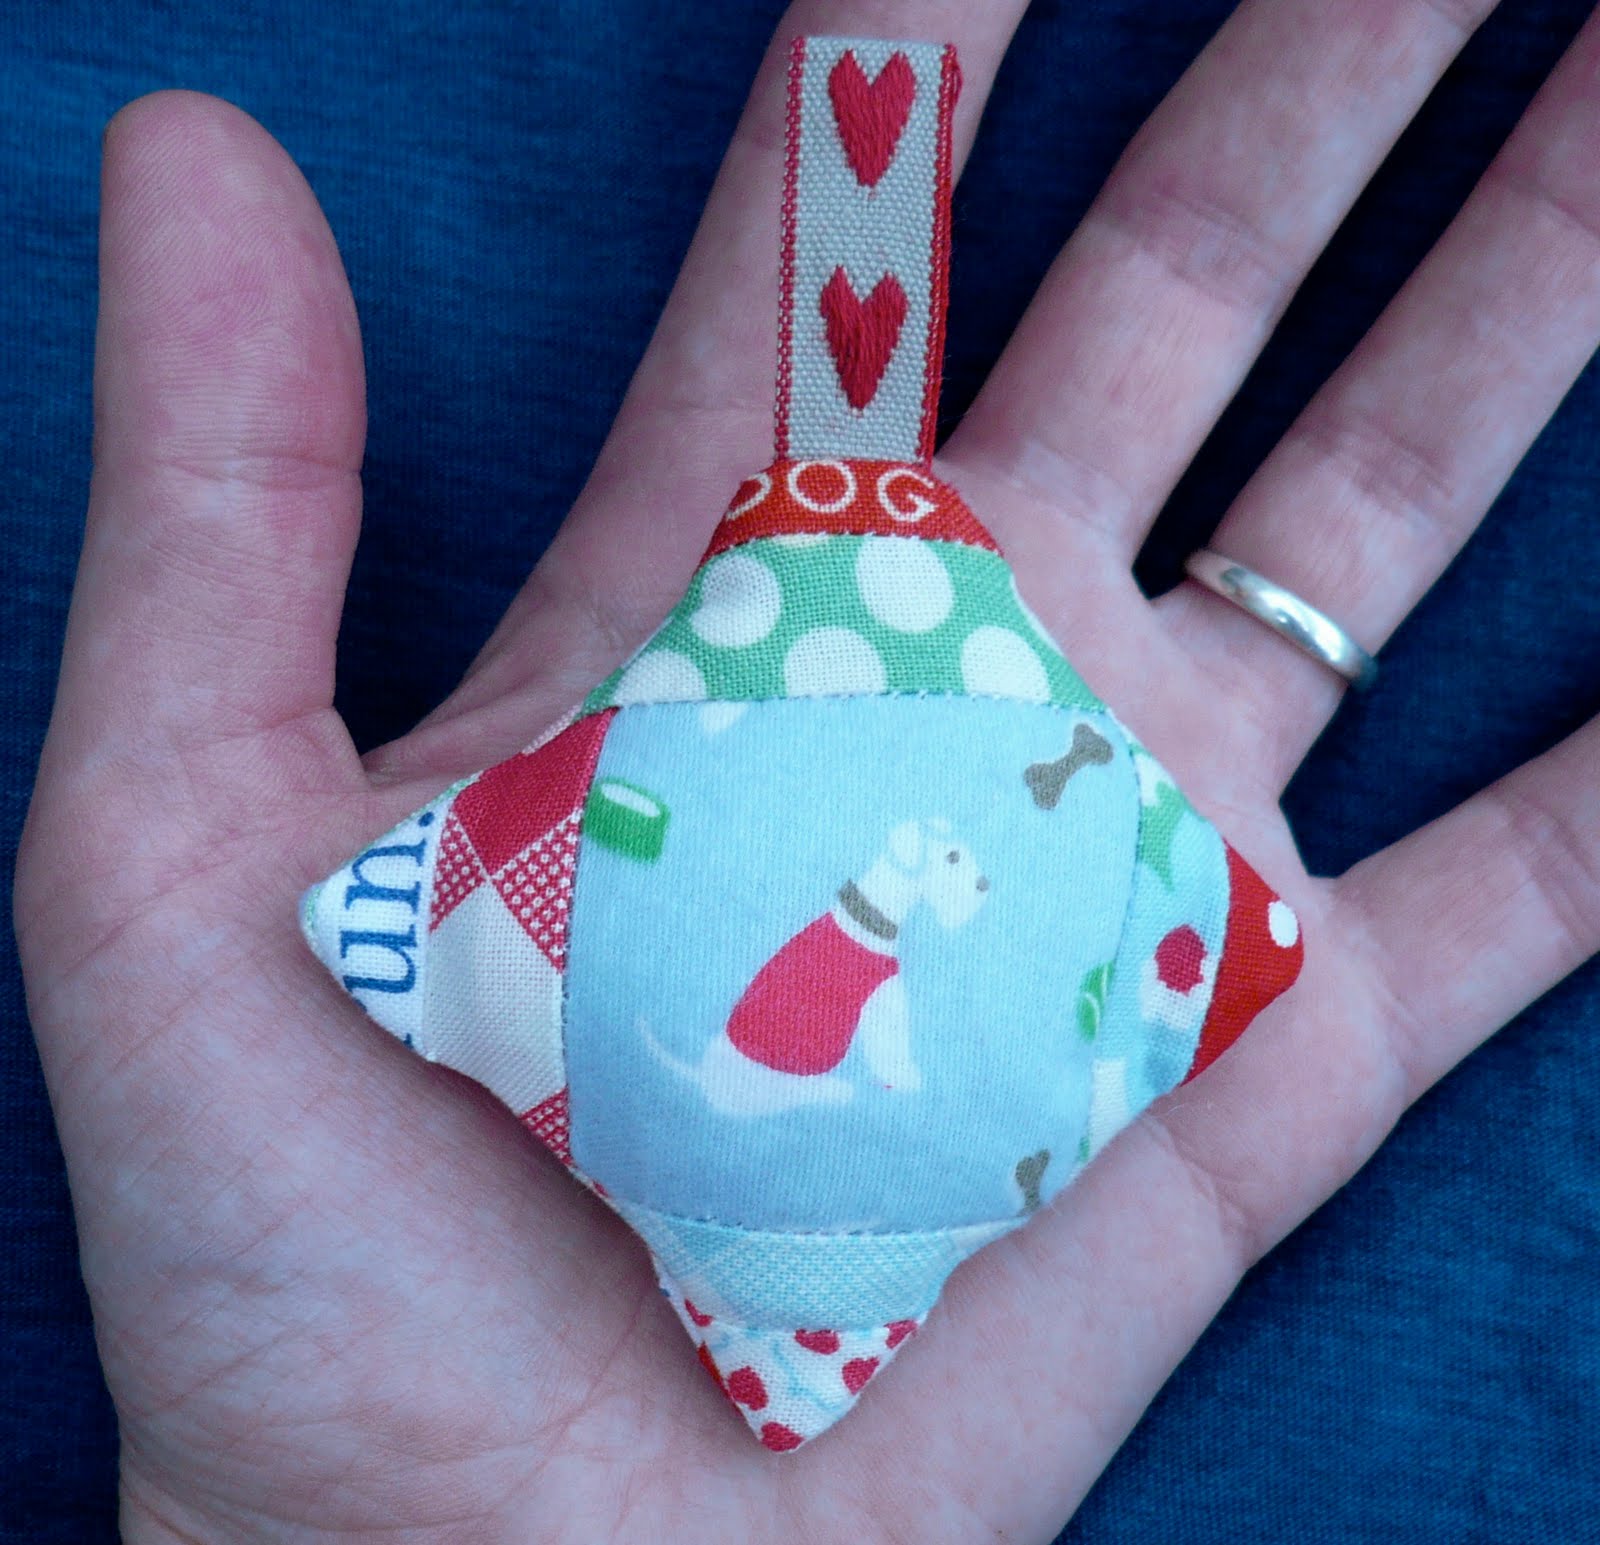
I was so happy to get both the pincushion tutorials up on here that I thought I would make another pincushion to giveaway.  I am on avery busy time of year at work and at home and I know if I did n't have some sewing time I would break!  I went for a shabby chic style Cath Kidston Stanley dog pincushion with a bit of text- I love text in fabrics.


and the other side


and then I thought it was a bit lonely and I know if it was me I would love some fabric scraps as well so I went through the Sweet Jelly Roll that supplied some of the fabrics plus a bit of Cath Kidston craft fabrics- Stanley and Strawberries, cut a supply of scraps and added a bit of braid and ric rac so the winner can make a pincushion or two of her/his own.  I'm have a teaching background, can you tell?  I feel a bit like the scraps and making a pincushion of your own are  homework and the completed pincushion is the carrot of encouragement!


To enter this giveaway and win the pincushion and the scraps- leave a comment, tell me what you are making at the moment if you like or just comment- I don't mind.  If you are already a follower you can have an extra entry- tell me in  your second comment.  Or, if you become a follower (no obligation, only if you really want to!)you can have an extra entry-tell me in your second comment.  And finally if you add the button and link this giveaway on your blog you can have another entry - just let me know in your comment again!  So up to 3 chances each.  Closing date is Midnight Tuesday 27th July (British summer time GMT+1)

To add the button- 
1.  Copy the giveaway picture, I right click and choose "save as picture"- I normally save this onto the desktop, it is easier to find.
2.  Go to your blog dashboard- "layout".  Choose "Add a Gadget" and then select the "Picture" gadget.
3.  Click on "choose file", if you stored the picture on desktop choose that (or wherever else you put it)
4.  Copy this link http://verykerryberry.blogspot.com/2010/07/giveaway.html and paste it where it says link.  You will need to delete the http:// that is already in the box otherwise there will be two of these and it won't work!
5.  Click "save"


Don't forget to leave an email address that I can contact you on- if there is no email I will have to choose someone else!


Good luck to everyone!

Teeny Pincushion Tutorial- Method 2 easier!

How to make a strip pieced tiny pincushion 2" by 2"- Method Two (this is the easier method) 

PDF Download of instructions here

You will need:
Fabric pieces with images for fussy cutting
Scraps of fabric for strips
Water based glue stick
Paper- light weight
Pencil
Disappearing Fabric marker or pencil
Quilting ruler
1/4 rule- optional
Stuffing- I use brown rice for weight and polyester fibre fill
Needle, pins, thread, scissors, rotary cutter/mat

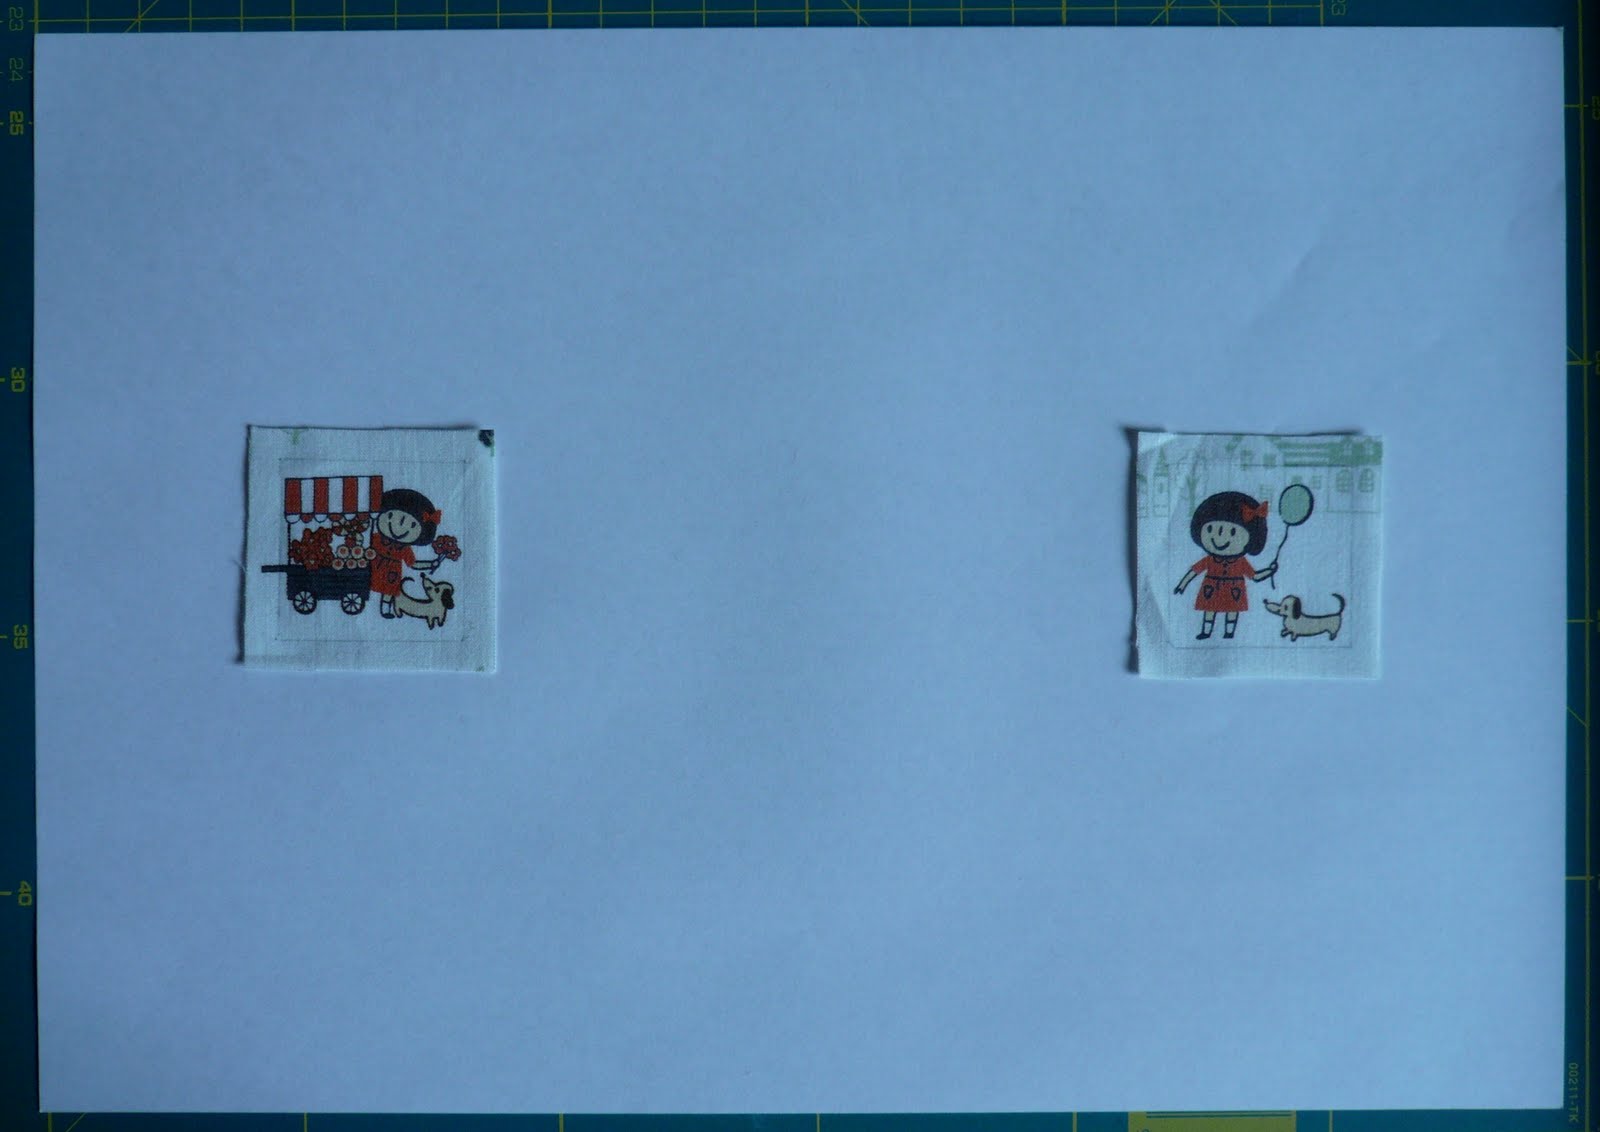
1. (a)  Choose two images to fussy cut.  You will need two squares the same size as your central image.  Mine were around 1 1/2 inches.  Lightly mark the square actual size on the fabric in pencil/disappearing fabric marker.  Now pencil 1/4 inch seam allowances around the squares on the fabric.  Cut your squares out along the outer line.


2.  Using a small stroke of water based glue stick, stick both squares on to the paper.  Allow plenty of space around each square


3. Find the centre of each square edge and make a small mark on the paper.  Draw a + over the fabric square on the paper (not on the fabric!).  My lines were approx 1 3/4".  Now join the lines to make a square which is at a 90 degree angle to the fabric square.


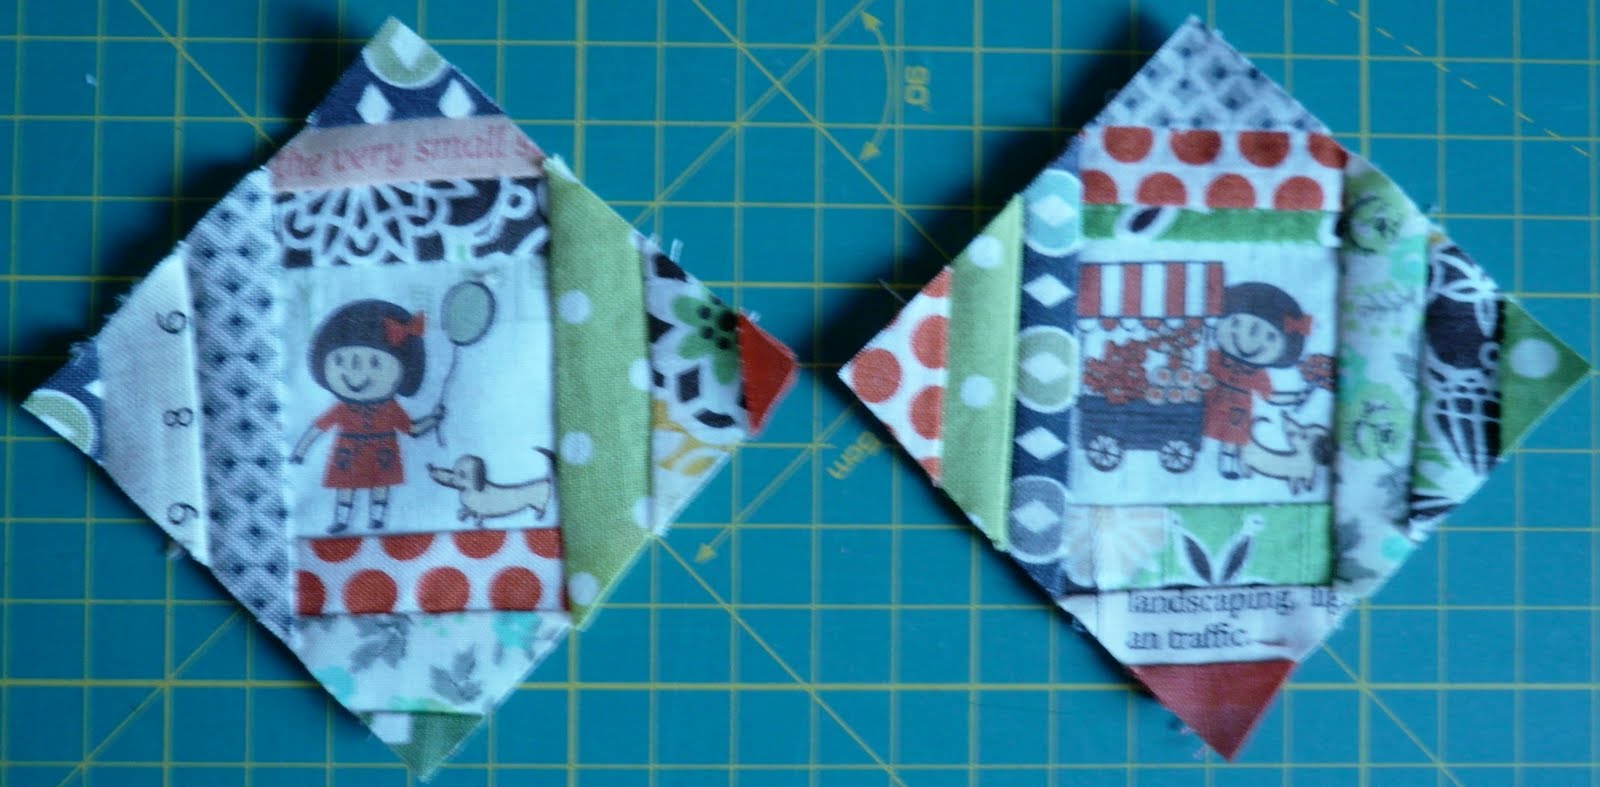
4.  Prep done, ready to sew! Lay first strip over the edge of one side of the fabric square.  You will be stitching through 2 layers of fabric and a layer of paper.  Using a 1/4 foot guide will ensure your fabric lines up and just covers the pencil lines on the square.  You could use an old needle just for this stage. Repeat on opposite corner and then do the same for the other fabric square.  You should have a strip on the opposite corners of both fabric squares!


5. Now fold the paper triangles  back on the 2 opposite corners which you have sewn fabric strips.  Keep adding strips until both triangles on each of the squares will cover the triangles when the paper is folded back.


6.  Give the triangles a press  to make a hexagon sort of shape.  Now add fabric strips in the same way to cover the other 2 opposite corners.  Open out these triangles and press the square flat.


7.  Place the squares paper side up on a cutting mat and trim using the paper as a guide.  You should end up with 2 squares the same size.


8.  It also does no harm to zig zag around the edges- it makes the fabric a bit more resillient when you turn out.  If you want a hanging loop, now is the time to add it to one square.

9.  Place right sides together, leaving a gap for turning through, sew around the edge 1/4 inch allowance.  Press, open out the turn out part of the seam and give that a good press on both sides too- makes it easier for stitching it up in a minute.  Turn through and stuff.  I used a mix of uncooked brown rice for weight and polyester fibre fill for softness.  Ladder stitch the opening closed, you could use double thread here for strength.


10.  Stand back and admire your tiny pincushion! 

If you have any questions or problem with this pattern please email me (see 'about me' for my details) and I will try my best to help

(Please make for yourselves, as presents for your friends/family, for charity fundraising but not to sell commercially)

TUTORIAL CELEBRATION GIVEAWAY COMING UP! 


Tuesday, 6 July 2010

Comments

There is a problem leaving comments at the moment- I have looked in help and lots of people are having the same glitch so I won't do a giveaway until it is sorted.  In the meantime Jeannie made a gorgeous pincushion from my tutorial! See here

Sunday, 4 July 2010

Tiny Tutorial- Method One

How to make a strip pieced tiny pincushion 2" by 2"- Method One (this is the fussiest method but I preferred this technique) 


PDF Download of instructions here

You will need:
Fabric pieces with images for fussy cutting
Scraps of fabric for strips
Paper- light weight
Pencil
Disappearing Fabric marker or pencil
Quilting ruler
1/4 rule- optional
Stuffing- I use brown rice for weight and polyester fibre fill
Needle, pins, thread, scissors, rotary cutter/mat

1. (a)  Choose two images to fussy cut.  You will need two squares the same size as your central image.  Mine were around 1 1/2 inches.  Lightly mark the square actual size on the fabric in pencil/disappearing fabric marker.  Now pencil 1/4 inch seam allowances around the squares on the fabric.  Cut your squares out along the outer line.  Mark the seam allowances on the back too- it makes life easier when you add the triangles.


1. (b) I fancied a ric rac border on my square so this needs adding now- it is a bit fiddly so you may want to skip this.  I sewed it so that the bumps would just show when completes and I attached the ric rac in the seam allowance so all the stitches were hidden.  That teacup puppy is so cute!


2.  On the paper, draw a line the length of the finished square (without seam allowance).  Thus will be the long edge/hypoteneuse of the triangle.  Find centre of the line and mark this point.  Take your quilt ruler, turn it so the corner of the ruler makes the right angle of the triangle, match up the corners with ends of the  pencil line and use the  centre point for accuracy.  Draw along ruler edges to complete your first triangle.  Now add seam allowances around all the edges of the triangle and repeat all of step 2 to make 4 paper triangles.  Cut them out- I used a craft knife.


3.  Prep done, ready to sew!  With your triangle right side up (pencil marks on top) place the long edge on your first fabric strip.   You will be sewing through the paper and fabric so a larger needle and small stitches- size 2 or smaller-make paper removal easier at the end.  I use a fabric leader (a little bit of scrap fabric) at the beginning to stop the machine choking at the first stitch.


  You could use an old needle just for this stage.  If you have all your triangles and first strips ready you can chain piece for speed.  You will have a chain of 8 triangles each with 1 fabric strip.  Cut threads between and change needle to your usual - I use size 80 - sewing through paper is finished!


4. Fold the paper back along the seam.  The remaining strips will be joined to the fabric only so keep the paper well folded and out of the way whilst you add 2-3 strips.  

  
The strips should cover the paper triangle when folded back.  Keep adding strips, chain piecing if you like to until the fabric covers the paper triangle when folded back.  Press the seams forward to the fight angle triangle corner.

5.  With the paper triangle face up, trim the triangles using the paper edges to guide you.  


Carefully remove  the first line of stitching which held the paper and the paper itself.  You will now have  2 centre squares and 8 triangles.  Arrange them how you would like each side to look.

6.  Join the first 2 triangles to opposite sides to the centre square.  I had the centre square on the top and used the seam allowances pencilled on the back to make sure I was sewing the right distance and covering up the right amount of ric rac.   Repeat for the other side.

 
Press the triangles out to make a hexagon sort of shape.  Then add the other 2 triangles on each side.  You can see the last one to be added here


7. Trim off the little triangles in the middle of each edge.  It also does no harm to zig zag around the edges- it makes the fabric a bit more resillient when you turn out.  If you want a hanging loop, now is the time to add it to one square.


8.  Place right sides together, leaving a gap for turning through, sew around the edge 1/4 inch allowance.  Press, open out the turn out part of the seam and give that a good press on both sides too- makes it easier for stitching it up in a minute.  Turn through and stuff.  I used a mix of uncooked brown rice for weight and polyester fibre fill for softness.  Ladder stitch the opening closed, you could use double thread here for strength.


9.  Stand back and admire your tiny pincushion! 

Can you bear to put a pin in, I think I will have to avoid the dogs and put them in the corners!

I hope you enjoyed this tutorial and make a timy pincushion, send me a pic if you do.  Amy problems or questions, please email me, my address is in my profile in the about me bit.  You are welcome and I would be honoured if you want to link to this on your own blog.  

(Please make for yourselves, as presents for your friends/family, for charity fundraising but not to sell commercially)

I will post method 2 up as soon as I am able and a downloadable pdf when I can work out how to do it!   
I worked this out!

Yay, my first tutorial when you can make something.  I think I will have to make another so I can do a giveaway to celebrate!