Showing posts with label wardrobe 2019. Show all posts

Sunday, 19 January 2020

Fibre Mood Holly Dress in Liberty Crepe

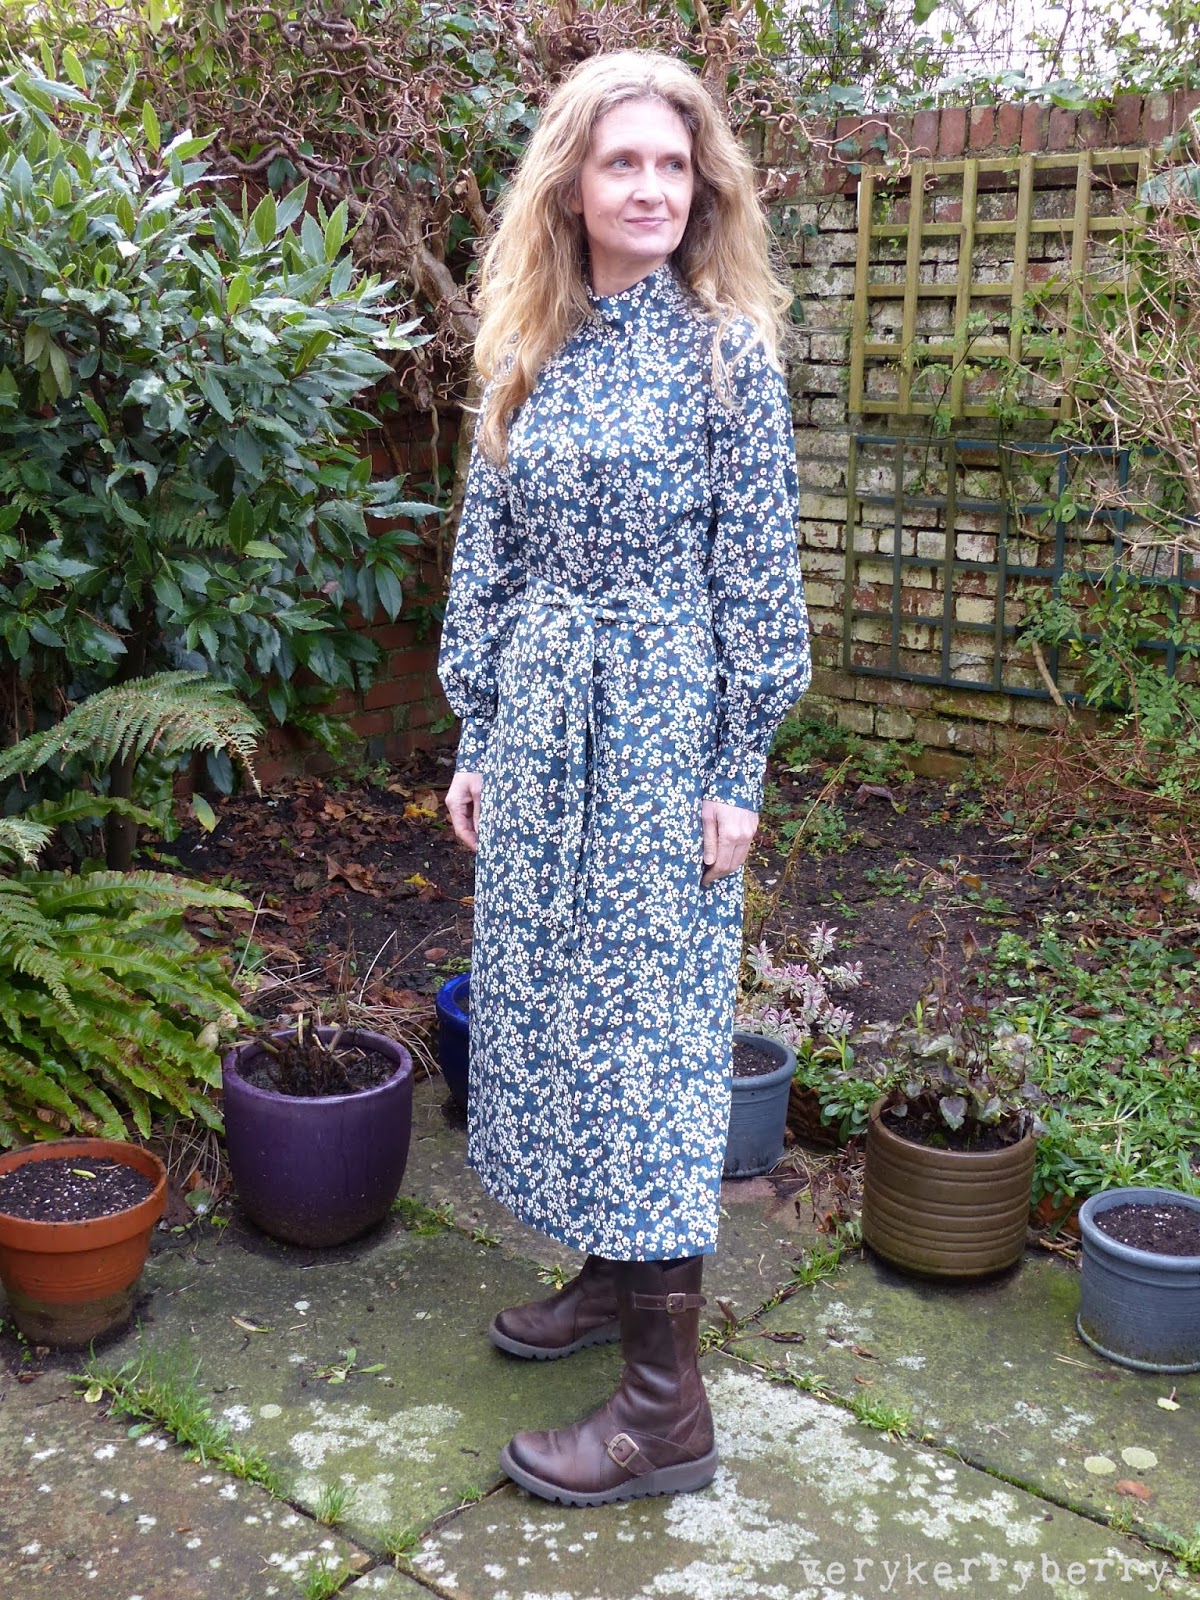
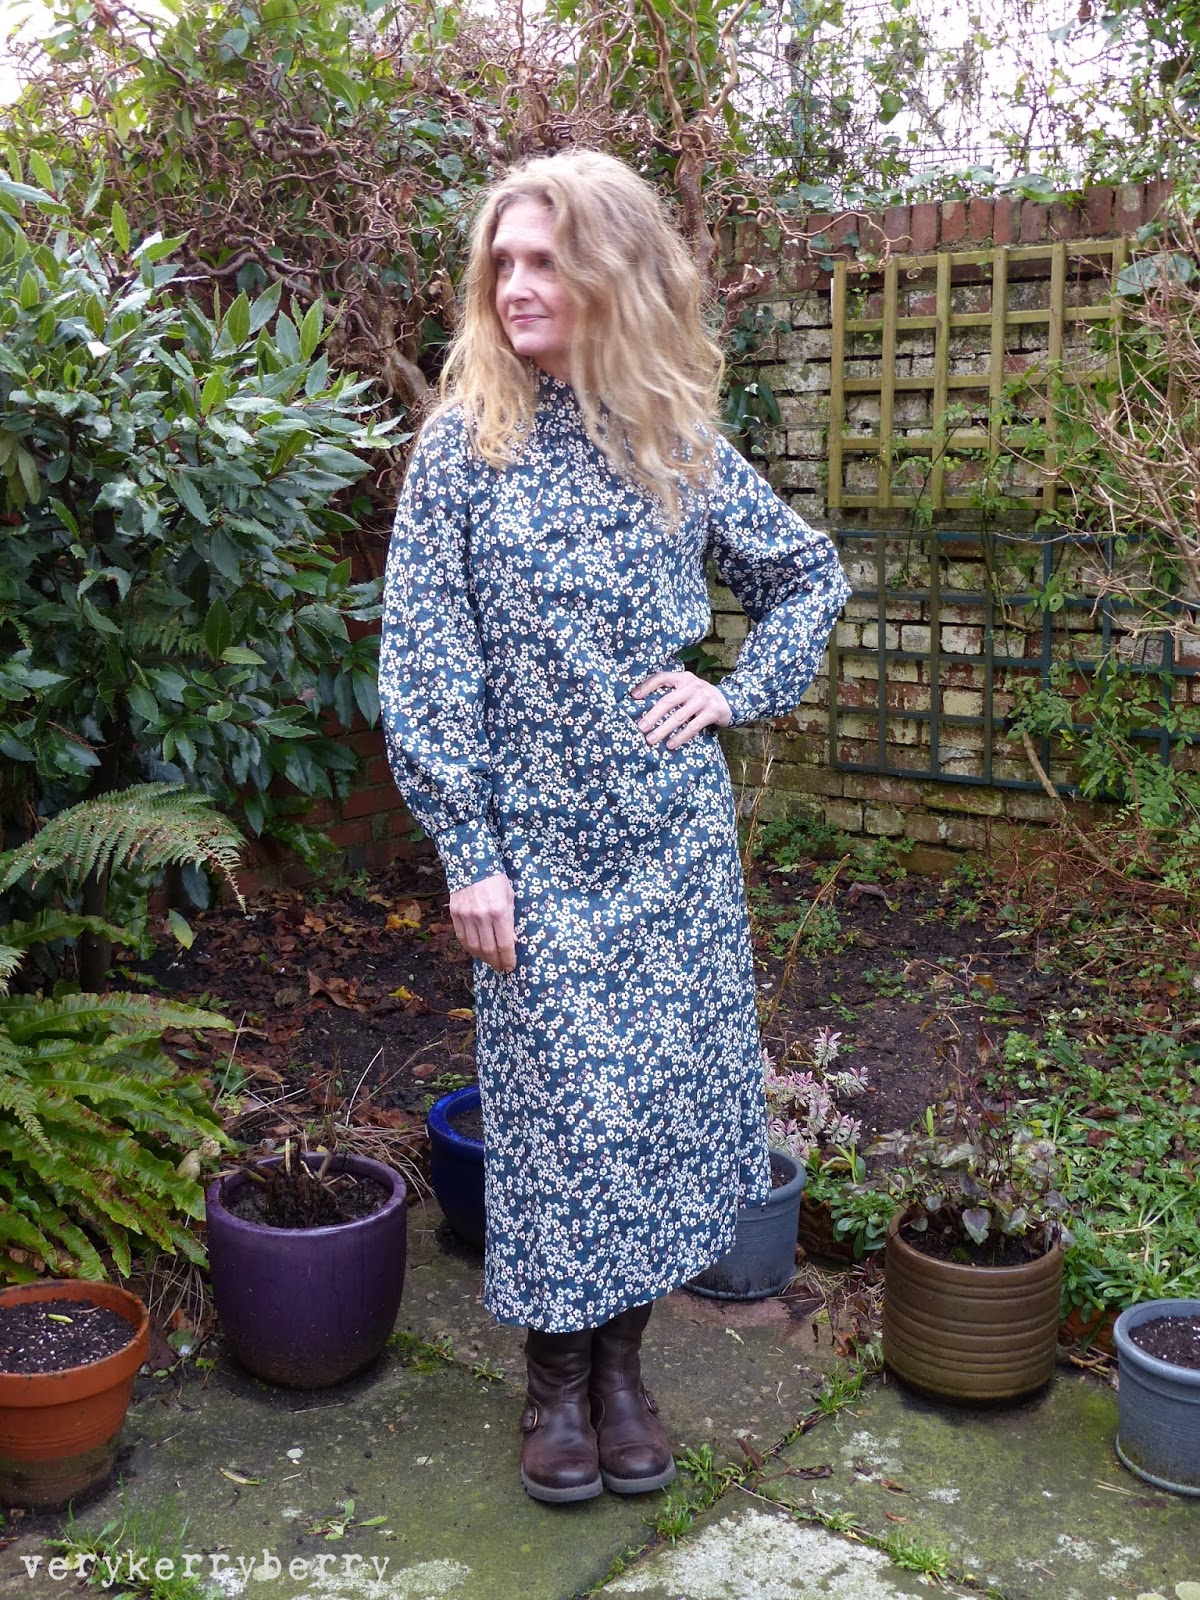
I made this dress just in time for Christmas so I'm playing a little catch up here.  It's the Holly dress from Fibre Mood. I saw a few versions popping up on Instagram and I liked the winter-friendly style: long Bishop sleeves, high neck, midi length.  Fibre Mood is based in Belgium and sell quarterly magazines (physical and digital) but also single PDF and paper patterns.  The PDF has overlapping pattern pieces so they need to be traced off and seam allowances have to be added too but I usually trace off anyway and fewer sheets to print means less to pay on the copy shop print- I use Dottyprint


I cut a size 36 based on my bust and hip measurements, then made my standard high round back adjustment and added 5/8" (1.5cm) seam allowances rather than the recommended 1cm so I had extra to play with.  I did tweak the fit a little, the shoulders were snug at the back so I let the seam out 1/4" or so and graded that into the shoulder and underarm.  I am quite narrow across the shoulder, I have read reviews where the shoulder width is commented on as being on the small size.  Not much else needed changing. I stopped the zip at the neck seam (rather than ending at the top of the collar) and added a button and loop elastic sewn in the seam as I don't like constriction at the neck.  The sleeves have a bias strip opening which is a finish I really like and enjoy sewing- quilters are used to narrow seams!  Although the cuff looks like a button closure, the pearl buttons are just decorative- I used black snap fasteners from my vintage notions stash.  


The fabric is Liberty Tana cotton crepe (eBay purchase) in 'Mitsi' which has been waiting at least four years for the right pattern!  It has good opacity and more drape than Liberty lawn.  It's also easy to cut and sew with, but hard to find (Alice Caroline currently has some).  For a similar weight and feel Atelier Brunette viscose crepe is a good option. I had two metres and I just about squeezed the pattern out of the fabric (the belt was pieced at the end from the scraps) so there was minimal wastage.  I wasn't sure this print was going to suit me whatever I chose to make with it but I've been surprised and loved wearing it.  It's feminine without shouting Liberty!  When I'm at home I leave the belt off and often wear it with a jumper but if I'm meeting someone or going out, it smartens up with the tie belt.  There are no pockets and I don't think I would add them with this style, the skirt is not particularly full so pockets would be a bit bulky and maybe too visible with a crepe.  I've seen the same pattern made up as a top too, great option!  I like the modern Victorian vibe and that the lines are simple and not too fussy; I'm not into the frills and overlay skirt layers that are everywhere at the moment. Check out #fibremoodholly on Instagram to see lots of top and dress versions. 

Wednesday, 11 September 2019

Liesl+Co Gelato Dress in Tula Pink Sateen

I liked the look of the Liesl+Co Gelato dress since it first came out a couple of months ago.  There are a number of simple, shift style dress patterns that have been released recently: Gelato Blouse and Dress, Wiksten Shift Dress and Top,  and Closet Case Cielo top/dress.   I was very tempted by the Wiksten but I think it's too boxy for my frame and will look shapeless unless tightly sashed.  I liked the neckline on the Gelato and the welt pocket detail, as well as the long sleeve top option and Liesl always writes impeccable instructions, plus the closer fitting shoulders tend to look better on me.  


I found a paper pattern on eBay and made a toile- a top with a long sleeve, short sleeve and frill to test fit.  I made size 2 which matched my chest measurement.  The fit was a tiny bit tight across the chest and back just next to the armscye, a pulling and restrictive feeling.  So, I consulted Fit for Real People and also found a couple of Threads videos; How to Modify Sleeves for Better Arm Mobility and Correct a Pattern for Foward Shoulder.  I didn't remake my toile although I wished I had in hindsight, but I did make some changes.   I altered the sleeve cap pattern to make it a shallower curve (as in the first Threads video).  This added extra material on either side and raised the lower curve of armseye on the dress front and back by 3/8" at the  I also reshaped the cap for a forward shoulder following the second video and adjusted the shoulder seams adding 1/4" to the back and subtracting the same at the back.


The result is nearly but not quite right as you can see on some of the pictures- there's some lines and folds around the sleeve head/arm hole that indicate the fit is a little off.  But I have worn the dress a lot and some features like the pocket and the overall shape, I love.  I just need to really nail the sleeves!  The bust days and length are without alteration so do consider that the cup size is small on this dress (I'm an A/B cup at most).  The pocket construction needs to be slow and methodical as it needs to be symmetrical and balanced.

I used a Tula Pink cotton sateen that was originally designed as a quilt backing so was super wide at 108".  I only had a short length so the grain was rotated 90 degrees to fit the pattern pieces and I had to work the best I could to balance the birds across my body.  Sateen can be a little tricky to work with- all those floating threads which snag really easily- but it is soft and silky to wear.   I had similar fit niggles after I made my Liesl+Co Cinema dress which I only realised when I was wearing it, so I'm thinking that the block Liesl uses isn't quite right for my upper body. I've got a couple of other shift style dresses (Closet Case Ceilo and Maven patterns French Dart) so I'll be interested to see how those sleeves compare. 

Wednesday, 15 May 2019

Paper Theory Zadie Jumpsuit Pattern Review

Every year a pattern emerges that takes the online garment sewing world by storm and this year, I think it has to be the Zadie jumpsuit by Paper Theory.  Jumpsuits are everywhere, following on from dungaree dresses and overalls of previous summer, it feels like every pattern company is offering a version and this one has been a winner for sewers of all heights and sizes.  Search #zadiejumpsuit on Instagram and you'll see what I mean, they all look fantastic!  I love wrap fastenings and with this pattern, all you need is fabric and thread- no interfacing, buttons or zip.


This is a PDF pattern with large pieces so I had mine printed at Dottyprint.  I've used them several times and they have offered a quick and great value service.   There are equivalent services in other countries and it was certainly better than sticking many print sheets together!  I had this black cotton sateen in a box from my carboot sale buying days.  It's wide with a little body and drape to it.


The pattern has a suggestion of layout and is conscious about avoiding wastage so it's worth taking time reading the guidance and planning what will go where and getting creative with long pieces like the belt rectangles that can be pieced together from smaller bits which is what I ended up doing. I also sketched my finished layout for future use.  Seam allowances are 1cm with a few exceptions so it's worth transferring that info on to your pattern pieces. There are detailed instructions about sizing.  It is a generously fitting garment so I sized down a little and went my bust size rather than waist and hip so this put me at size 8 rather than size 10.   The tie fastening is easily adjustable and very forgiving.  I didn't make any other alterations, I'm 164cm or 5' 5''  for reference. 


The fit is pretty good for the first time making.  The crotch is a little long and I've already used the lengthen/shorten line on the leg pieces to reduce this by 5/8" for the next jumpsuit, but it's very wearable and black fabric detracts from any baggy bits.


I love the slanted pockets- easy to make and so nice to use, a generous size!  It's one of the best patterns I've sewn in a while.  Each summer I end up making a pattern multiple times (last year it was the Avid Seamstress Gathered dress shown here, here and here).  I'm already prepping another of these in blue chambray and a dress version in Lyocell chambray.  The wrap fits nice and close to my chest (even with a small bust) and stays in place all day.  It's also an instant outfit that can be easily dressed up or down for going out or dog walking.  I've also worn it on a weekend away and it makes for very easy wearing, a cardi or a top underneath makes this version suitable for any unseasonal weather too, vital for a British spring/summer!  The instructions are excellent, well written and with clear diagrams.  The trickiest bit is binding the wrap edge of the bodice/trouser pieces and then seaming the binding in on the trouser front. It's something you do need to take your time over but well worth doing as the rest of the construction comes together relatively quickly.


It's been washed and worn three times already, that's got to be a good sign!

Sunday, 17 March 2019

Simplicity 8529 Sew House Seven Toaster Sweater in Double Layer Jersey

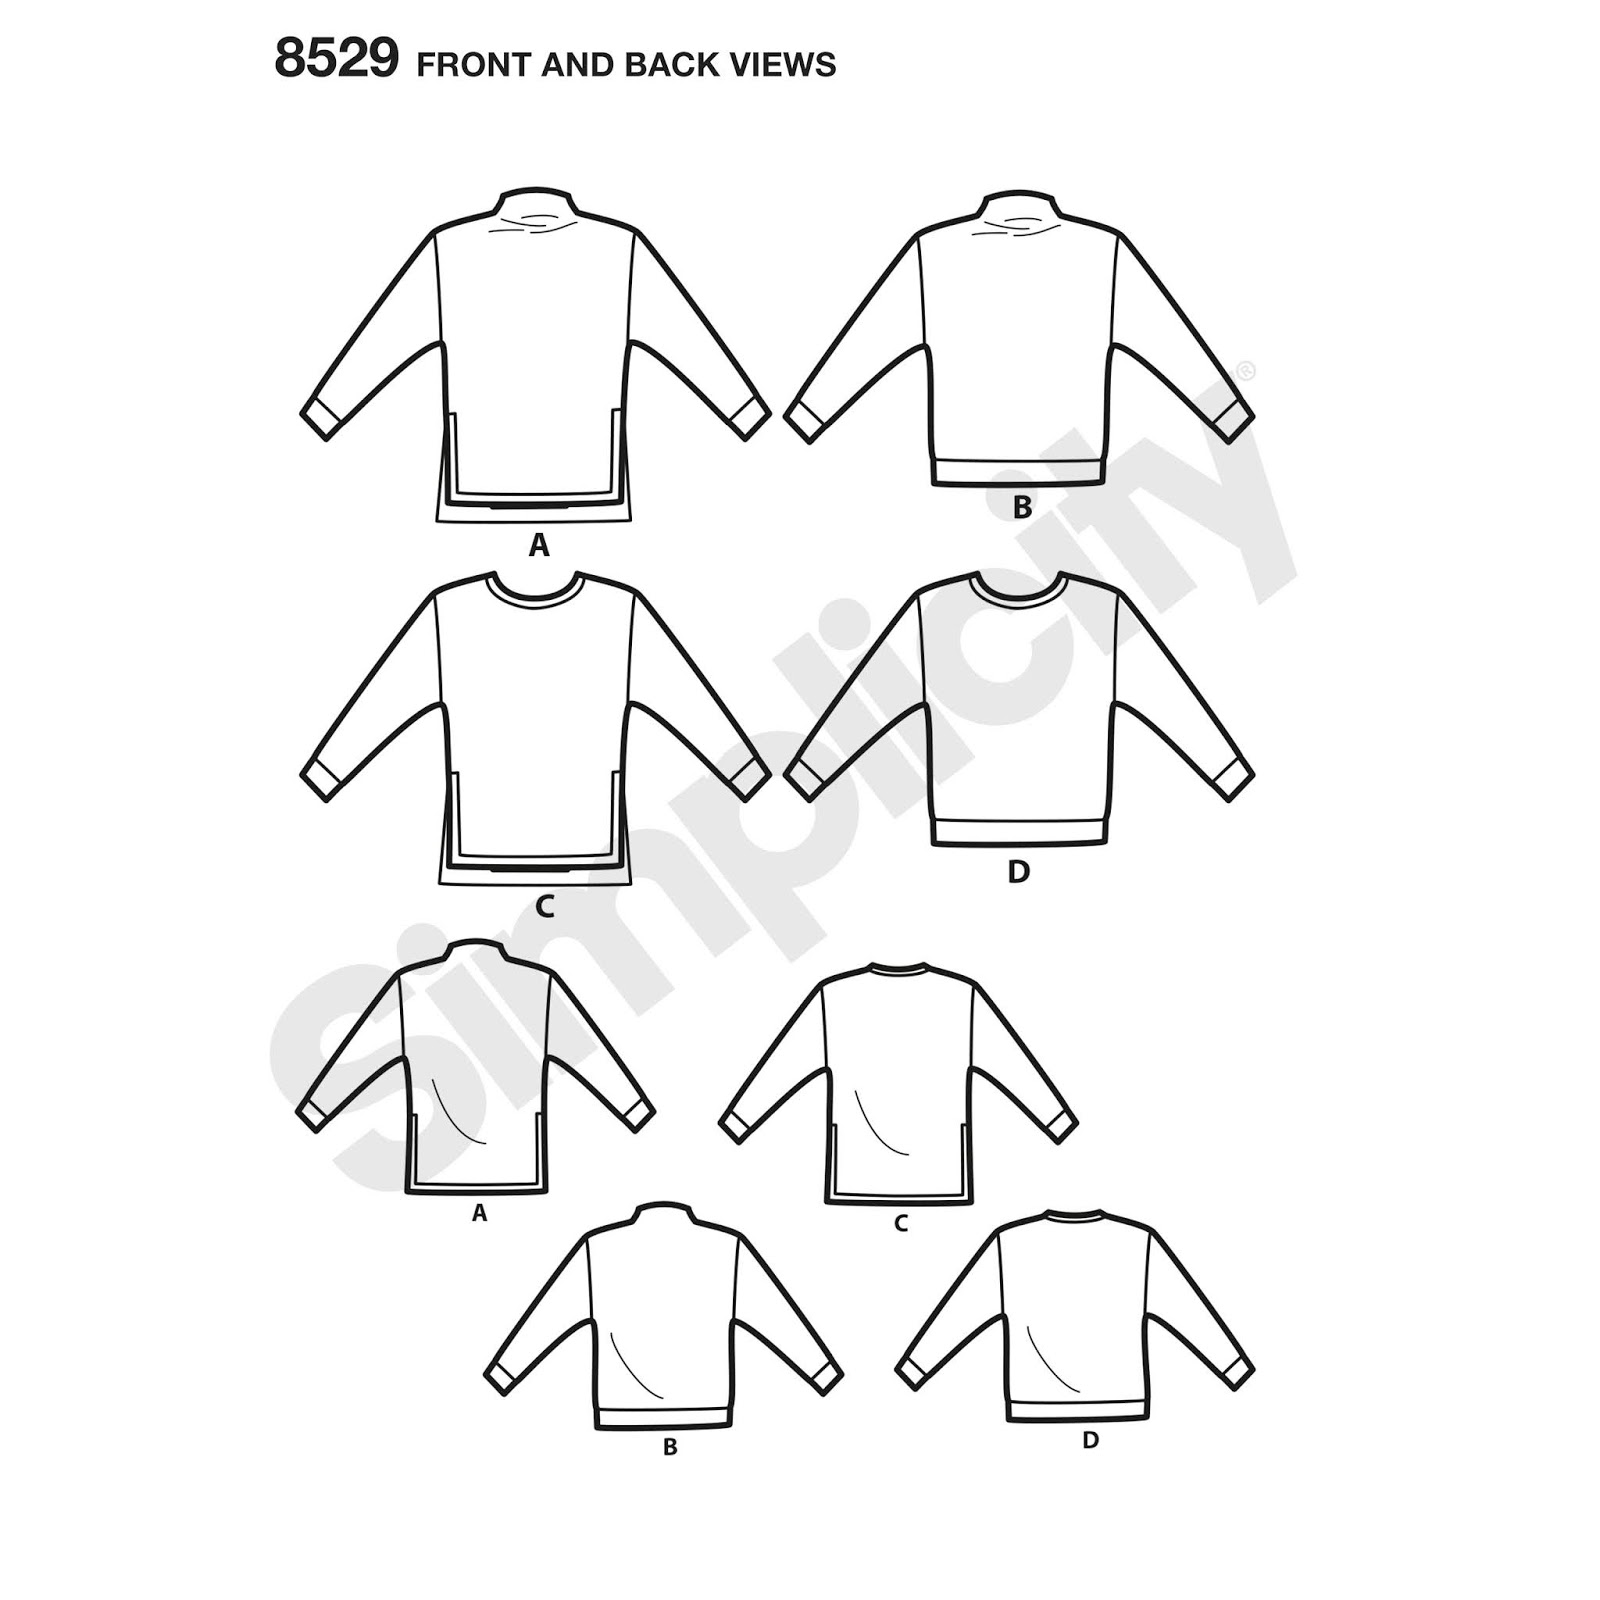
It's been extra windy in the UK recently so it seemed like making a cosy sweater was a good idea and I managed to get pattern/fabric and some small windows of time in the week before storm Gareth kicked in.  This is view A of Simplicity 8529.  This is the Simplicity licenced version of Peggy's Sew House Seven Toaster Sweater; slightly different from the original - the shoulder line is more dropped on this version and the neck construction uses another method.  It's a quick and satisfying make, I wore this all through last week!


I made size S as that was closest to my 33" chest measurement, my only alteration was turning up the front and back hems by an extra 1/4".  The fabric is a double layer Italian cotton jersey which I bought from this eBay seller who offers a sample service.  I found the samples incredibly helpful when choosing and successful for the seller too as I bought another knit fabric that I hadn't noticed as well as this one.  This has two layers of 100% cotton jersey held together by stitches like double gauze.  It's soft with moderate stretch and good structure and suited this style.  It was also easy to cut and sew as it lies relatively flat. 


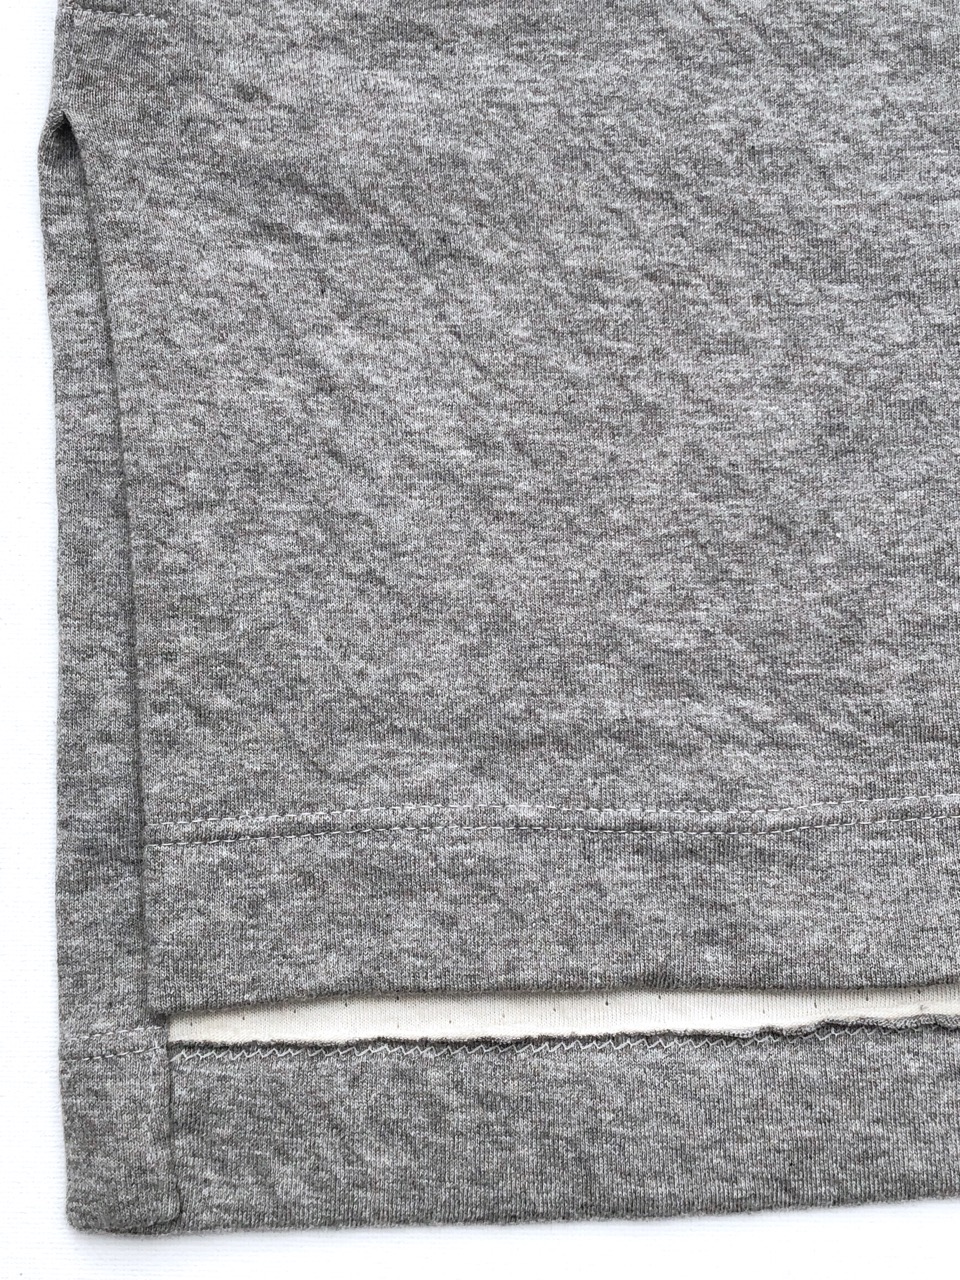
I decided to sew this on my Bernina 830 record using a Bernina walking foot, 80 ballpoint needle and Gutermann Sew-All thread.  My overlocker doesn't cope that well with bulk and the double layer does make for some thick seam intersections so I sewed some trial seams and ended up using a small zig-zag for the seams (1.5 width x 1.5 length), and a bigger one (4 w x 2.5 lengthto encase the edges, trimming after I sewed.   it worked really well with neat stable seams and it does show how you don't need an overlocker/serger to sew knits!  I used a seam stabiliser tape on the back shoulders up to the neck curve and a double-needle for the slit hems, see here for tips, although a long straight stitch could also be used as the hems aren't put under strain. 

The funnel neck is warm without being restrictive and the clever facing method creates a neat finish.  This pattern was a great project to fit into small spaces of time: once it's cut out it comes together very quickly and the end result is satisfying.  I might try the shorter banded version with my remaining jersey fabric... 


Joni is taking up most of my free moments and I need to be very vigilant about not letting her into my sewing room unless she's sleeping to prevent her eating fabric scraps.  I've been keeping her busy with lots of socialisation opportunities and learning new tricks.  Puppy life is rather hands-on but she's a fast learner and we've been getting out and about on the lead. 

Sunday, 10 March 2019

Assembly Line Apron Dress Version 2- Lined

Here's my second Assembly Line Apron Dress, (read about my first here).  This version is made with medium weight cotton twill originally bought to make a raincoat and I've lined it with cotton lawn (originally intended for the coat lining) to give a bit of extra weight and a bit more swish when walking.  Both these fabrics have been stashed for around 5 years so it felt good to use them in a garment that will see lots of wear.


Some minor changes from the first version,
  • I added an extra 1" to the skirt length so I could turn up a deeper hem so the stitch lines are consistent throughout.  I also changed the topstitching a little at the bib top. 
  •  The fabric is lighter weight than last time so although I made the straps the same length, they were a little loose and I'm guessing the skirt weight doesn't pull as much as the heavier brown twill, so I ended up unpicking and shortening them by a further 1/2" after these photos were taken.  As I enclosed my strap ends this was a bit fiddly, but I'm good at covering my tracks and you'd never know!
  • I added interfacing to the facing this time, the fabric needed some extra oomph!  


The lining is basically a second dress cut 1" shorter. The outer and inner layers behave as one fabric when the facing is added.  It does make it feel extra good and it's always pleasing to see a blast of blue and orange together! The dress fabric is shot with a navy warp and a cornflower blue weft which has a slight shimmer effect, and as it was raincoat fabric, it's slightly water repellent which adds to the utilitarian vibe.  Thank you to Charlotte who kindly took my photos at a quilt guild meeting, that's always the tricky bit as I don't like using a timer and taking my own pics.

Find the pattern at The Draper's Daughter or go straight to the Assembly Line website.  I'm wearing the  dress with a Sew Over It Molly top in a viscose jersey.  

Thursday, 21 February 2019

Assembly Line Apron Dress in Twill

I've been wearing this Assembly Line Apron Dress since late December so it is about time I shared it here.  It's a great pattern - all the Assembly Line patterns that I've sewn (V-neck dress, Two Cuff Tops) have resulted in frequently worn garments that definitely bring me joy. 
  

 I have a similar ready-to-wear dress to this, a charcoal cotton drill apron dress from Toast which has a similar pleat feature at the back waist.  I've worn it a lot so this pattern was love at first sight.  I bought it last year when Assembly Line patterns were just arriving in the UK (Draper's Daughter) and were sold in single sizes.  They are now available multi-size.  I bought an S but the fit was quite generous and I needed to reduce the size a little.  I used a cotton twill fabric from Clothspot (similar o the website).  It's got a bit of weight to it and soft fuzzy feel, it's got a lightly brushed texture so I had to cut so the fabric pieces all lay in the same direction- on the layout suggestions, pieces run both ways.  I'd also had the fabric sitting around for 6 months and although it was not in direct sun, the centre fold line created a big faded vertical line down the centre which I had to cut around.  You can see the main features on the pattern technical drawing.


Changes:
  • Lengthened the skirt section front and back by 2".  The pattern includes lengthening and shortening directions.
  • Seam allowances are 1cm (3/8"), to reduce the waist I sewed 1.5cm (5/8" on all side seams, a total reduction of  3.8 cm (1 1/2").  The fit is comfortable.  When the back waist snaps are undone, you need to be able to  take the dress on and off over the shoulders so it can't be too fitted at the waist.
  • I didn't use interfacing on the side and top facings as the twill was quite thick.  In hindsight, I should've used it along the top of the bodice as it has lost a little shape there.
  • Strap length reduced by 1/2"
  • Hem reduced to 3/4" as I wanted to maximise the length.  When I make another, I will cut it slightly longer to allow for the deeper hem to match the topstitching features. 


It is a relatively simple make so most of my time was spent getting the top stitch details crisp and neat.  The front strap ends aren't enclosed in the pattern instructions but I did enclose mine which made it trickier when adjusting the strap length but a much neater finish.  The pockets are roomy and well designed to have a little extra room to slide a hand in, rather than being a flat patch pocket


I love the back pleat where the waiting fastens.  It creates an A-line skirt so plenty of room for walking, but without excessive fabric around the waist.  I used Prym anorak snaps from an ancient set in my stash and they are secure and don't feel bulky.


I find dresses like this perfect for everyday wear, it's truly an ideal uniform for my lifestyle!  I like the utilitarian, but feminine aesthetic.   I'm currently cutting out a second from a lightweight blue twill that I bought years ago to become a coat.  This time I'm going to add a cotton lawn lining as my Toast apron dress has that and I like the extra layer.  I'll try to share that one a bit quicker!  In the meantime, you can find the pattern at The Draper's Daughter or go straight to the Assembly Line website.