Showing posts with label etsy. Show all posts

Wednesday, 16 November 2011

Candy Cane Love

Today I nervously put my next foundation paper piecing pattern on sale now at Etsy- Candy Cane Love. This is unashamedly Christmassy.  I love red and white, especially at Christmas and the candy cane stood out for me as the pattern I wanted to make for Christmas sewing.  
This pattern is intermediate level- it is a little harder than Winter Woolies which is a beginner level pattern.  There are some very small pieces to make the cane curve and enlarging the blocks would make them easier to work with if you find little bits a challenge. You get a 15 page PDF document to download,  pattern pieces and instructions to make 3 candy cane blocks as well as pattern maps to show how all the pieces fit together, photos, pictures and general paper piecing guidelines and helpful hints. There are two rectangle mirror image canes that can be sewn together to make the candy cane heart in the mini tote bag.  You could also use these separately- I think they would work well in a line of three, maybe on a table runner.  I used my tomato reds to make the canes for the candy cane heart and stamped with versacraft ink in the centre.  I have posted a free tutorial to make the mini tote bag here!
In addition to the two rectangle cane blocks, there is a square cane block.  I used cherry reds for this cane-there is a lot of red in my stash!  Amy has been invaluable in her pattern testing for me for the second time- I owe her big time!  She used one of the rectangle cane blocks for her beautiful Christmas linen stocking here!  The sweetie fabric is the most perfect match.
Now I can draw in photoshop, I made some improvements to my pattern formats.  All the pattern pieces for each cane are on a single page so that you can enlarge them all in one go to make bigger blocks.  The blocks I made up are 6"(square block) and 6.5" (rectangle) tall- finished size.  Photocopying by 200% would produce quilt size blocks of 12" and 13" and there is room around the canes to trim the blocks if required.  I also put in alignment marks to match the sections up- I found this really helpful.  I have put in a cropped pic below so you can see how the marks work.    You can see how the pattern pieces have a little colour too so to help you know which bit is which!  They are pastel shades on the pattern pieces and will print equally well in black and white- that is how I use them, or colour without using all your printing ink up!
This is the square block in a potholder, perfect for all the Christmas cooking.  I 'll post more about this one tomorrow.
I hope you like it!
sib blog

Tuesday, 18 October 2011

Winter Woolies Pattern

Thank you for such supportive emails yesterday.  Putting myself out into the commercial world even with one little paper piecing pattern is a stressful experience but now it is done I am so happy- you can find it on etsy here.  It is just turning chilly in the UK- I have put away all my summer footwear and got out my many boots, so timing couldn't be better!  I made a wall hanging with my block, it is now just by our front door as a subliminal prompt to my husband and daughter to maybe even put a coat on?
I have put a new page  here with paper piecing links,  so if you want to know the basics before you embark on a pattern like this there is some great help out there.  The best tip I can offer is one I read at The Sometimes Crafter, use an old needle without thread and machine stitch through the paper pattern on all the lines.  The perforations make the paper easier to fold its removal so much easier.  You do not need special paper just something lightweight.  I bought a pack of 70 gsm from the classiest stationery shop- Poundland.  Another tip is to print a second copy of the pattern pieces on to card- use these as a rough guide to the fabric shapes you will need.  With foundation piecing you always need bigger fabric pieces than you think! 

If you are lovely enough to purchase, you know I am here for help!  If it is sold, I will renew as soon as I can so be patient, it will be back up there!  More patterns are coming, I just need a little photoshop tutorial from my much in demand brother - I have booked him and if he wants a birthday present he knows he has to come, big sister has spoken.  Christmas themes are next- presents and candy canes I hope...
sib blog

Wednesday, 6 April 2011

Finds

These are all recent carboot finds- I have had a good run of finds recently.  I know carboot sales might be a bit of a mystery outside of the UK- I'll try and remember to take my camera this Sunday and take some pics for you and explain how it works.
A vintage advertising tea towel for Babycham, iconic little Babycham deer-v. cute
As that is a bit of a collectable, I put that in my etsy shop- gotta fund the fabric purchases somehow!
These are two linens so lovely...
 
a little handworked sampler of stitches, such beautiful colours and work,
and a tea tray cloth with lovely machined motifs.
 
This one has a Christmas feel- with the exception of the strawberries, placemat size.
Lots of other magpies missed this one, someone was standing on it when I noticed the fantastic border.
It currently has the very important job of protecting my clear vintage box of fabrics from sunlight.
I loved this little tin- anything that nests inside anything else is appealing and these cutters are a great fit in the tin.


This Minitimer is Italian made and designed by Richard Sapper who turns out to be a very cool designer indeed (Alessi)!  It works beautifully.
And to finish, a G plan lamp table, £3 which is about $5 or 4 Euros.  IT is a bit tatty at the sides, but what a bargain.  It is undergoing restoration- that is a grand way of saying it has wood glue and a pile of books to get the edges of the veneer to stick down on the sides.  I have already waxed and polished the drawer front and it is glowing.
Half way through the working week, always a nice place to be
sib blog

Monday, 6 December 2010

Starbright pot holder/mug rug

A big thank you to Mia for hosting her December Christmas making special at Handmade by Mia, if you haven't visited yet, take a look.  My make is today!  This post is extra exciting for me as it is a threeway post- here, linking to Mia and on Kate's blog M is for Make and involves contributions from other bloggers along the way so think of it as a collaborative effort! It is a quick and easy tutorial for a Starbright pot holder/mug rug- it could be either- and a quick gift for Christmas.  For the puzzled amongst you, a mug rug is just an oversized coaster, big enough for a cup of your favouite hot drink with room for a snack on the side.
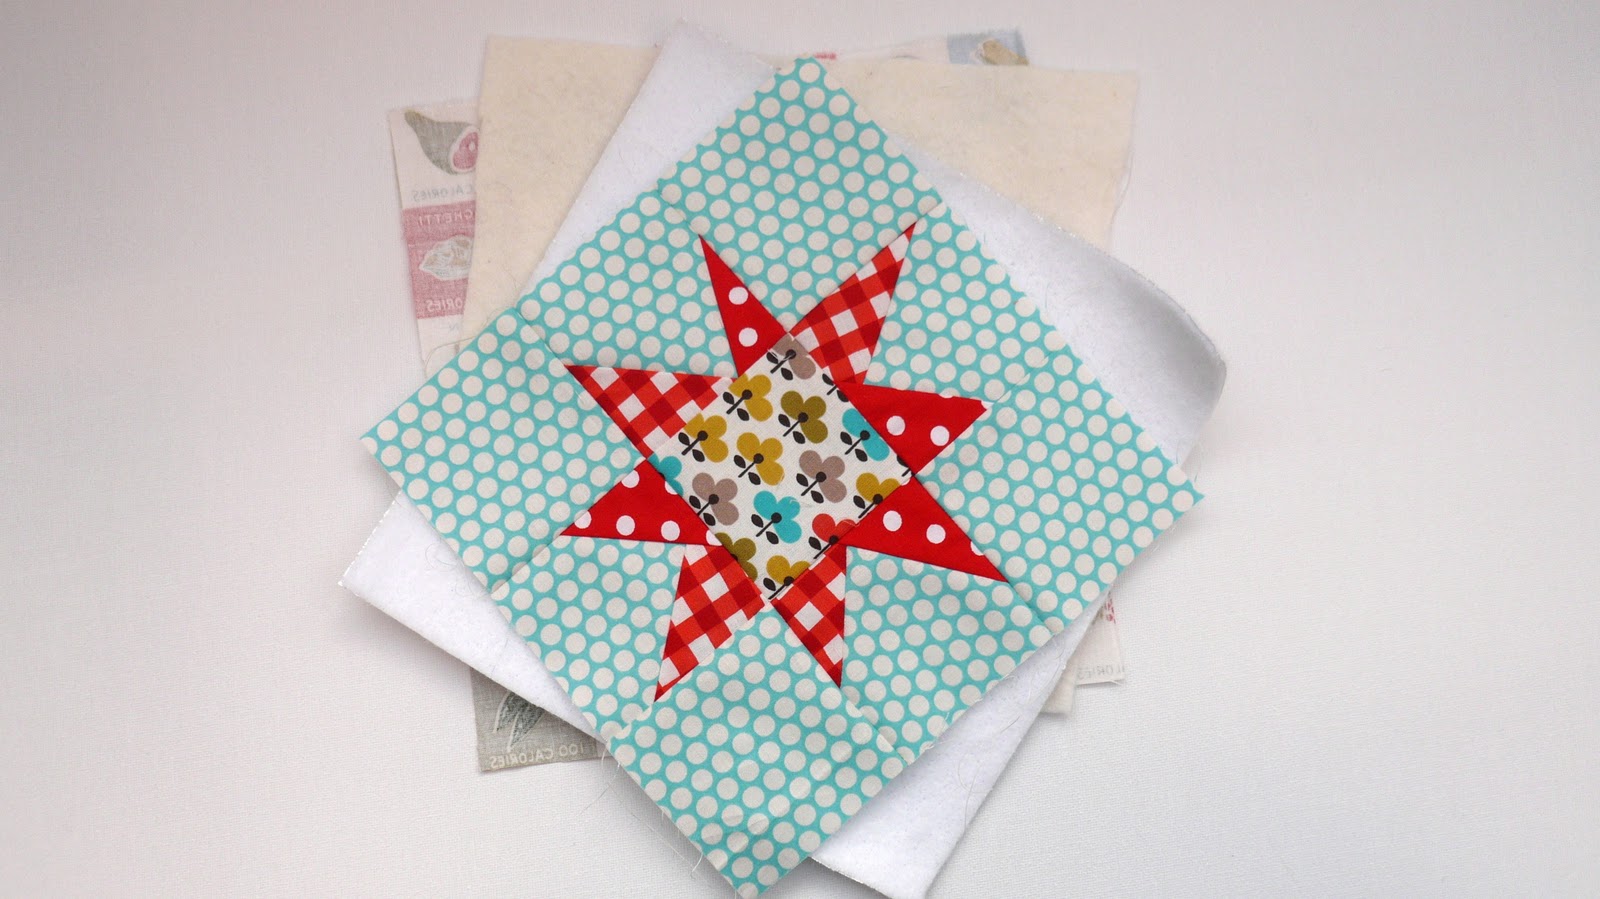
  If you haven't made a wonky star before, it is much easier than you would think.  I went for Christmas colours rather than Christmas themed fabrics so it can be used all year round whilst giving a bit of festive cheer now.  You can easily make several of these out of the generous fabric quantities below.

To make your Star Pot holder/mug rug you will need:
1/4 yard fabric for background
1/4 yard contrasting fabric for triangles- or scraps
Contrasting scrap for centre square
1/4 Fabric for backing
1/4 yard of insulbrite thermal padding (Optional) 
1/4 yard cotton batting (or less if using insulbrite as well)
1/4 yard fabric for binding or  44" ready made bias tape
Ribbon or tape for a hanging loop, about 4" will be ample
(Finished holder/rug will be approx. 8" square)

Cut background fabric into 8 squares, each 3 1/2" square
Cut centre fabric into 1 square, 3 1/2" square
Cut triangle fabrics into 4 squares, 4 1/2 inches" and then stack the squares and cut along the diagonal to make 8 right angled triangles

To make the star follow Victoria's wonderful tutorial  or reference Gwen Marston's Liberated Quilting 2 
Place your completed star over your backing fabric as a guide and cut out a back piece slightly bigger that the top.  Repeat for the batting.  I used a layer of insulbrite and a layer of cotton batting. You could use 2 or 3 layers of cotton batting instead of a layer of insulbrite.  Make your quilt sandwich- backing fabric right side down, cotton batting, insulbrite shiny side up, star square right side up.  
As this is quite small I didn't spray baste, tack or pin but if you want to go ahead.
I used a Hera tool to make a crease corner to corner and then quilted from that point.  I used a stitch length of 3 and the walking foot as a line guide. 
I went for quite a dense textured pattern but do whatever you fancy.
Trim the edges making everything nice and square.  Before I add binding I always zig zag around the edges of any quilted project, mini size or full size.
Now is the time to add a hanging loop. Stitch in the 1/4" seam allowance and secure with straight  stitch and zig zag. Make sure the loop is pointing inwards out of the way of where the binding will go.
You could add a label or decorative tape as well- festive message maybe?
I use a single binding on small projects like this to.  Cut your binding strips 1 1/4 " wide.  Straight grain is fine, there are no curved edges so it doesn't need to be bias cut.   Trim the start of the binding at a 45 degree angle- it will make life easier later.
Make sure your hanging loop is pinned down and tucked out of the way.  A good finish to your binding  will lift the whole project,  so before you attach it, trim off all stray threads, cut the tips off the corners of the quilted square- just the tiniest amount, it will reduce the bulk on the binding corners.
I found a very helpful single binding tutorial here by Rachel at Contented.  She has gone a bit wider with the binding at 1 1/2".  I like mine tighter so I opted for 1 1/4".   Take your time, use your iron on the corners, keep your seam to 1/4" and look at my tutorial for mitred corners if you find these tricky.  Rachel is adding this to her binding tutorial as well.
You can stitch your hanging loop on to the finished binding or leave it as it is.  
 A useful little  present or something to hang up and keep for yourself!
Fabrics: Green dots (binding) and aqua dots- Kei Honeycomb
Centre Square- Ellie in Amber- Michael Miller- all available from Kate at M is for Make
Red gingham print- Farmers Market Sandi Henderson, Red/white dots- local fabric store and Kitchen print  Elsie's Pantry Windham Fabrics- from my stash
Who doesn't appreciate a little handmade, homemade love?
Keep checking Mia's blog for more December makes x And Kate's blog for fabric loveliness x
sib blog

Sunday, 7 November 2010

Shop and shopping

This picture can only mean one thing...
I have finally got my etsy shop running, click here to take a look, or find the button on the right.  It has taken me ages to set up but all sorted now.  I will only be selling a few things at a time,vintage tea towels at the moment, some vintage fabric to be added and then when my I have a bit more time and Lula takes herself to school I will put some makes on.  It is just a tiny shop, I'll see how it goes, don't exepct to making those millions just yet.
Some good finds at the carboot today, horsey horsey tin full of buttons and bits 

Super cute writing set from 1970s

 Furniture that I wish was life sized...
but is instead adorning the mantel above the fire

Couldn't resist this, even Lula and my husband (even more so) did not 'get it'.  I got it and I love it.

 
More sewing bits from a bust up old sewing basket, the singer scissors are particularly nice, still sharp.  Old wooden reels of thread with names like Eau de Nil and Napoleon.

Still some of the weekend left, make the most of it whatever you are doing x

sib blog