Showing posts with label Named Clothing. Show all posts

Tuesday, 23 August 2016

Mini Jersey Kielo Wrap Dress and a Girl Charlee Fabric + Pattern Giveaway

I've ben spending most of the summer enjoying my daughter being at home.  High school has ended. results are imminent and college is coming in September.  Meanwhile, I've been making more Kielo dresses including a shortened version for my daughter's 16th birthday.


The fabric is a another drapey floral kindly sent by Mark at Girl Charlee.  He was kind enough to send me samples first to make sure the drape was right for this style.   She chose Red Pink Roses on black cotton jersey blend which is lightweight with lovely drape.  


I shortened  by working upwards from the hem on the pattern  and using a jersey dress in L's wardrobe that was a favourite length.  I traced a copy off my  size 36/UK 8 pattern for L.  She tried on my jersey Kielo and she needed a narrower  lower back and waist so I reduced these areas along the back centre seam.  The front is unchanged apart from being shorter. 


Otherwise construction was like my first jersey Kielo.  When it came to hemming I let it hang and then evened out the hem whilst L was wearing it.  There's more fabric to contend with as the dress gets narrower as it gets longer but it worked out fine.  This short version used 2 metres of 142cm wide fabric based on a one way print.  If it had been multi directional or plain it could've been 1.75 metres.  Other suitable fabrics in terms of weight/drape were:
These are all florals as that was her preference but there's other options and Mark and the team are happy to advise, they know their stock well!


Now for the GVEAWAY!

Mark has kindly offered the sort of giveaway prize that I would love to win,  a PDF pattern (lots to chose from including Wendy Ward, Named Clothing, Itch to Stitch and many more) and knitted fabric of your choice to make the pattern from Girl Charlee Fabrics UK and Europe.  As the company name suggest, entries are open to UK and Europe.  

To enter, comment below and tell me what you would choose- it's not binding, you can change your mind if you win, I'm just curious! 

For extra entries, share this giveaway on Twitter, or Facebook and add an extra comment for each mentioning where you shared.  That's it, nice and simple.  Competition closes Monday 7am GMT.  I must be able to contact you so check if you are no-reply and include email details if needed.  Good luck!

Giveaway is now finished.  A winner has been randomly chosen- number 25, Mel- and informed.  Comments are closed.

Thursday, 18 August 2016

Summer linen Kielo Wrap Dress

Kielo wrap dresses have been my go-to garment for the summer.  I've made three for myself and one for my daughter.  I've also had more requests to make these for other people than any other clothing item I've made.  I've made one for my daughter- next on the blog post list, but I don't tend to sew commissions, it's a minefield of pricing and fitting.  


Each Kielo I've made has been from a different fabric.  The first was a rayon blend jersey, the second was woven rayon and now this version is sewn in linen.  Purported to be Ralph Lauren by the seller at Preston market last year, it is a beautiful quality fabric.  It's been sitting waiting for a pattern that will make the most of it's picture print and although cutting out a Kielo dress on a single direction fabric is a little wasteful, it was worth it.


This one definitely looks better loose and with the ties at the back.  The print design is better displayed and the informality suits hot days.  It's still fitted at the shoulders and the rest of the dress flows as I walk  When tied to the front, it looks a little bulky and origami like- almost Kimono style.    I made it in the same way as the woven rayon version, including the jersey binding. 


I was in London last weekend visiting my brother and I took three Kielo's as my wardrobe for the warm weather.  I was even stopped in the street by a stranger wearing this Kielo and I undid the ties to show her how it worked!


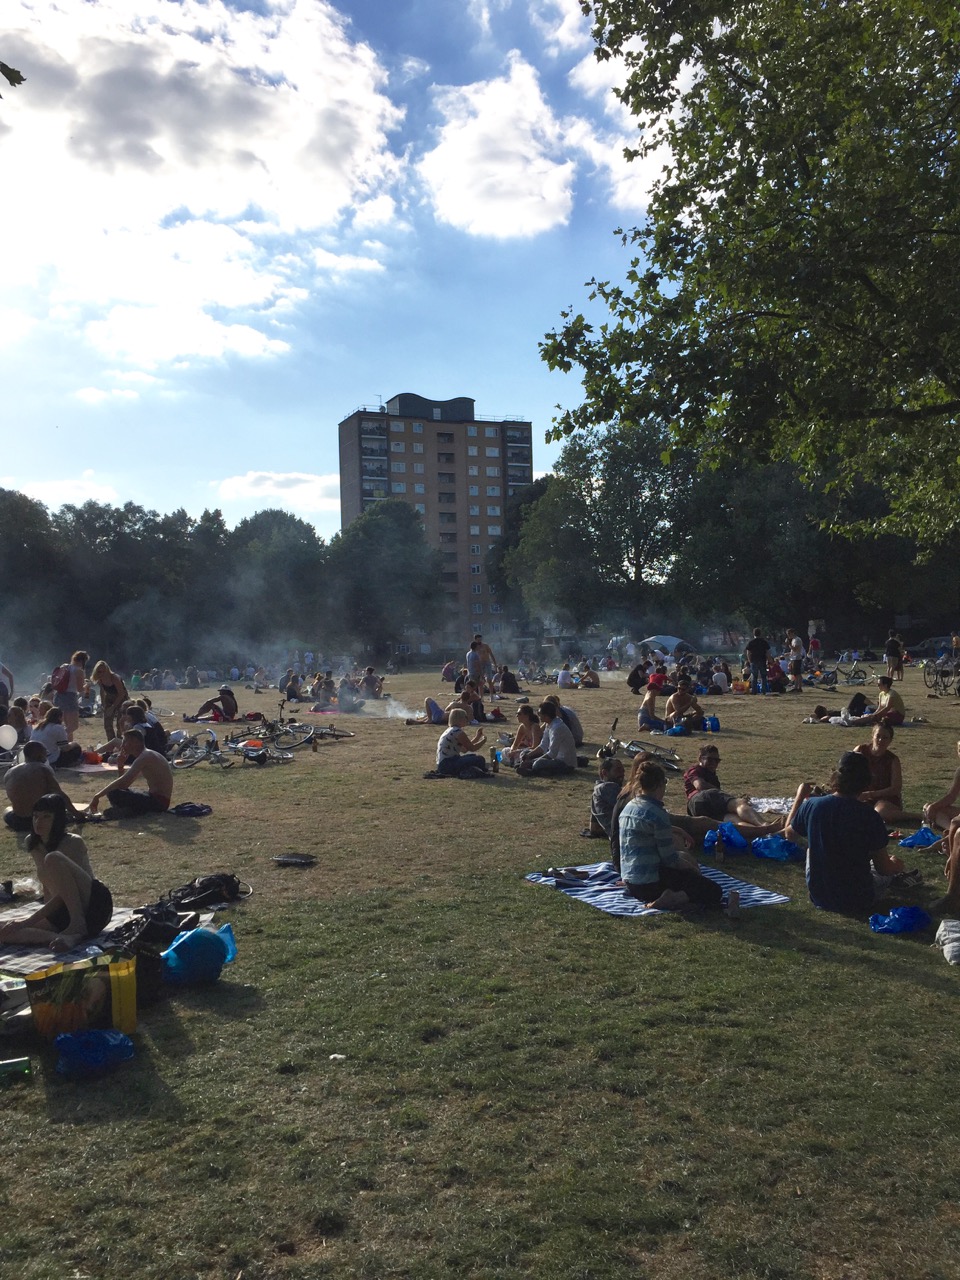
Thanks to my bro for taking the pics.  This followed a lovely afternoon spent at St Pauls cathedral followed by a walk by the canal and a walk through London Fields, a beautiful park in Hackney filled with people barbecuing, playing games and enjoying the weather.


Happy days, the peak of late summer, good times.

SaveSaveSaveSave

Friday, 29 July 2016

Kielo Wrap Dress: From Knit to Woven Version

Every now and again I come across a pattern that is a wardrobe changer and this summer, Named Clothing's Kielo Wrap dress has been my dress of the summer.  I haven't worn my vintage style fit and flare dresses hardly at all.  Instead I've been flowing around in a couple of Kielo dresses and each time I wear one, I receive lots of lovely compliments- what's not to like!


So far I've made three, including one for my daughter which will make an appearance here so, and I have another woven one cut out.  I made a few changes to my original pattern to allow for a drapey woven rather than a jersey fabric so I thought I'd share the details and a few tips.


I wanted to allow a little more room to account for woven Joel Dewberry rayon challis that I was using.  I won this fabric from Rachel Pinheiro a couple of years ago, it came from Chrstine Haynes and I've been saving it for a summer dress- I was just waiting for the right pattern.   It's a lovely quality fabric in glorious colours and the print is called Dainty Daisies.


I cut the fabric on a board on the floor as rayon challis is very drapey and easily falls off tables and raised surfaces.  I added a generous quarter inch on the front centre line which is placed on the fold and the same on the back pieces which are cut separately.  Rayon fibres easily snag - so I tried some Merchant & Mills Entomolygy pins that I've had for a while.  They are long, sharp and flexible and until this point I hadn't found a particular use for them although I do fancy them for pinning lace when sewing bras.  The name is mysterious and alluring until you find out that Entomology pins are classically long, black, delicate pins used for displaying insects - Merchant & Mills intend them for silks not butterflies.  Anyway, I found them perfect for rayon. I also used a size 70 Microtex needle.


The construction was the same for the seams, darts and split as my jersey Kielo.


When it came to the neck and armhole bindings I knew that there was no way I was going to cut lots of bias rayon strips- it slips and slides too much for me to make a good job of it.  Instead, I had a couple of metres of pink viscose jersey binding- Eternal Maker stock this in lots of colours.  Viscose and rayon are related fibres so it worked well with the rayon.  It is creased and folded like woven bias binding so I unfolded it and re-pressed it along the length to make double folded binding and followed this Grainline Tutorial for flat bias necklines.  To allow for the stretch, I cut the binding a ¼" shorter than the neck seam measurement (for woven it's usually ⅛") and it made  a soft, neat finish.  I use a stiletto tool to hold binding away from the seam when under stitching.
A Kielo dress is a pleasure to wear. It's cool and breezy, the waistline is forgiving and very handy for summer celebrations - July is a big birthday month for us so there's lots of family meals and cakes to fit in.   Both my Kielos roll up and easily fit into overnight bags so are perfect for holidays and travel. Thanks to my husband for these pics, our local beach made a great location for a very quick fashion shoot!


SaveSave
SaveSave

Monday, 2 March 2015

Liberty 'Hello Kitty' Kanerva Blouse

My second outing for the Named Clothing Kanerva blouse pattern.  This time in Liberty lawn, Hello Kitty toile style print, bought a couple of summers ago from Fabrics Galore at Fat Quarterly Retreat.


I tweaked the pattern slightly, a quarter inch reduction centre front and back so an inch all round plus I reduced the slope on the shoulders at the neck side. It still needs a little more tweaking as this version was a little tight across the chest and I had to let out the scant seams.


The lowered the neckline which makes it look a little softer, but there is some extra fabric in the high bust area so I will trace again and make a little alteration to lose some of the excess for the next one.


I made the sleeves around an inch longer, I like the effect.


Close up on the fabric, love the musical theme.


You can read my first post on this pattern here

My sewing is little all over the place at the moment.  I've sewn a lot of things for my daughter in the last few months and I've also been making lots of things for friends samples/market/pattern tests/blog hops in the last month which will pop up here in time.  Quilting has taken a back seat, apart from hand sewing 'Bring Me Flowers' and clothing has taken over along with some family stuff but there are too many things in progress which just makes for mess and chaos. I need to prioritise and let go of a few things before I start anything else.  Thankyou as ever to Lula for taking the photographs in a moment of beautiful sunlight. 
sib blog

Wednesday, 11 February 2015

Kanerva Blouse by Named Clothing

 I have been searching for a long sleeved, woven fabric simple top for sometime.  When I saw 'Kanerva Blouse' by Named Clothing on the Fancy Tiger Crafts blog here and here I was seriously smitten and a discount code over the new year on the Named Clothing Facebook page had me clicking buy


I really like the Named Clothing PDF style.  The pattern is layered (each piece overlaps another) and there are only 12 pages pattern to print, so it is much faster to put together than the average blouse PDF.  Because the pieces are overlaid, you need to trace off each piece in your size but as their are only two sizes displayed at a time that was easier than the average Burda Style magazine.  I traced a size EU 38 (UK size 10, USA size 6) which was a little bigger than my measurements but as this pattern is made for jersey fabrics as well as lightweight woven I thought it best to be on the safe side.  I opted for the peplum version and I wanted it to be big enough to go over my head (there is a button fastening at the back).


I made very little in the way of alterations. I added the binding in a slightly different way (more info further down this post.  The sleeves were quite short (considering that I am 5' 5" (164cm) and the pattern is drafted for almost  5' 8" (172cm) so instead of turning up the hem, I left the sleeves at full length and added bias to the bottom.  


For a first attempt I am pretty damn pleased with the fit.  It is a small busted pattern.  I am a A cup at the most and this worked for me.  There is a slight surplus of fabric in the centre of the pattern especially on the upper bust area and the darts could do with coming very slightly inwards.  The sleeves and arm holes fit brilliantly.  I did need to ease stitch the sleeve head which isn't mentioned in the instructions but is a standard method for fitting a sleeve into an arm hole.  I like lots of room to move and I loathe tightness under the arms, these sleeves were winners!  It goes over my head without straining so no need to fiddle around with buttoning up.


The pleat detail at the waist is an easy addition and sat at the perfect place for me- a longer bodied, taller person may need to add a little length in the body.  The pattern pieces fit together well and the instructions are functional.  They are not hugely detailed and they read like they are a translation but they do the job.  Everything was sewn on my new vintage Bernina 707 including the buttonholes and was hassle free.  The fabric is Robert Kaufman Lennox Gardens Lawn and is a lovely light lawn, a little thiner than a Liberty lawn and it pressed and sewed easily with a 70 Schmetz Microtex needle.  


Here's how I did my binding.  Firstly I trimmed my seam allowance off at the neckline.  Then I cut bias binding 1 ⅜" wide, three pieces- one long enough for the neck and two the same width as the cuff on the sleeve. I sewed it to the inside of the neck edge using a ¼" seam allowance (the right side of the binding is placed against the wrong side of the neck edge.  Press upwards. You can see the ¼" overhang at the vertical edge which is then folded inwards and the binding is folded to meet the neck edge.  There is an option at this point to grade the seam and trim the neck edge to ⅛" wide, the binding is untrimmed.  The grading makes the binding sit flat rather than standing up- I did this on my second Kanerva but not on this one.


Press the binding over so that the folded edge extends over the seam line and stitch close to the folded edge.  I used the same method on the sleeve cuff.


My only significant alteration was to reduce the peplum length by 2" taken from the bottom edge.


I've already made another Kanerva with a few tweaks- I just need to wear it.  Fit is something that needs to be judged in wear as well as during the sewing process.  For me, this blouse it is the equivalent of a long sleeved lightweight jersey T, a core wardrobe piece.  It layers well with cropped cardigans- I am constantly in a state of cold at the moment so this is a big plus for me!  The simple design makes the perfect showcase for prints too.  The skirt which can just about be seen is from Stylish Skirts by Sato Watanabe.  It is skirt I, "Escargot' skirt with straight hem panel.  This is a book where you draft your own pattern pieces based on your measurements.   That sounds harder than it is but you do need to comfortable with a Japanese diagram instruction style.  The book is translated but there are errors.  The skirt fabric is a dress weight denim from Merchant and Mills- any fabrics I have had from them have been the most fantastic quality

Stats:
Fabric: Lennox Gardens Lawn, 110cm wide, size 38 needed 1.5 metres
Alternations: Reduction of 2" in length of peplum. Bias binding added to sleeve cuff edges. 

sib blog