Time to start the Baby Bear Paw quilt. I have designed this with a Sizzix die cutting machine in mind as speed was at the forefront of my plans but you can make this the usual way, rotary cutting directions are included. I have tended to avoid half square triangles as all the trimming is a strain on my hands and the sort of rotary cutting where I worry that one stray move and I will cut off the end of my fingers and making me think of Stuwwelpeter and Suck a Thumb! This is where a machine like the Big Shot is a massive bonus and it has liberated how I plan my quilts. It is an investment so I would advise you to plan the dies you will most use and think ahead- if you will use a 4 1/2" HST die, you want other shapes that easily work with it, maybe 2 1/2" square (handy for scraps) or 2 1/2" HST die as they will make 2" sqs finished which tessellate nicely with the 4" squares. I have found this shop great value and free UK postage.
These instructions are to make the 4 bear paw feature square blocks that make up the main section of the quilt top. In the next instruction post I will add the centre strips and the quarter square triangle centre, plus backing and binding info, but for now let's press on.
Baby Bear Paw Quilt
Cutting
Four 12 1/2"square feature squares- a good picture print works well here
For Sizzix HSTs: Twenty Four 5 x 5 1/2"rectangles, 12 in colour A, 12 in colour B. These could be in 2 contrasting fabrics or a scrappy mix in 2 sets of contrasting colours. If you are very careful, you can cut out using 5 x 5 1/4"- it is just big enough to cover the die. You will need Sizzix die 657613 which cuts two 4 1/2" HST triangles
For rotary cut HSTs following this method: Twenty Four 5"x5" squares, 12 in colour A, 12 in colour B.
Sewing
1. Assemble your half square triangle pairs
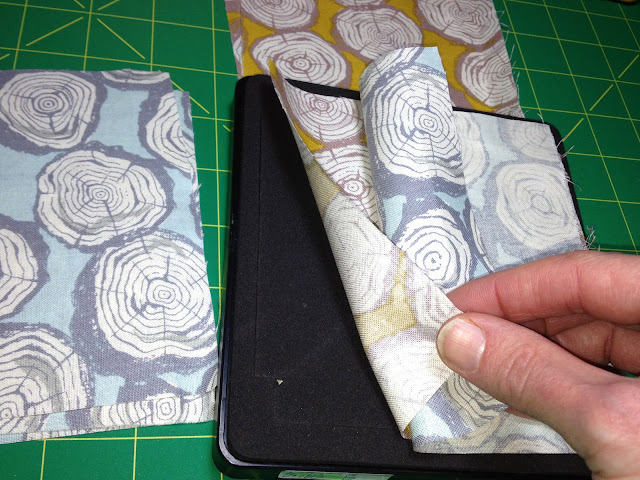
For each feature square, you will need 6 HST pairs. The rotary method is here. With a little forethought, arranging your fabrics on the Big Shot can save on your HST piecing time. I placed contrasting rectangles right sides together for cutting. A Big Shot can comfortably cope with around 6 layers of quilting cotton.
When placed together this way, the HSTs come out in pairs, ready to be sewn together.
Sew a scant seam to allow for the bulk taken up with thread and the fold of the fabric, I line my fabric with the foot edge rather than right next to the 1/4" foot guard. Scant seams should give you an accurate 4 1/2" square.
Chain piece your HST together.
2. Press seams open
This is my preference, you can press to the side if you wish. Arrange around your feature squares to randomise the colours and take a photo for your reference.
3. Joining half square triangle pairs together
Sew 3 HST pairs together in a row and add to one edge of feature squares. Sew 3 more HST pairs in a row adding a plain 4 1/2" square to the end of the row. Add to adjacent edge of feature square.
Your block should look like this. Repeat 3 more times following pattern diagram/your photo for placement.
I used Sarah Watts Timber and Leaf fabrics from Eternal Maker, plus a little Riley Blake October Afternoon Seaside and the odd scrap from my stash. Finishing the quilt top info to come soon!


