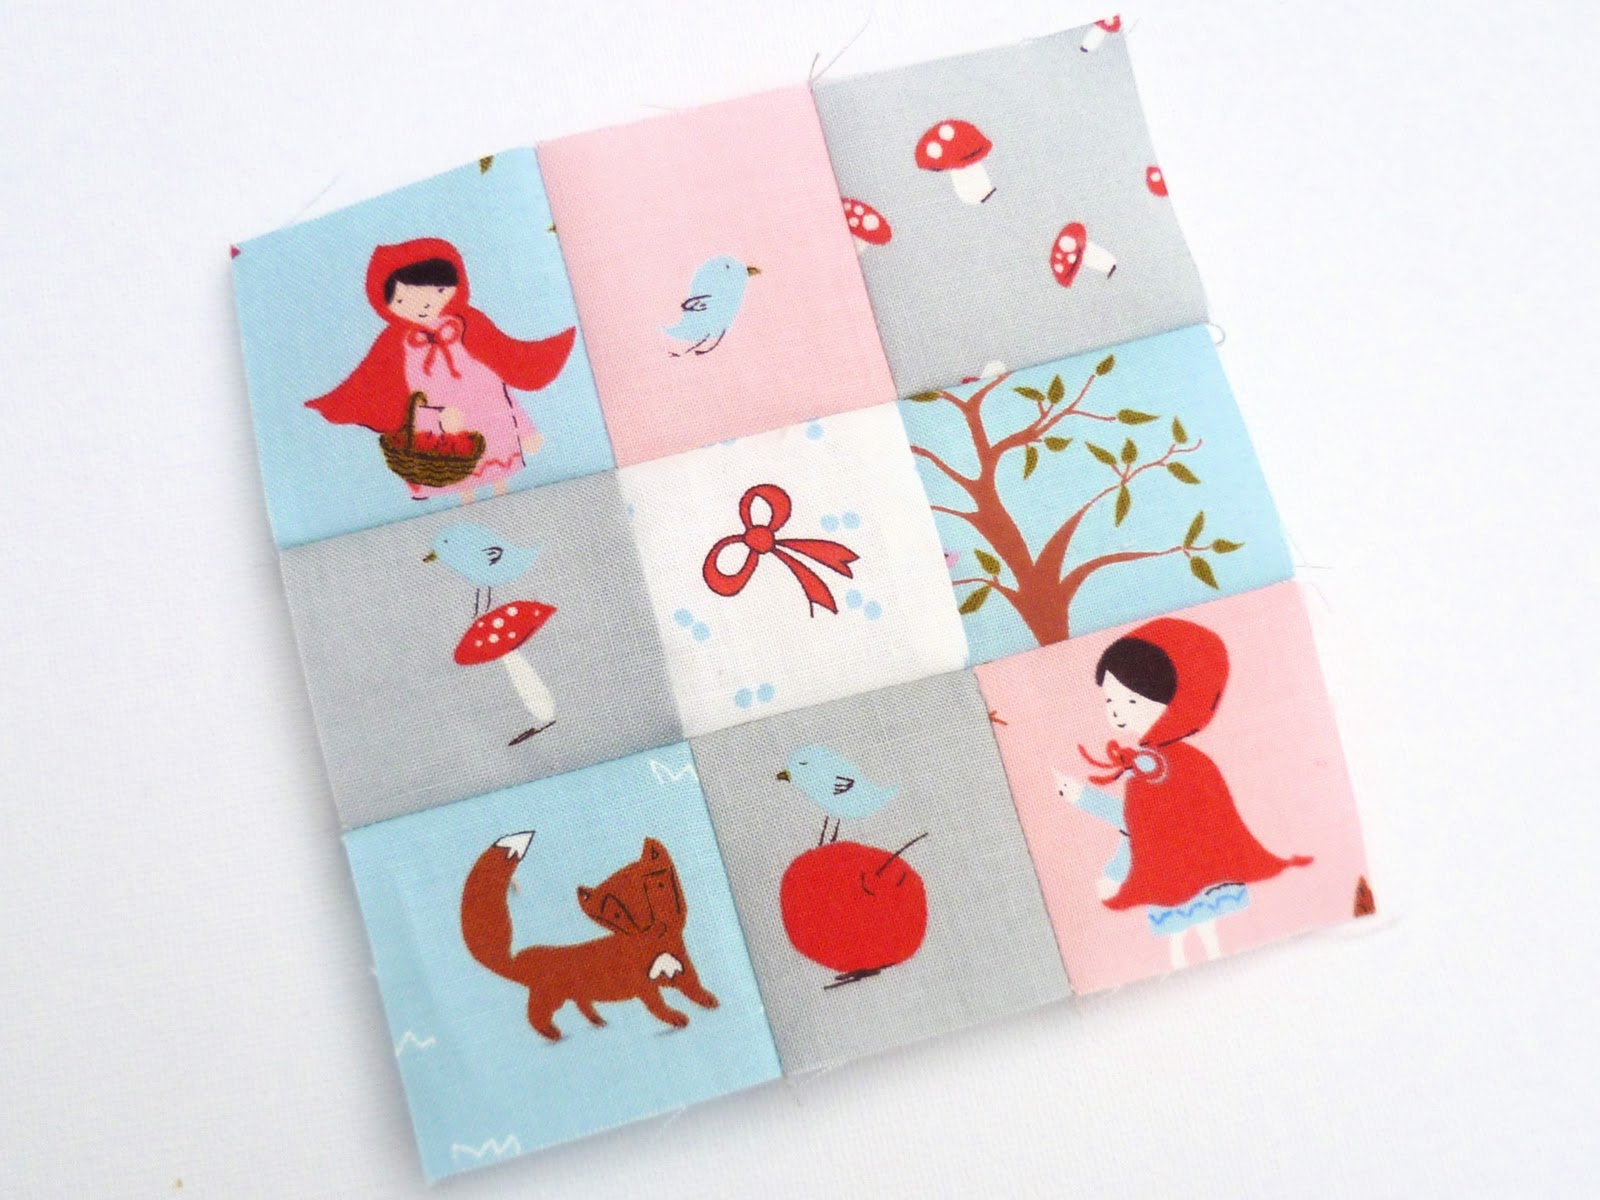
Aneela, Moda fabric designer extraordinaire kindly sent me and some other UK bloggers generously filled parcels full of scraps from her forth coming line
A Walk in the Woods, released Spring 2012, what a treat! I knew the first thing I was going to make, and here it is.
This is an easy adaptation of my mini tote tutorial. I made this one for my niece's Christmas present, you know how young children love bags for carrying their treasures and the fabric is perfect for fussy cuts. A multi-functional gift ready for a game of eye spy as well as filling with goodies. This bag is 7" square finished size not including the handles. Wanna make one? read on.
You will need:
For the front and back- Fussycut eighteen 2" Squares
Sashing strips for the front blocks- Cut two strips 1 3/4" x 5" and two strips 1 3/4"x 7 ½ from a light solid e.g. Essex linen
For the Straps- Cut two strip 3"x 8" from co-ordinating fabric
Lining-Cut two 7 1/2" squares from co-ordinating fabric
Fusible Fleece- Cut two 7 1/2"squares e.g. Vilene 630 fleece interlining (supplied by Julia at Gone to Earth). You could also use cotton batting or interfacing.
Embroidery thread for the running stitch detail- I used Sashiko thread
Sewing supplies
Seams are 1/4" throughout.
Step 1: Making the Front and Back
Stitch your squares together in rows of 3. On the top and bottom row press the seams to the left and on the centre row press seams to the right.
Join your 3 rows of squares matching up the points at the seams.
I stamp my sashing before I stitch it on. I use Hero Arts Clear design rubber stamps and Versacraft ink. This is heat set with an iron. Let the stamps dry for a few minutes, cover with a bit of scrap cotton and press for 15 seconds with a medium hot iron. Remove the scrap cotton and repeat two more times and press on the reverse as well. Then, add your sashing.
The rest of the bag follows the tutorial
here from Step 2. The only addition you will need to make is to add the running stitch detail. I add this at the beginning of step 3, after I have added the fusible fleece but before I add the handles.
Thankyou Aneela, I think everyone was thrilled with their fabric parcel x