Showing posts with label courthouse steps. Show all posts

Friday, 9 September 2011

Courthouse Steps Cushy Pillow 1

I thought it was time to get started with this, my arms are a bit sore so I can't race along and  I am breaking this tutorial down so you can see it as I make it and then I will collate all the posts into one big tutorial at the end.  The finished size of the pillow will be 18 inches- perfect for a plump look with a 18 or 19 inch inner or looser with 17 or 16 inch pad.  I sketched out the design- I like to do this on paper not a screen, quicker and more responsive.  You can see it is made of 9 blocks, each block is 6.5 inches unfinished.  I am going  to call the shapes that make up these blocks lanterns and half lanterns- makes life easier!
I am using a mix of grey and yellow plus black.  There are lots of possibilities, you could stick to 3 fabrics, or go for solids- all would look good.   I did contemplate scrappy lanterns in greys and yellows too with a big mix of fabrics in each- might try that another time as I think it will look good.  But this time, I went for 1 fabric per lantern.   I pulled all they grey fabrics I had that were similar in tone.  I have 6 varieties and you can see there are 6 whole lanterns and 6 half lanterns so some grey fabrics will be used more than once.  For the yellow I am going to alternate between a light yellow lantern- you can see these at the top of the fabric pic below- and darker yellow lanterns, fabrics seen at the bottom.  Again 6 whole lanterns and 6 half lanterns so some yelllow fabrics will repeat.
For the centre of each block you will need a 2 inch square of contrasting fabric.  When cutting fabrics for piecing I cut slightly generously with ruler line on the fabric, in fact the fabric runs very slightly under the line.  You can see on the pic below how I would line it up for cutting 1 inch strips.  This allows for the tiny amount of fabric lost by the line of stitches and  the pressing process and prevents your blocks from getting too small.  You will need 9 of the 2inch squares for this cushion, I used black fabrics for these.
All the other strips are 1.25 inches wide, I cut a couple accross the width of each fat quarter- that will easily cover one whole lantern and then cut more if I need them.  After the first block a bit of planning is needed to make sure your e lanterns match up across the blocks. For my blocks I will always need to start with the grey fabrics on the left and right edges of the centre squares.   I stitch with small stitches 1.5 length so no securing is needed.
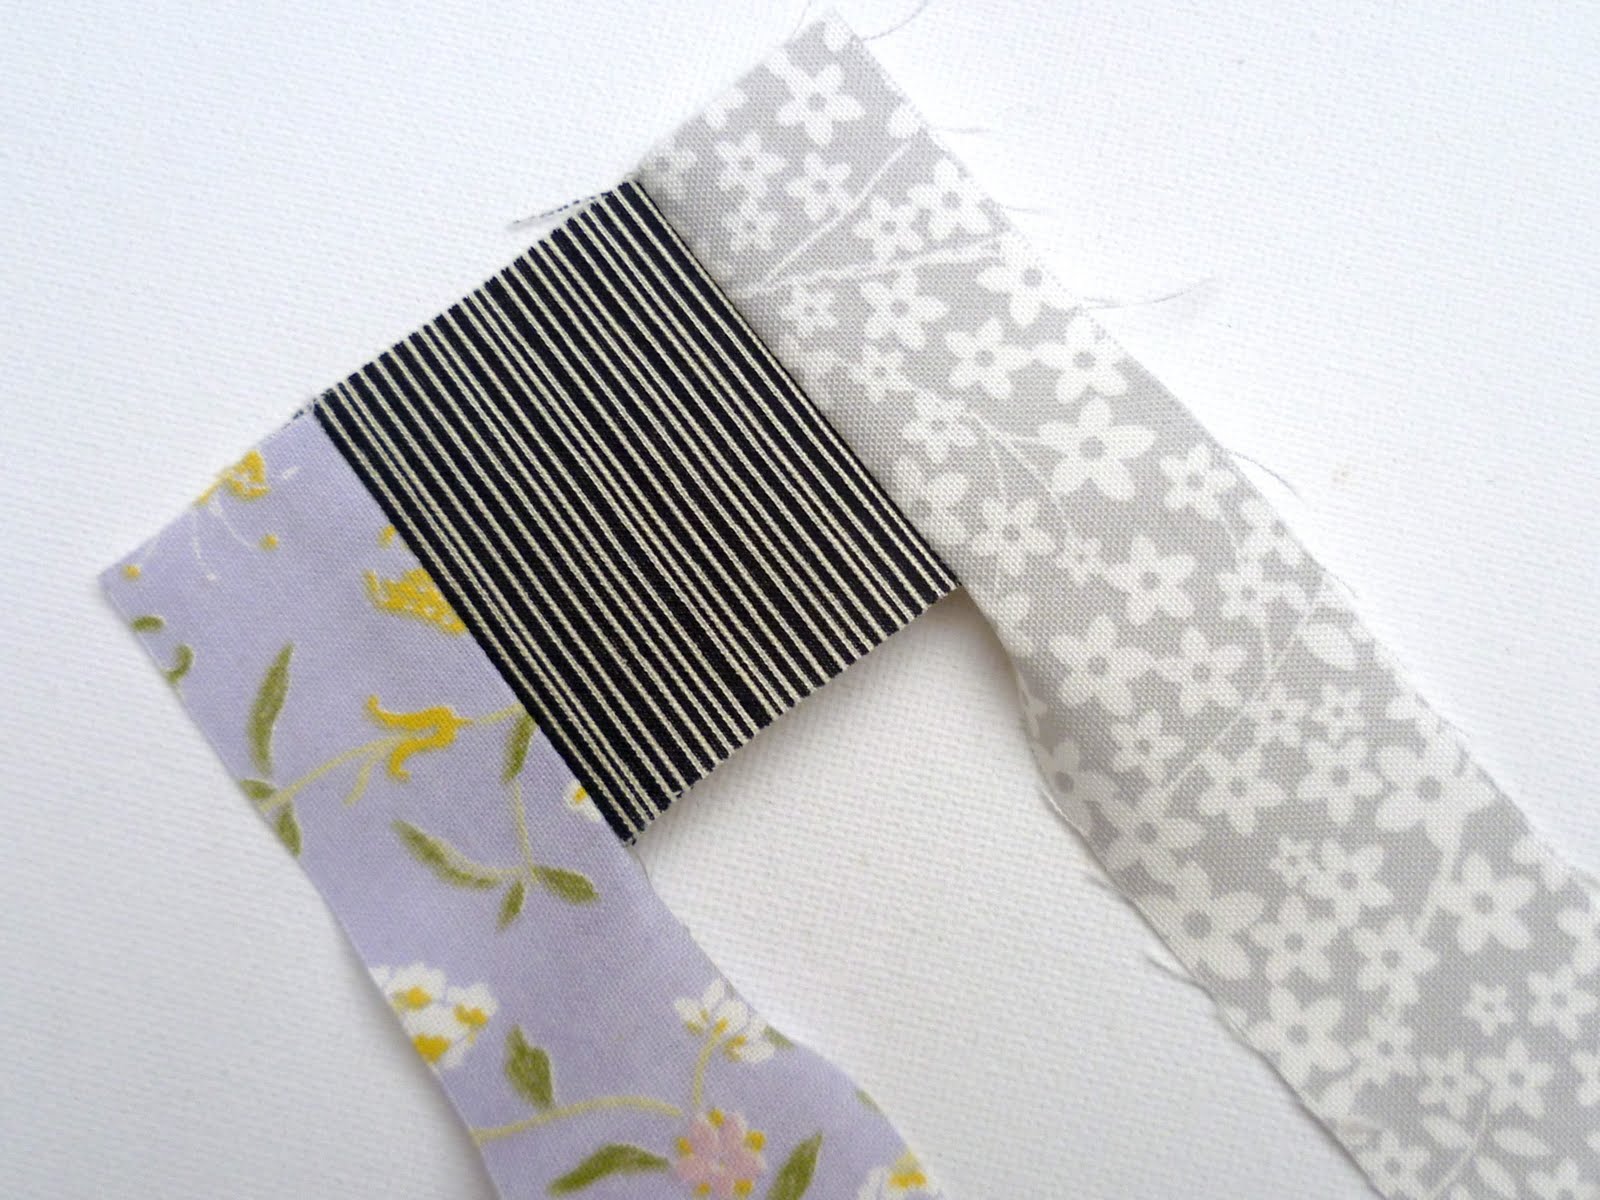
 Press, flip the fabric over so the wrong side is facing you and then lay your cutting rule on top.  At each stage of the block, as you add 2 strips at a time, the block should square up to fit along the inch or half inch lines.  I even my block out each time.  When the first strips are added it will measure 3.5x 2 inches.
The next two strips in yellow take the block to 3.5 inches square, you can see untrimmed below
and trimmed here!  The seams are always pressed outwards.
A front view of the same stage.  Keep adding alternating 2 yellow strips, 2 grey strips and using your rule to square off your block each time- it will alternate between rectangle and square and will line up with the inch and half inch lines!
On the next 2 strips you can see top left that my seams didn't quite meet, don't worry- its fixable!
Here it is in close up...
 When I added on the next grey strips, I lined them up with the taller white and yellow fabric so the grey flowery fabric had one edge that was under a quarter inch, (see below). The little 1.5 stitches will hold it all together fine and the block will end up the right size instead of shrinking.

And the finished block 6.5 inches square.  You will need 9 of these in total.  I sew mine together in lines of three as I completed them.
 I sew mine together in lines of three as I completed them.  Still some more to do yet, I am having to go slow at the moment.  You can see how the fabric matching works in this pic. 
See you when 9 are complete.  Meanwhile Tamiko is doing a Courthouse Steps tutorial - this is foundation paper pieced with a, check in at her blog to see what she comes up with- it is a beauty!
sib blog

Friday, 2 September 2011

Testing the Dies

Lets start pretty with a nice fabric stack- I am enticing you in...
Interested?  Well now I've caught your attention it is carrot and stitck, the carrot comes at the end but meanwhile I have been testing my Accuquilt dies and not wanting to waste fabric I have gone to my ugly pile of 1980s rejects that I use to test ideas and shapes so I apologise for the dull fabrics but its all in the name of testing.  I was really happy with the Drunkard's Path die, it made economical use of fabric, cut a shape I would struggle to cut consistently by hand and added the handy notches.  I find the block useful and have other ideas for it in the future. The next die I wanted was 2.5 strip cutter.  this is a giant of a die designed so a folded piece of fabric will cut a 2 full fabric width strips 2.5 inches wide, handy for binding, sashing etc  But that is not all it will do...
Once you have cut a stack of 2.5 inch strips you can lay one pile down the centre- roll it through and you will have 1.25 inch strips.  You do have to place carefully, I tired using a bit of chalk to help line up but the spongy surface is not great for this.  Amy recommends a Sharpie for this. You could use masking tape for temporary hold but keep it well away from the cutting blades.  Better than this is placing the strips at a right angle, you will need to trim them, I did it to 5.25 inches, but it is a quick way to cut a huge stack of 2.25 inch squares, especially if you used the full length of the die.  It takes a bit more patience to do diamonds on the same die.  The strip needs to be lined up at a 45 degree angle to the cutting blades and trimmed at either end so it doesn't over hang
Chalk and masking tape would help again, I rushed this so my results could've been more accurate.
Diamonds are hard to cut with a standard quilt ruler so I like this feature but I think I would use scraps for this, roll them through to produce short strips and then diamond cut them.  It does make the strip cutter more versatile than I first thought.
 My final choice was the value die- this is what I always chose in giveaways!  It was more limited than I realised. It is designed to cut the shapes separately not all together unless you want to waste your fabric!  The shapes are compatible with each other, the triangles form a 2.5 inch square, the big square is 5 inches so you could use them together to create blocks.
The blades run off centre and I tried lining the fabric up to the edge of the whole die and then with the blades- I thought it was best lined up with the blades- the grain is straight and the accuracy is fine.
The best shapes are the triangles, I find these harder to rotary cut accurately and these stitch together without dog ears to trim and make neat half square triangle blocks.  With a little stack of 6 layers you can cut 12 triangles.  The squares cut fine but I would need to precut a strip and carefully fold it when I might as well cut 6 squares with a rotary cutter or using the strip cutter so not so useful for me.
The value die is what it says- good value- 3 shapes in one die but you are not really getting the benefits of bulk which is what the accuquilt does so well.  If I was choosing again I would go for a triangles die that cuts a lot more triangles in one go.   If enough of you register for this... 
22 Free Patterns - Download Now
 I might just do that!- No obligation really :)
So if I was you and I had 3 dies to choose, I would consider:  What shapes do you use a lot in your sewing?  I think any dies with curves are great as these are hard to cut using other methods.  The 2.5 strip cutter offers more variety  than you would think.  I like the triangle dies like this as they come pre snipped and easier to match up and will cut a lot more than the value die.  If you are an applique fan there are a huge number of applique blocks and there is a new ric rac die with curves all the way.  If you like rag style quilting there are rag dies, all the snipping done for you- saves a heap of work!  
So back to pretties- tutorial coming for this soon- 
Courthouse Steps cushion/pillow in yellows and greys, I am just waiting for some more grey fabric- I didn't realise I had so little!
and lets not forget this...
Comments are now closed!  Thankyou for all the entries.
To win an Accuquilt Baby Go! plus 3 dies of your choice with cutting boards included please leave a comment below.  Want something to comment on?  I have a big stack of Little Folks voiles that I want to make into a single sized quilt for me- it must be a quilt as you go friendly block and with quite chunky pieces-I want the fabric to shine! Any suggestions would be welcome.  Plus any experience you have had machine quilting Little Folks would also be good- I can't do hand quilting,  good for a quilt but bad for my hands. 
 Otherwise recommend me something in your comment- music, recipes, books, blogs, sewing, whatever, I don't mind.  
Your email must be in your profile or your comment- Are you a no-reply blogger? Check here International entries are welcome, the generous folks at Accuquilt will send this straight to the winner anywhere in the world!  I won't reply to comments this time but I will look at what you recommend for Little Folks or anything else!
Comments close 6.30 am GMT Friday 9th Sept.  Random Number will chose the lucky winner.
sib blog